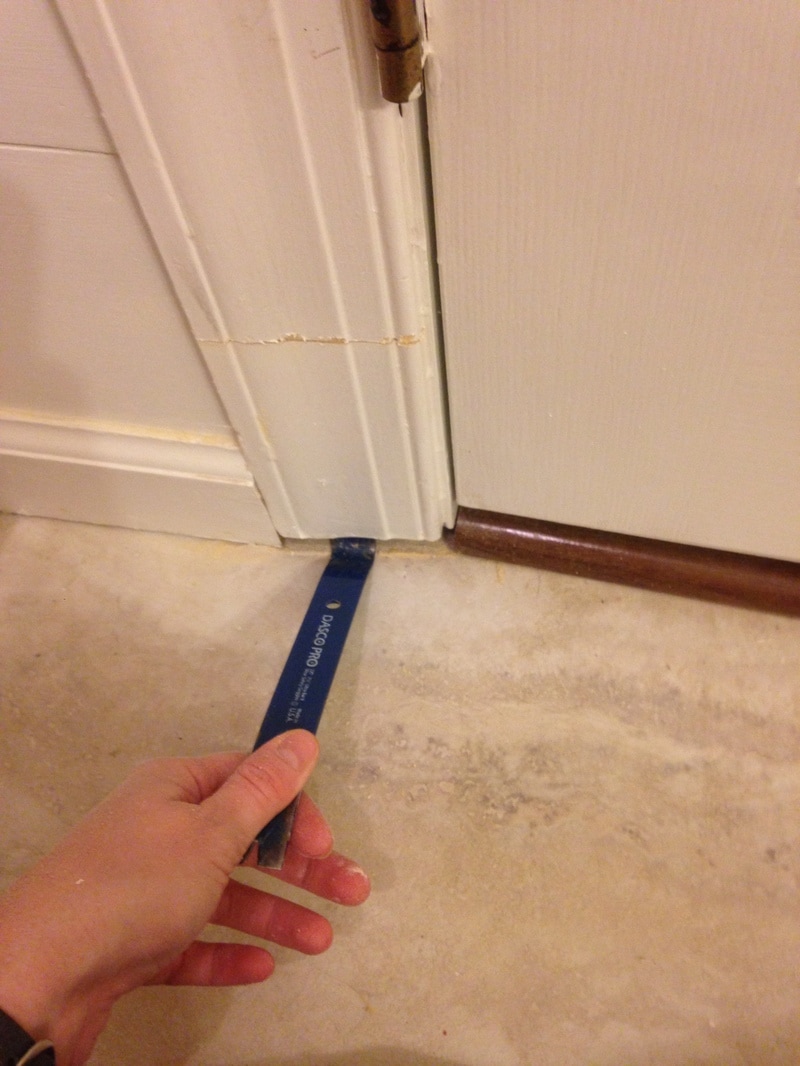
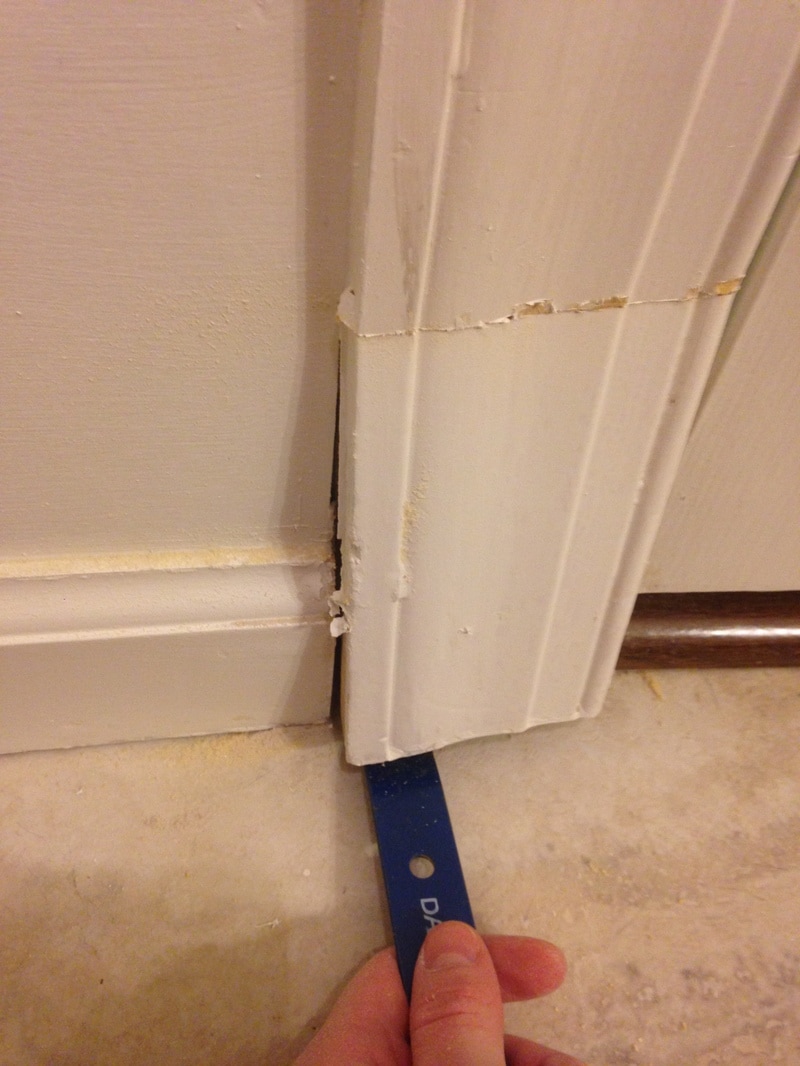
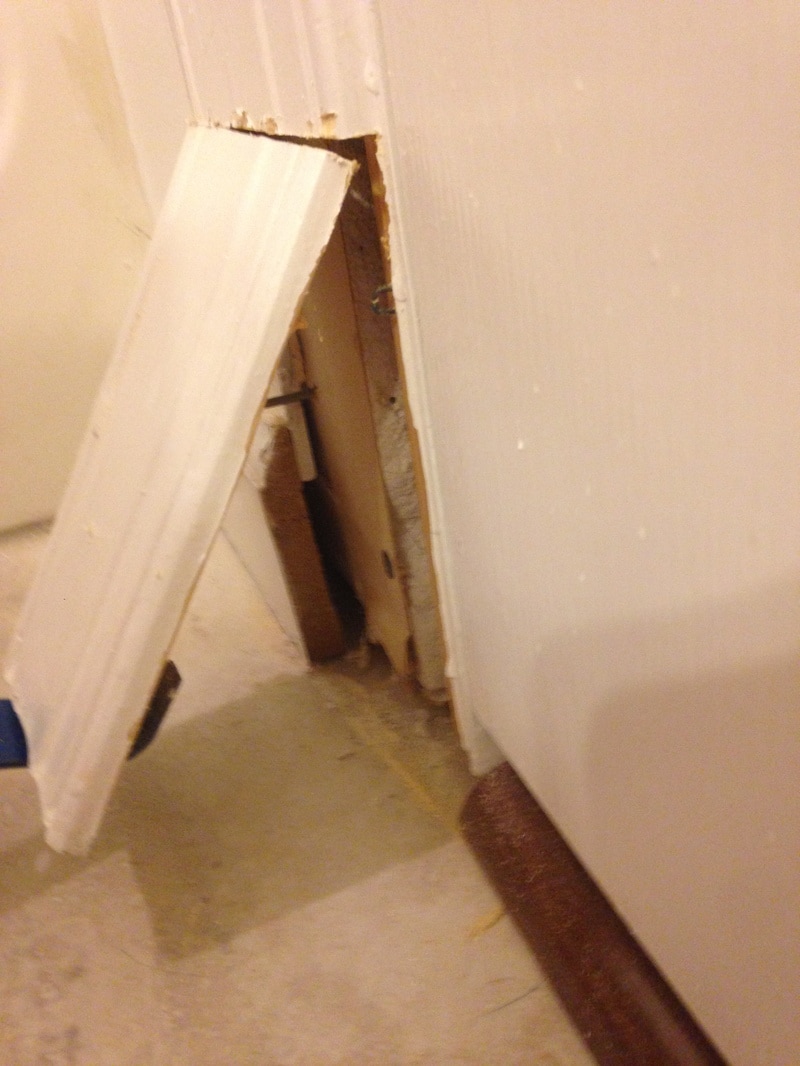
 One of the issues that bothered me for a while in the first floor bath was a giant gap between the floor and the door moulding. When I first bought the house, every inch of flooring had been covered in carpet. Yes, carpet. Even in the bathrooms (cue the throw-up noise now). Fortunately for me, the bank had removed the carpeting before I closed on the house (yay!). When I finally installed flooring throughout the house, most of the gaps created from the carpet went away, except in the bathroom. Hence, my dilemma. 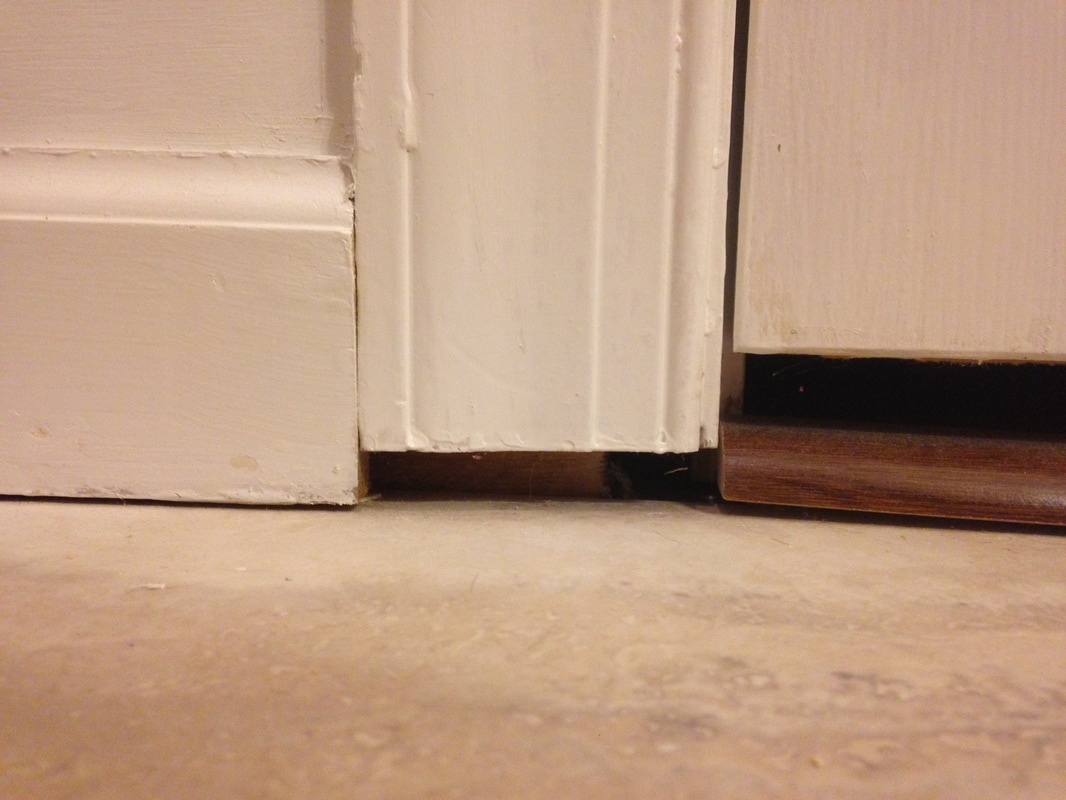 I went through many options to cover the gap, from replacing the trim to installing quarter round, however quarter round is not meant to go in front of door trim, and replacing the trim is too much work. After doing some research, I discovered the "plinth block." A plinth block is simply decorative moulding that is placed at the bottom of door trim to make the moulding look more substantial. Perfect. 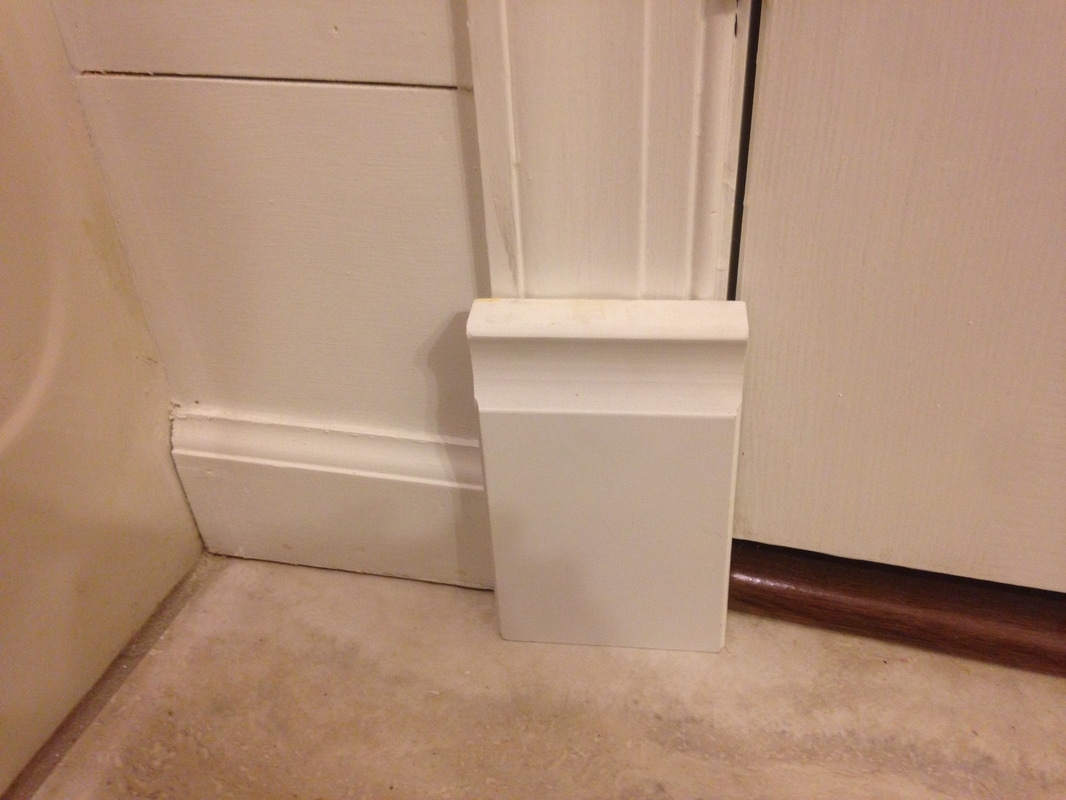 Although I wasn't sold on the plinth block available at The Depot (see above), it was the only option they had so I bought it. At around $4 each, it wasn't a huge investment but made a big impact. 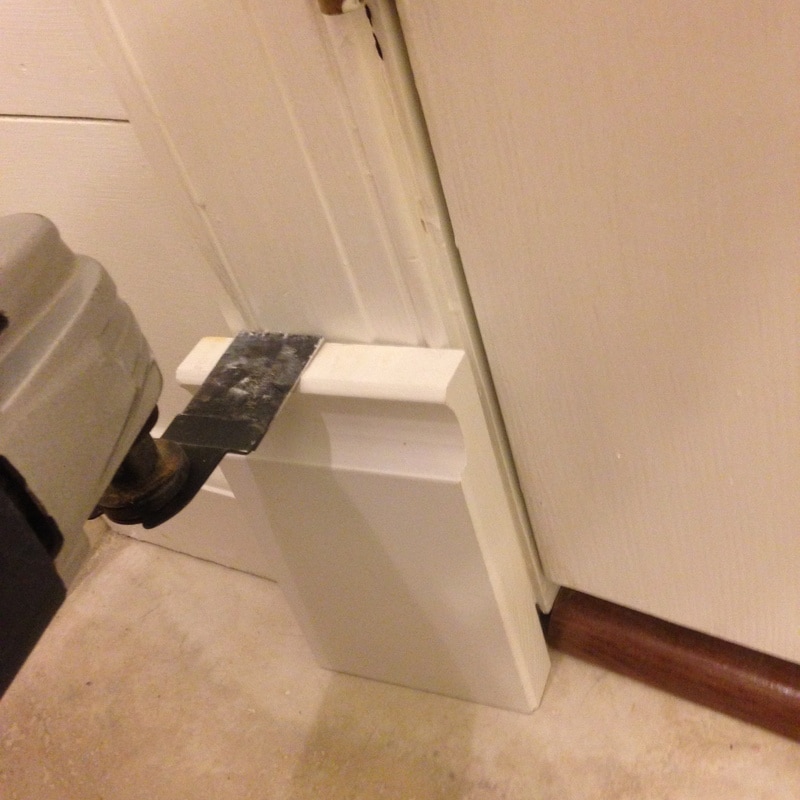 To install the block, I started by using a door jam saw to cut the current trim at the correct height. I then pried it out, being carful not to split any wood.
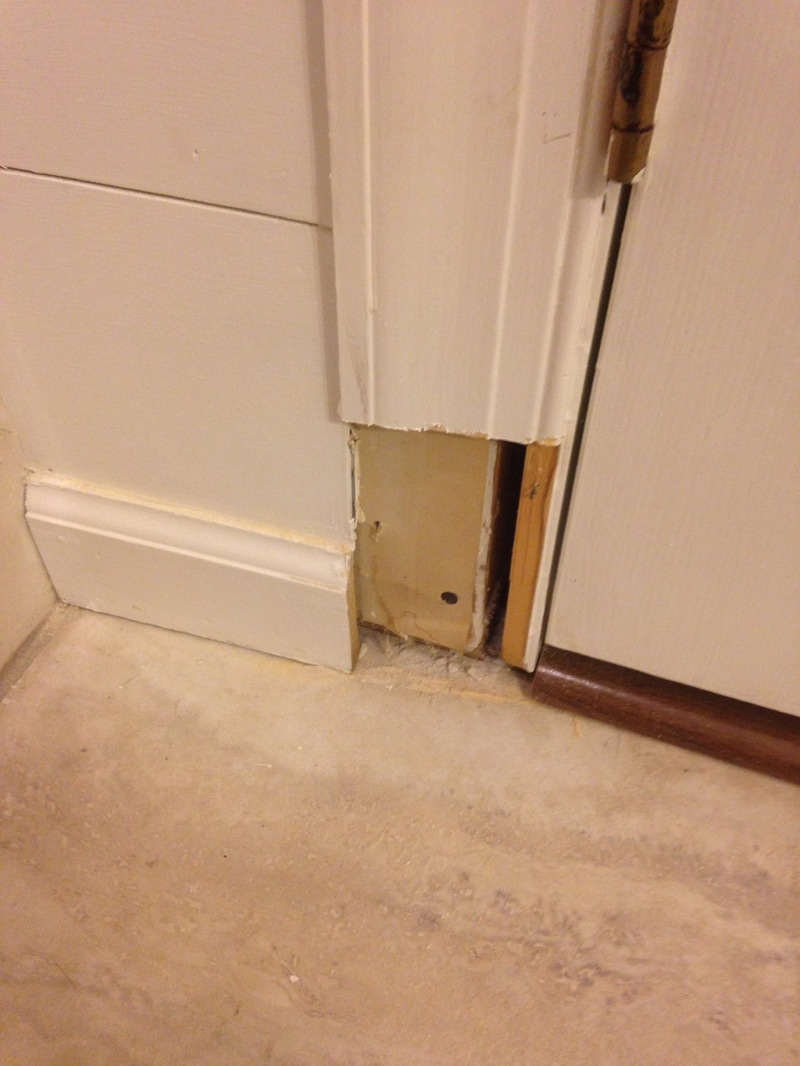
After I removed the trim, I cut the plinth block down to size on my table saw and installed it. 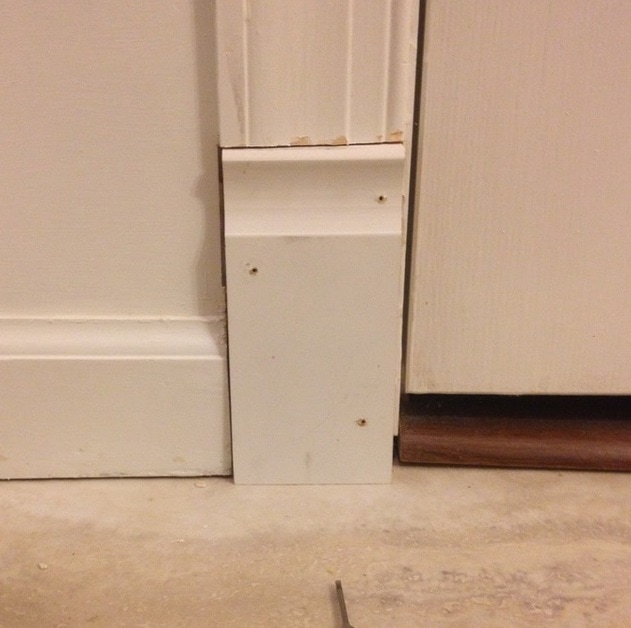 I hated it. It looked too dinky and the victorian style of the block just didn't match the rest of the bathroom. I did more research online and decided that I could just make my own simple plinth block on the table saw with 3/4" MDF. Luckily, I had enough leftover from a pervious project to create 4 blocks, so I cut them to size (a bit wider than the door trim), and ripped two bevels into the sides to make it a bit more decorative. Simple, easy, and they solve my gap problem. 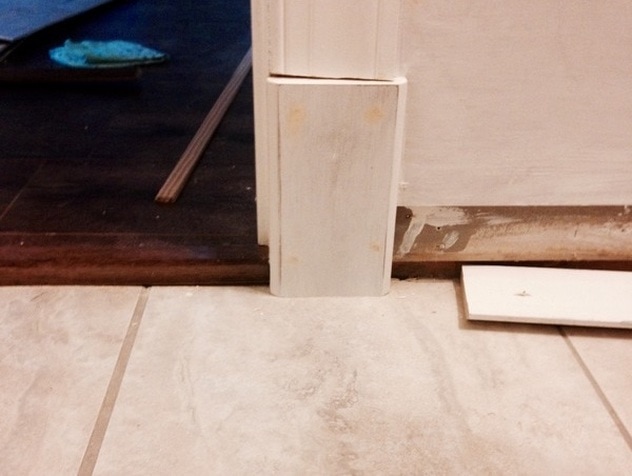 I even tried my best to scribe one plinth around the base moulding. It isn't perfect, but for doing it on the table saw I'd say its great! 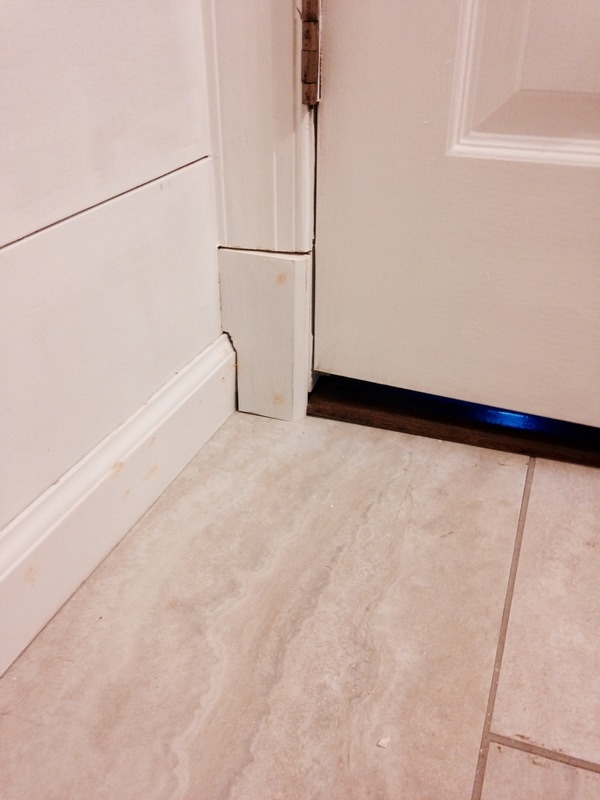 Now I just need to caulk and throw on another few coats of paint! The bathroom is almost done! 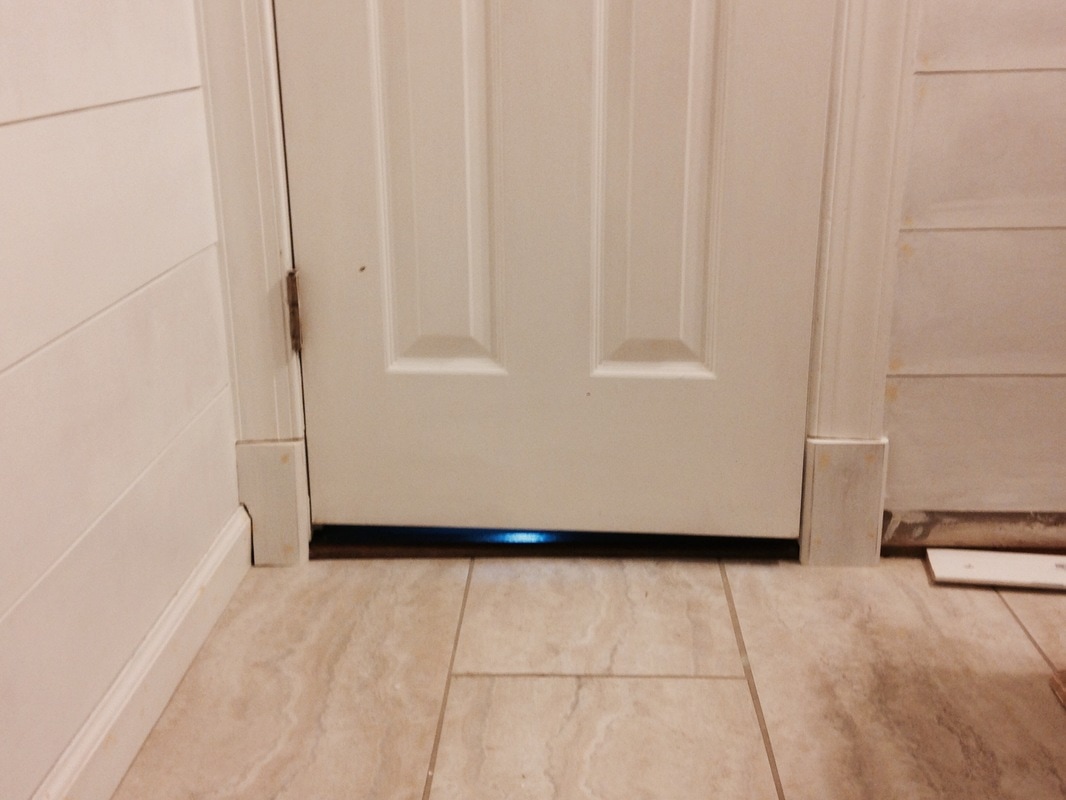
1 Comment
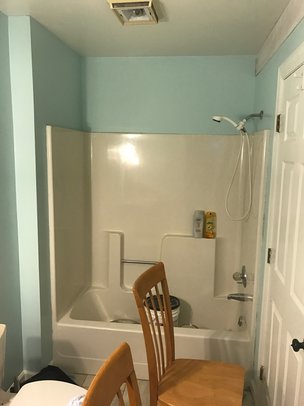
I'm just going to put this out there - Joanna Gaines makes me want to cover everything with shiplap. And DIY network makes you think you can do anything on your own. And as I've learned over the past two years, all in moderation. With that being said, I'm renovating my first floor bath (again), this time with shiplap. 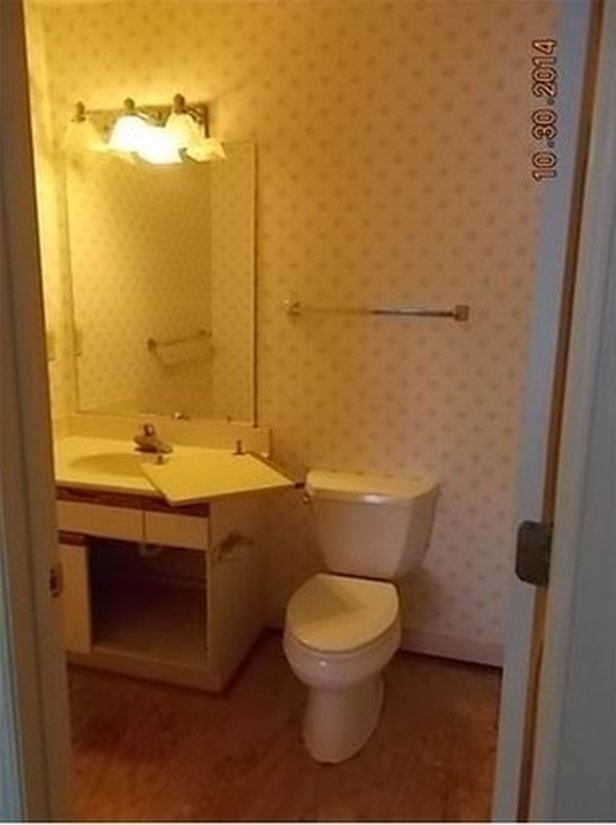 The above bathroom isn't actually the first floor bath, however both guest bathrooms were essentially the same. Awesome 80's wallpaper, wonderfully disintegrating melamine cabinets, some pretty great lights, and no flooring. 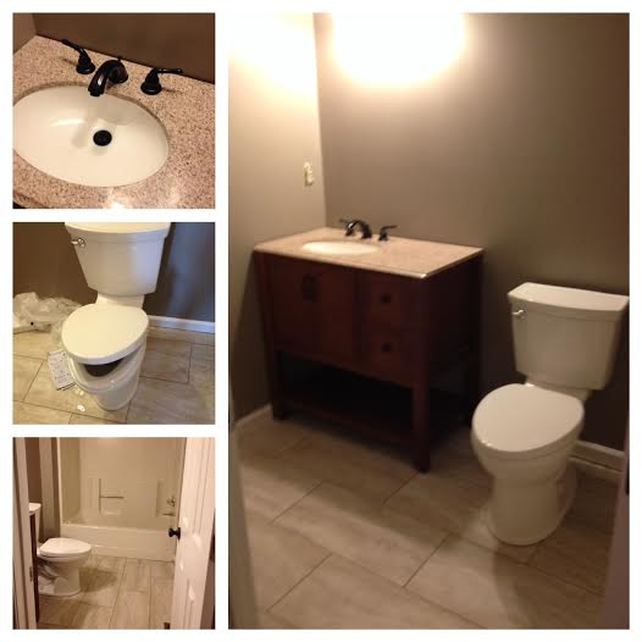 Above is the first remodel, which really was a huge change from the 1980's melamine. I never really fully finished this remodel though - the vanity isn't attached to the wall and I still don't have a mirror for above the sink. After living with the brown walls for about a year, I decided I hated the color and painted it a bright blue.
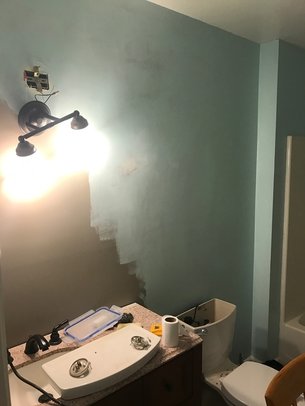
When I was almost finished painting it blue, I decided I hated that color as well and stopped. The bathroom has been like this for the past six months or so. It's been a sad six months for this poor bathroom. Well - time for an update! Again! 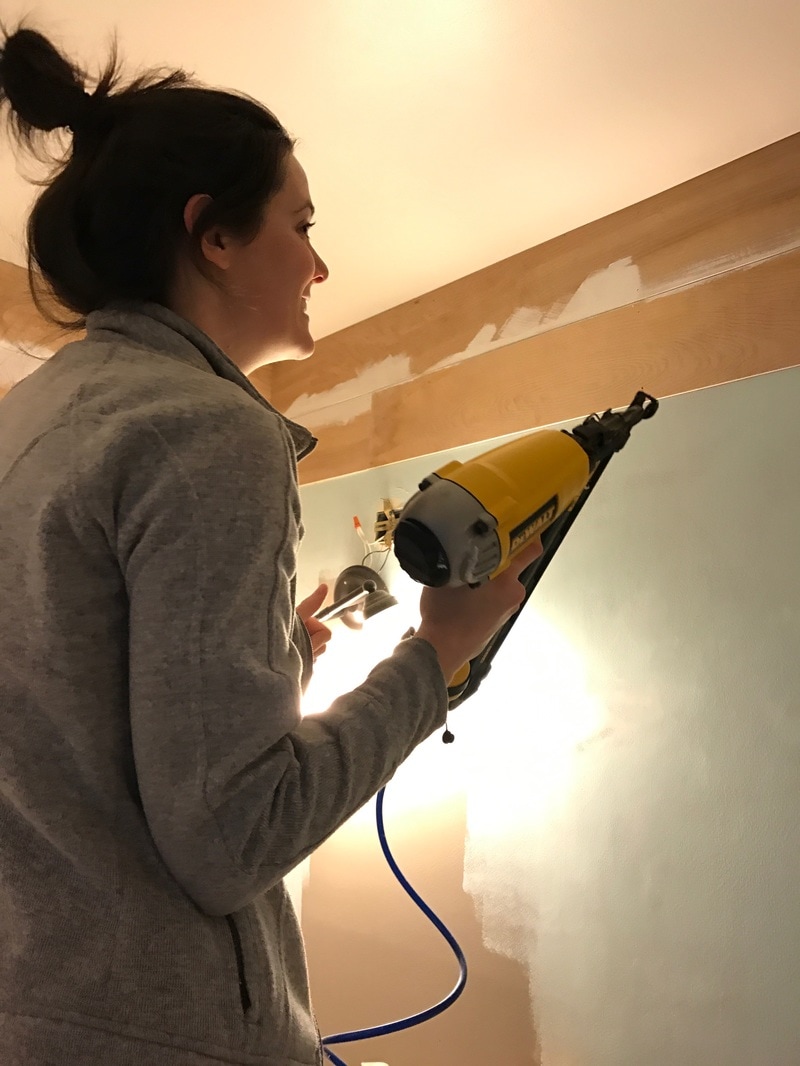 More pictures and updates soon!
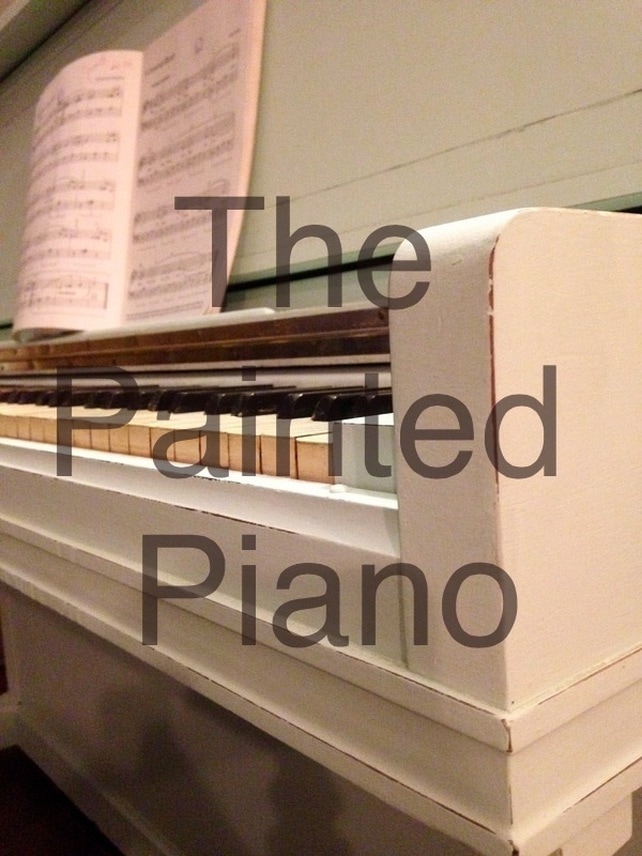 Hello, piano! Recently, Brian was gifted a piano from one of his coworkers, Jennifer. The piano is such a wonderful gift (Brian has been playing since he was a child), but the piano was in pretty rough shape. Unfortunately, I only took one picture of the piano when it first arrived in the house so I can't show you the flaws of this well-worn piece. 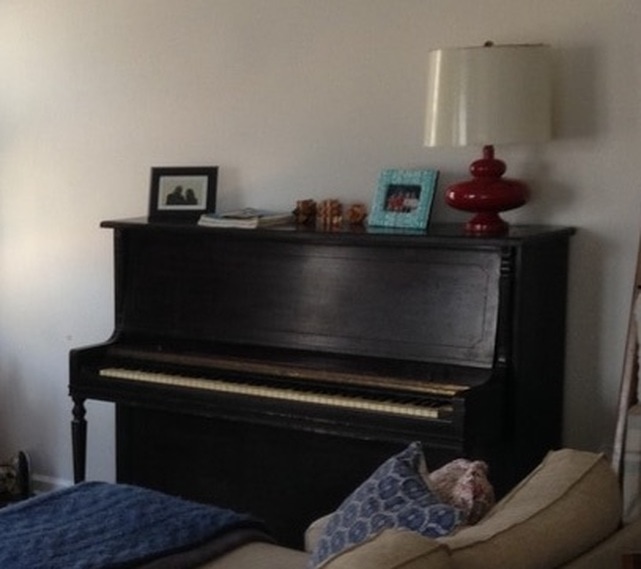 The piano was also a bit - dark. Now, I've already complained about how boring white the living room is, but the dark brown piano took all of the life out of the room. It stuck out and felt out of place. So what is a girl to do? To Pinterest, of course! I researched painted pianos, all of which were super cool. I knew didn't want to paint it anything too dark (see comment above), but I also wasn't sure what was considered an "acceptable" color for such a large piece of furniture. When I stumbled upon Your Homebased Mom's blog and her painted piano, I knew I had found my inspiration. 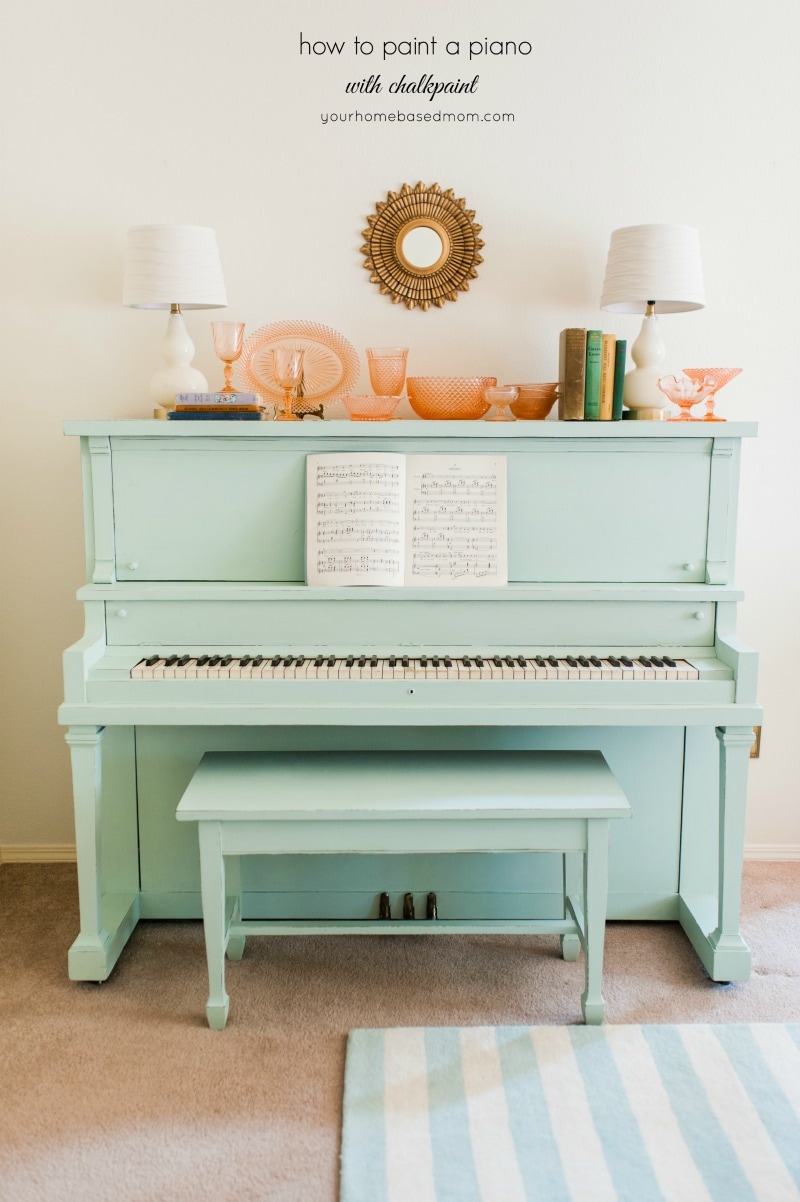 Its beachy, blueish-green, and beautiful. I love it. So, Brian and I took a trip to the Depot and tried to color match the color above. FYI - its nearly impossible to feel confident that you are correctly color matching off a phone. We literally sat at the Depot for close to an hour with not one, but TWO workers in the paint section holding little paint samples up to my phone. Finally, Brian picked the color "seaglass" and we went with it. Have I already told you how amazing he is? The color is almost a dead-on match. 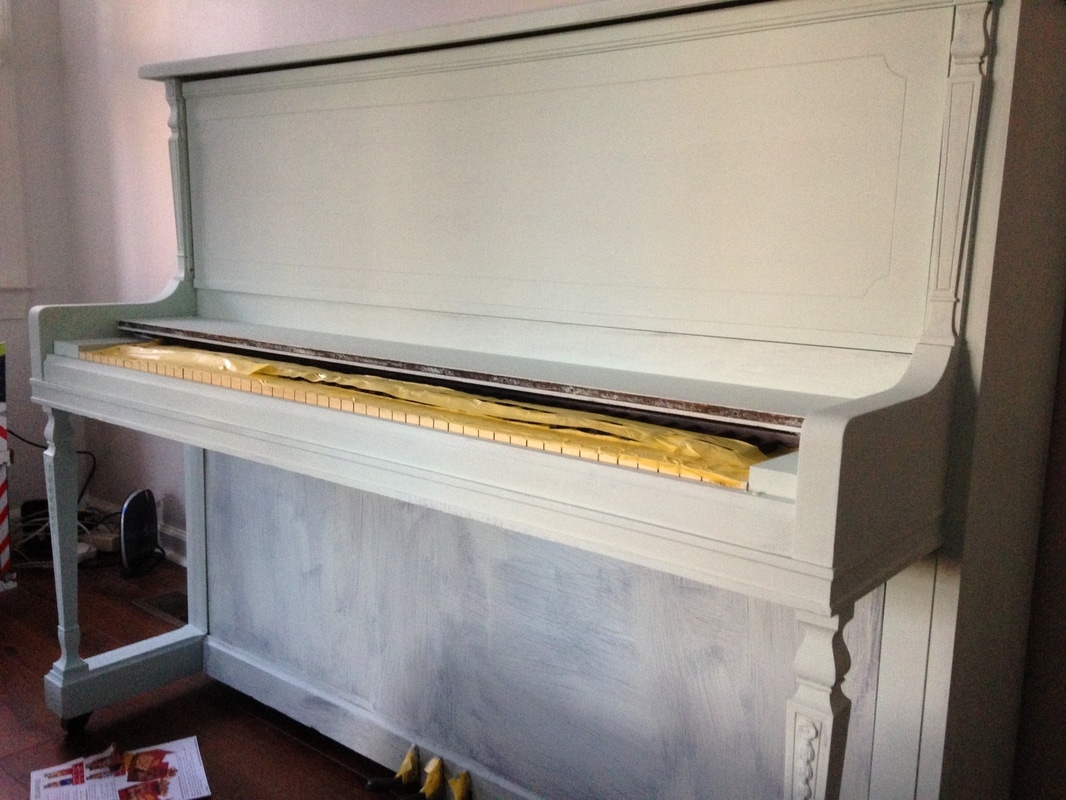 I created my own chalk paint and went to town painting the piano. This was my first experience working with chalk paint, and it worked pretty well. I don't think it sticks to the wood as well as others have claimed, but I'm satisfied with the way it turned out. It took me two days to put on three coats of paint (total - maybe 4 hours of work). I also sanded down the edges to give it a more worn, antique look. 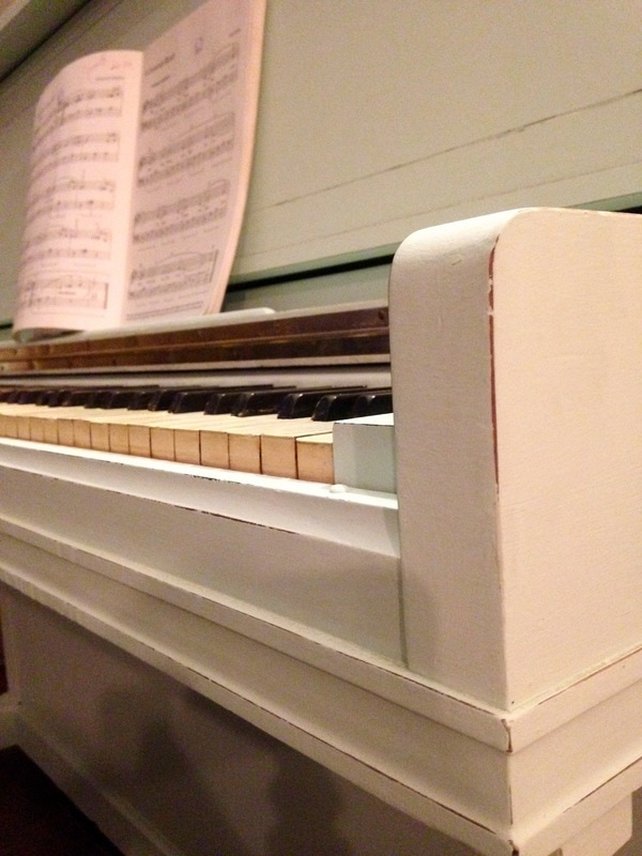 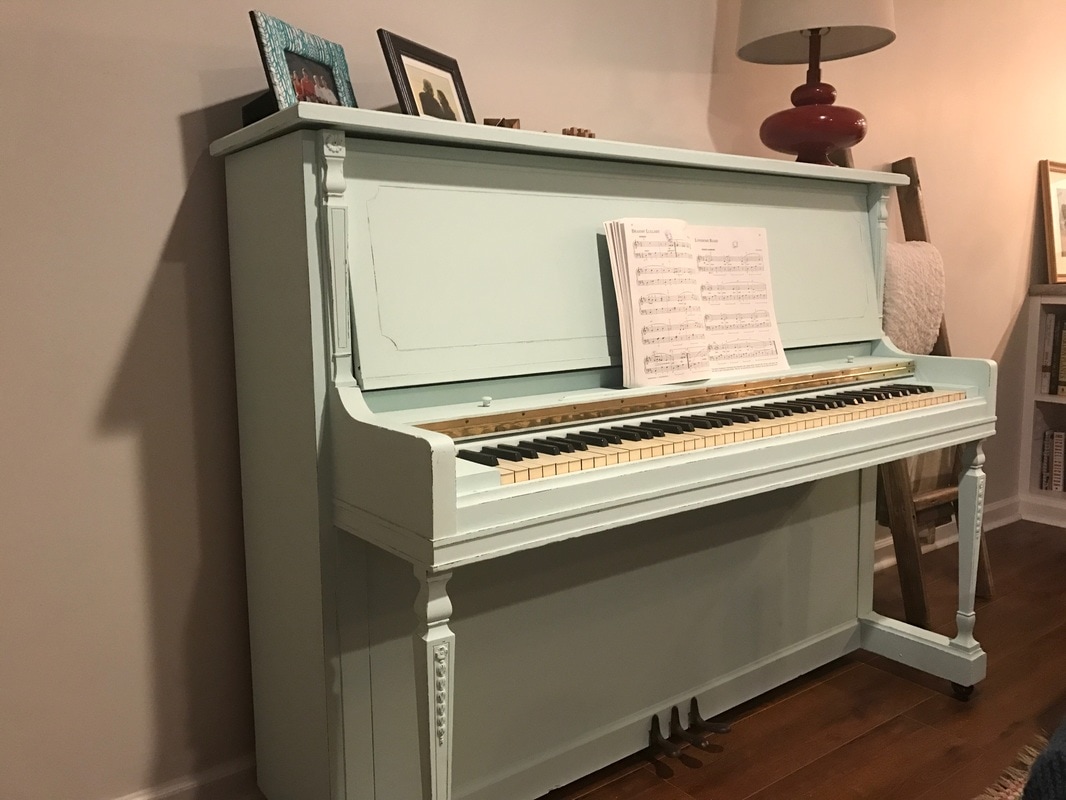 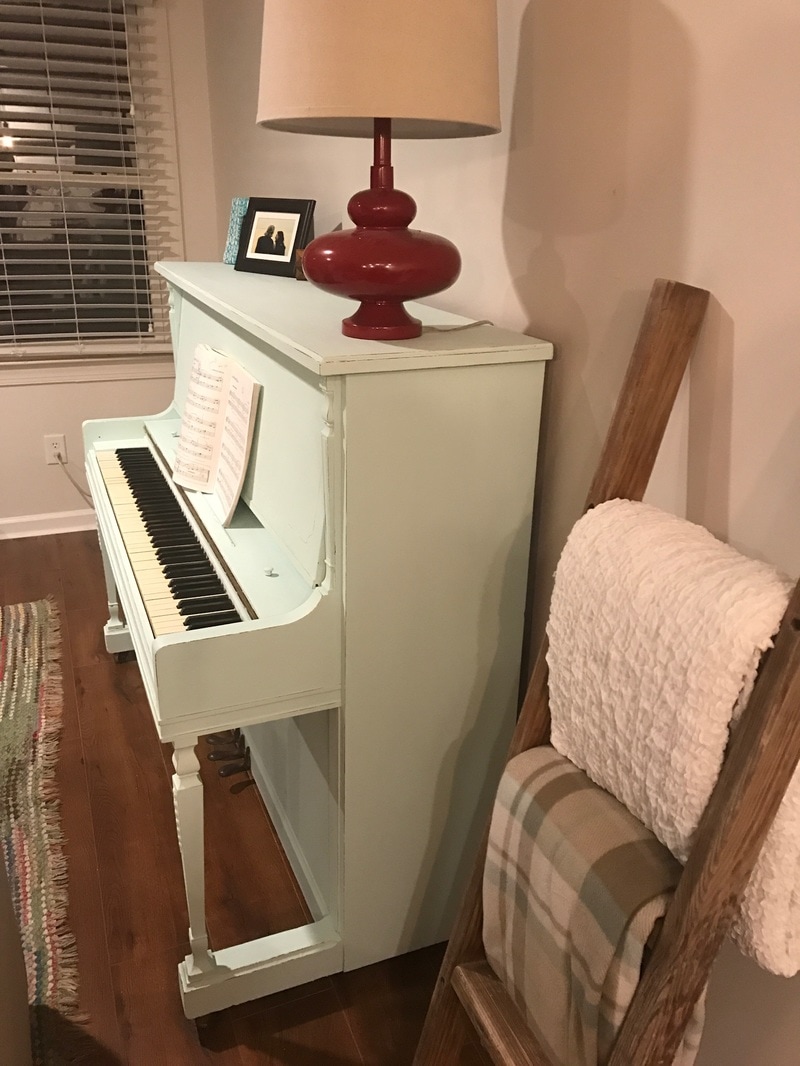 Now, all we need is a bench and we'll be set! 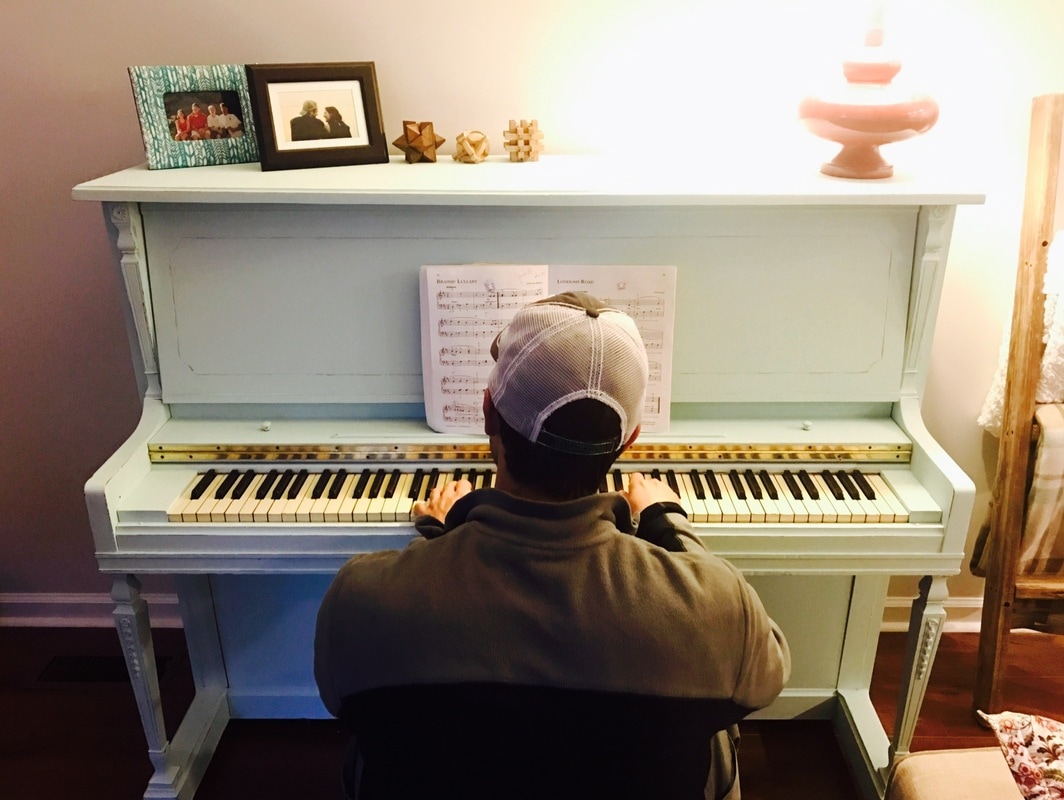 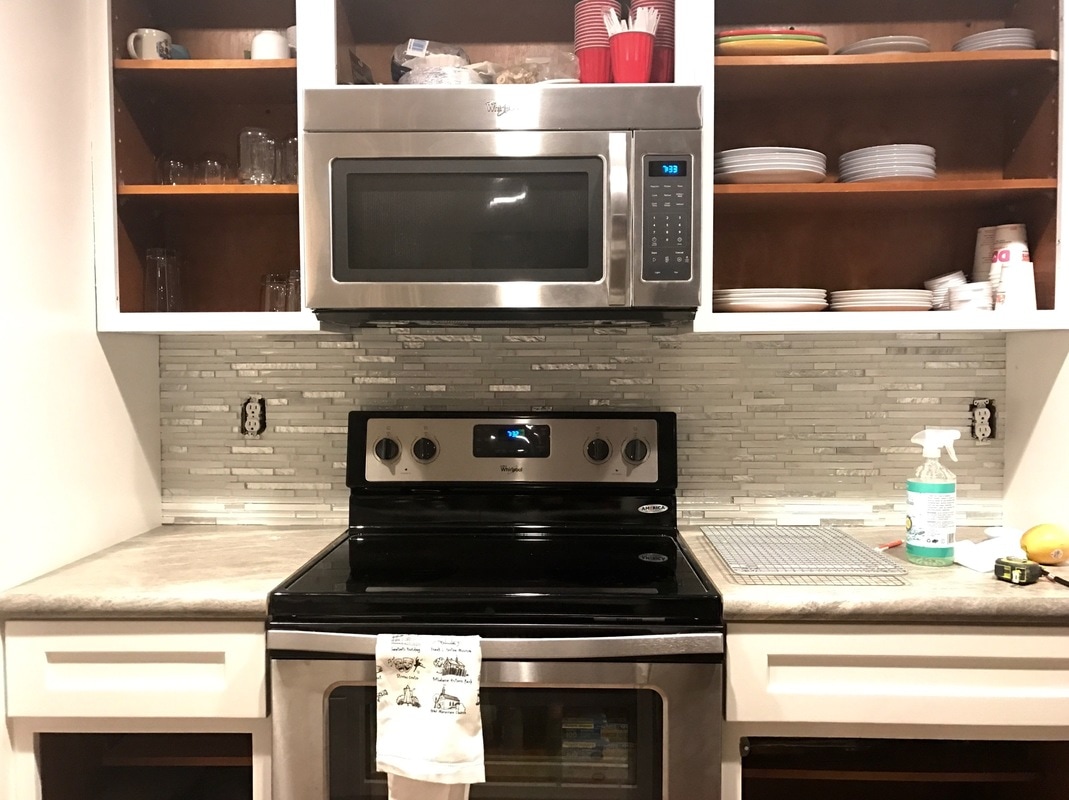 Before Christmas, Brian and I installed the backsplash behind the stove in the kitchen. We mulled over different designs for a while, but ultimately a beach-y blue/white/silver won out. You can find a link to the backsplash here. Below is about the best image I have of the backsplash prior to our installation - a bit boring (minus the silly kitties).  Of all the things that needed to get done, the backsplash was not high on the list. I was just sick of looking at WHITE. Everything in the house is WHITE. WHITE walls. WHITE cabinets. WHITE ceiling. WHITE WHITE WHITE. I needed some color in my life! 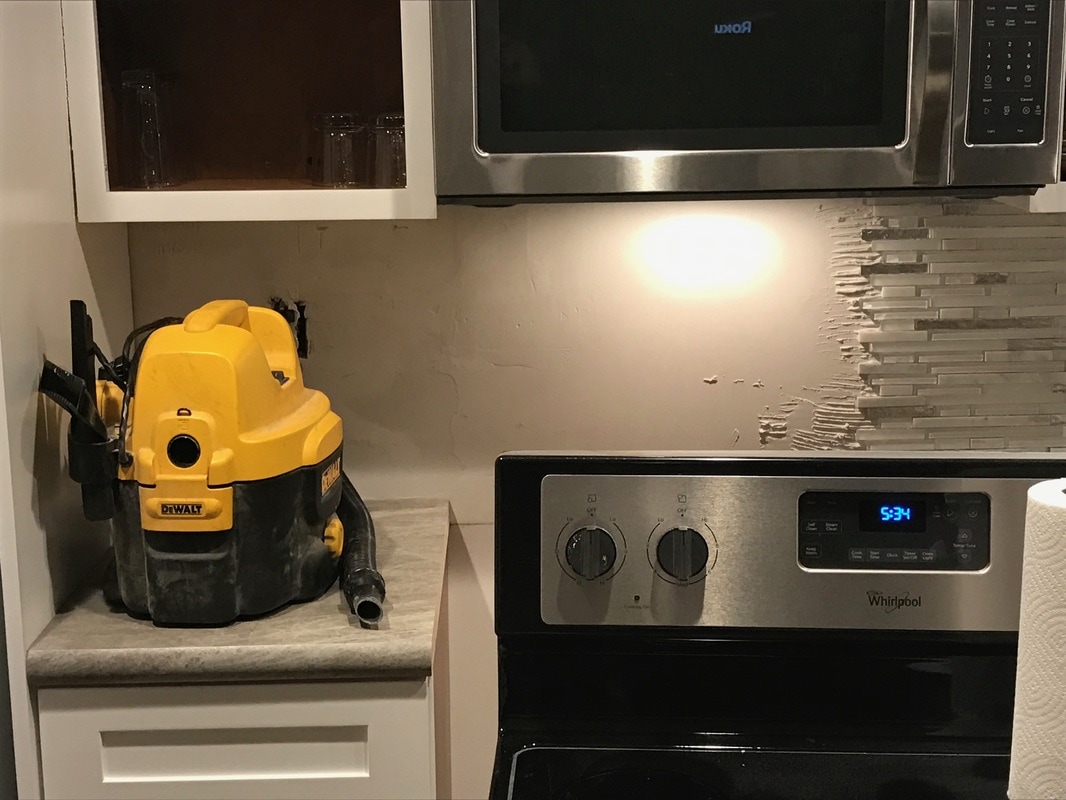 The installation took about two hours, and was more frustrating than originally anticipated (surprise, surprise). The tiles kept slipping down, the cement kept pushing up into the seams, nothing was straight, etc. To say the least, I needed a few glasses of wine to get me through the project. 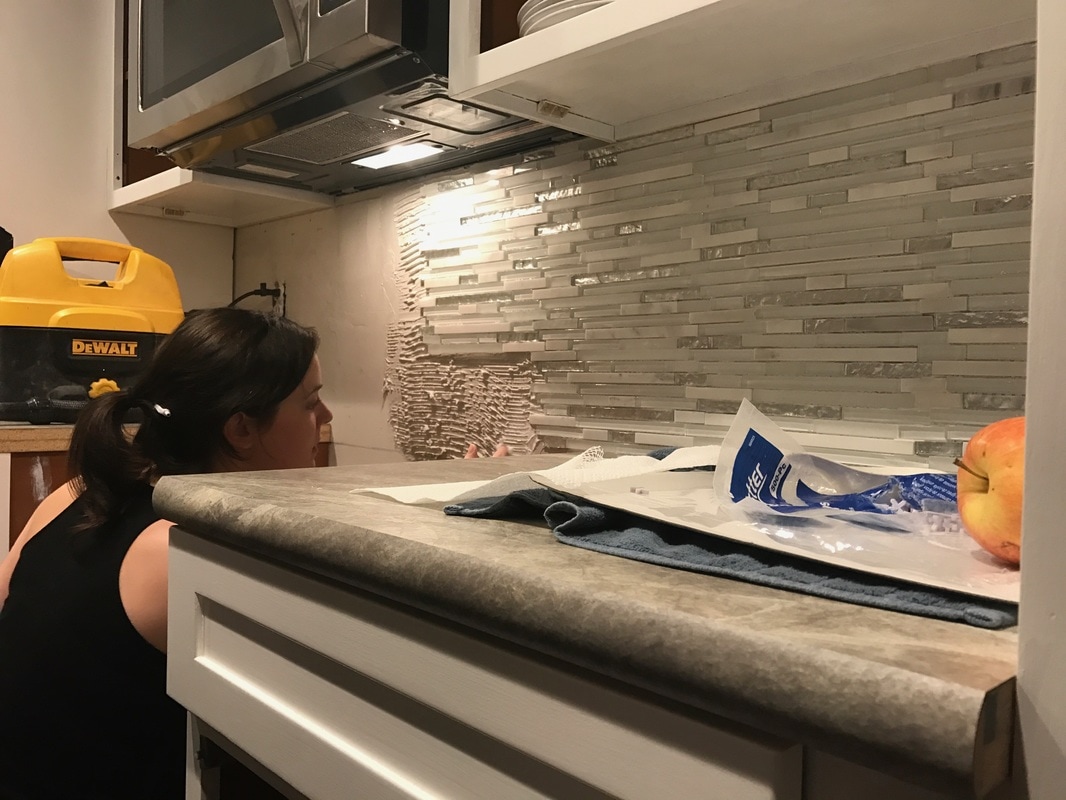 And what kind of project would this be if it was complete? Nope, even three months after installation, we still need to grout the joints ;) Coming soon, I hope... 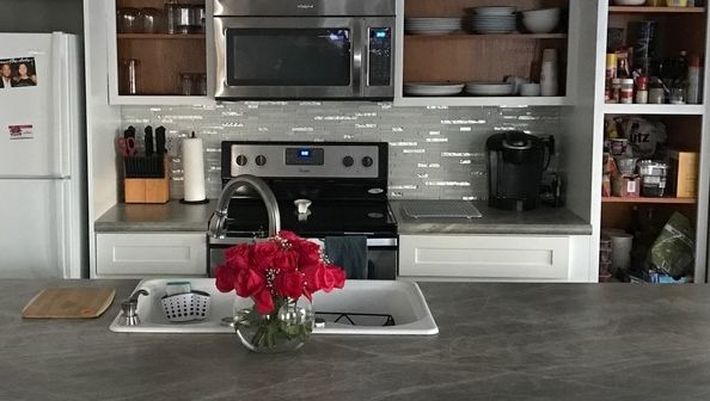 |

about meHi! I'm Lauren! I'm a twenty-something teacher and homeowner in North Carolina. I love math, decorating, and getting down and dirty learning new things about home renovation and repair. Categories
All
Archives
December 2018
|
 RSS Feed
