|
The cat box for my kitties is in the basement, and I've been looking for a cat door (for easier access) since I moved in. I initially bought one from Lowe's, however it had a swinging door on it and I was afraid Boots would be too scared of it and not use it. Then, I searched Ebay and found the most amazing cat door ever: The Kitty Pass. 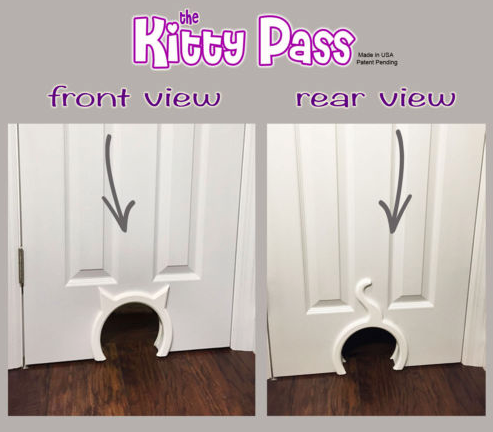 How frickin' cute!!! It came today and I immediately installed it on the basement door. So far, so good! 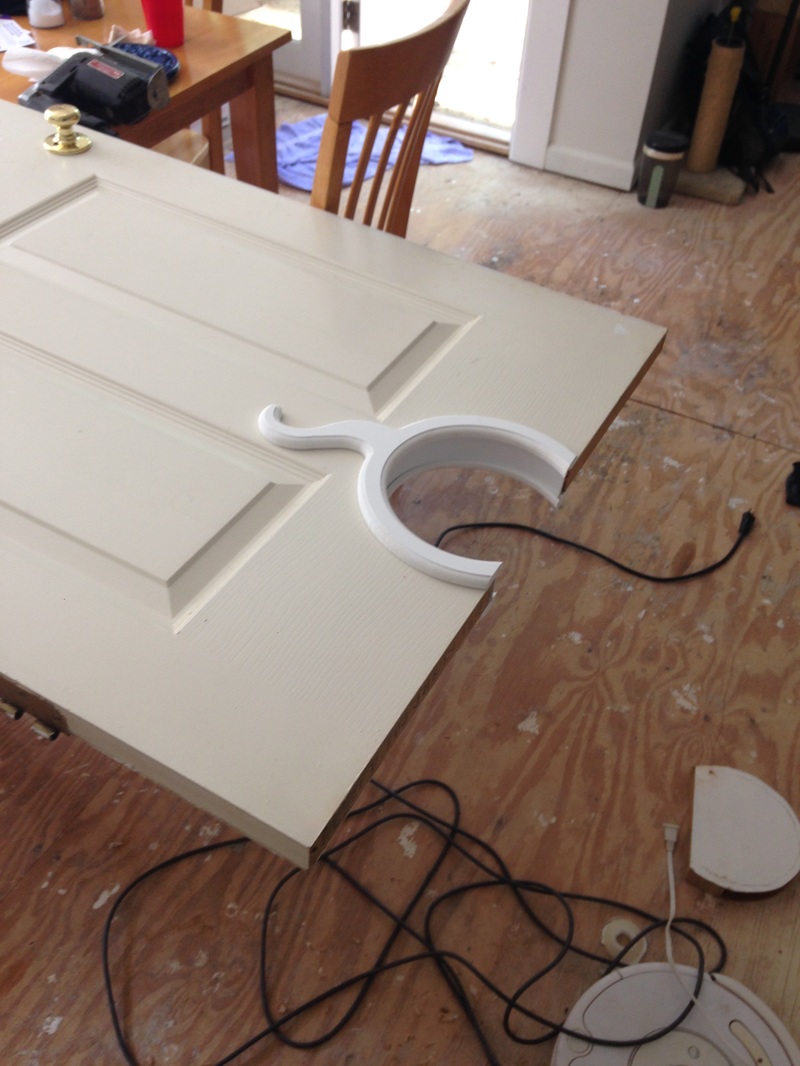 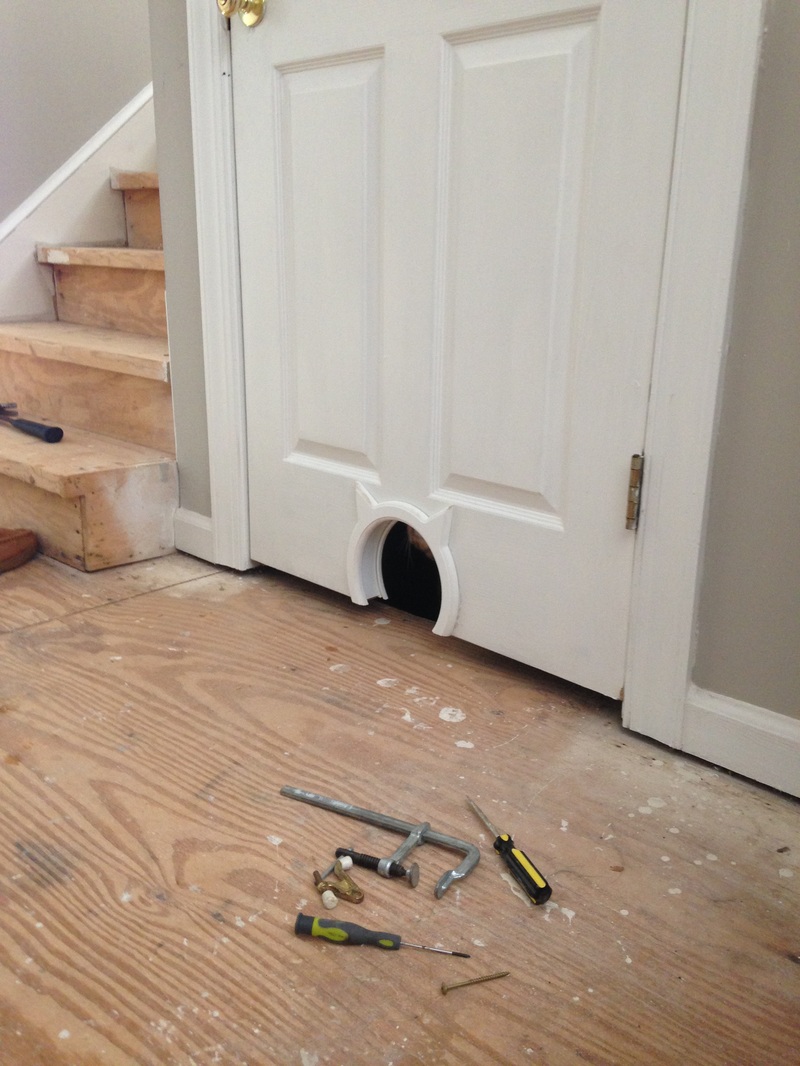 Even Mr. Boots is loving it! 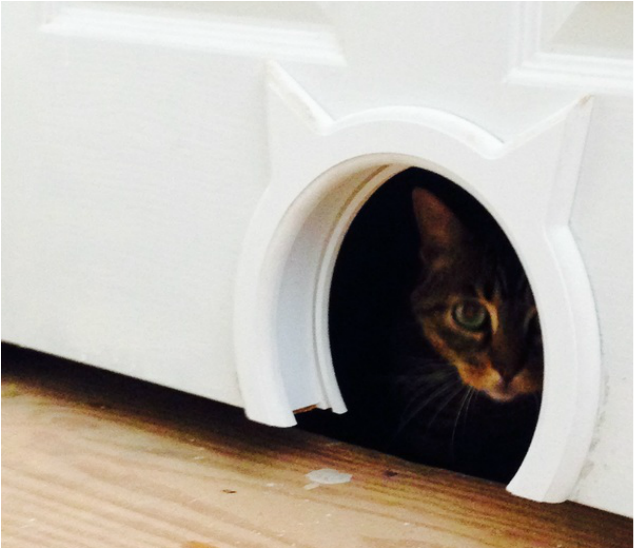
0 Comments
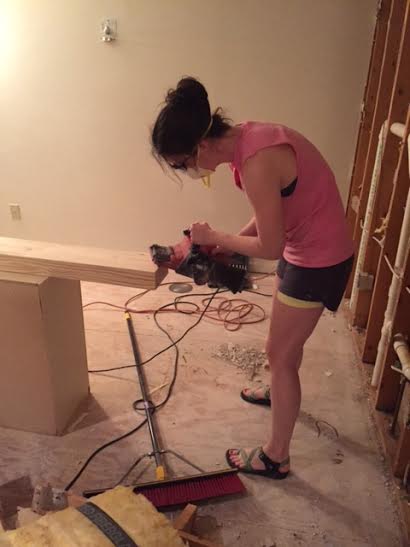
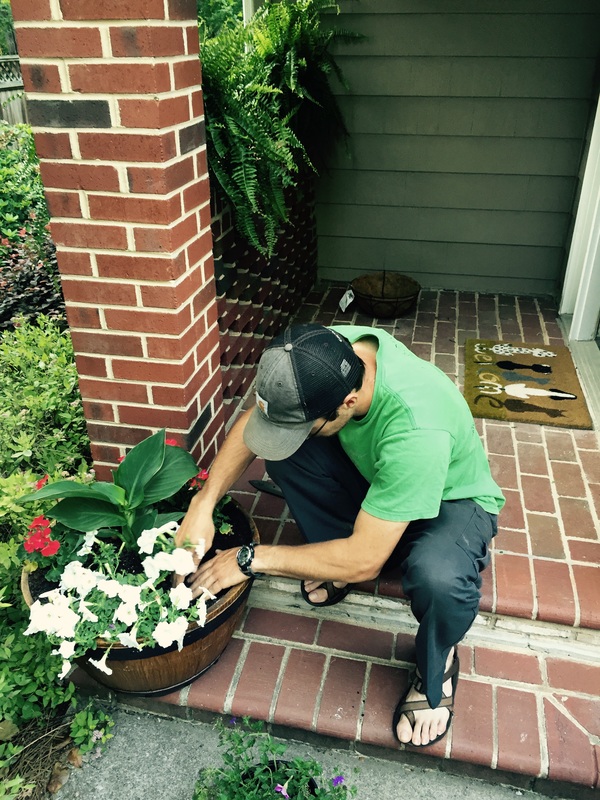
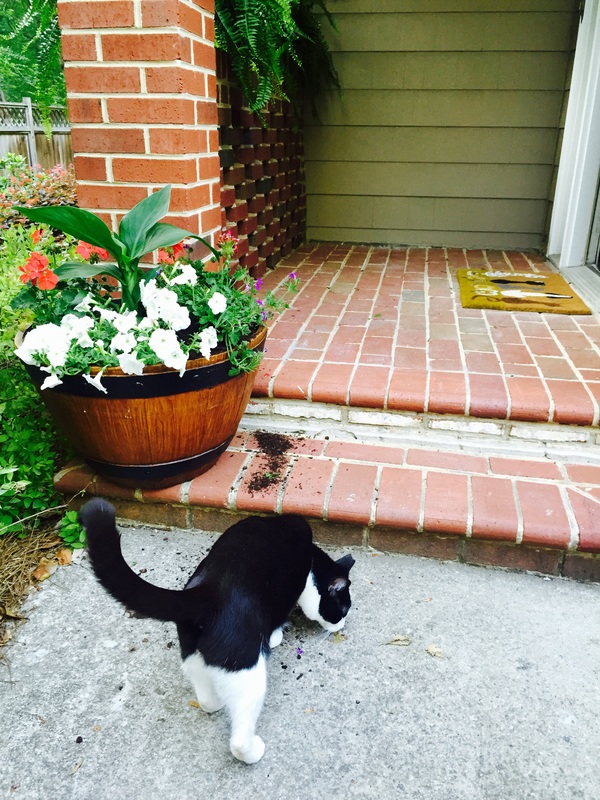
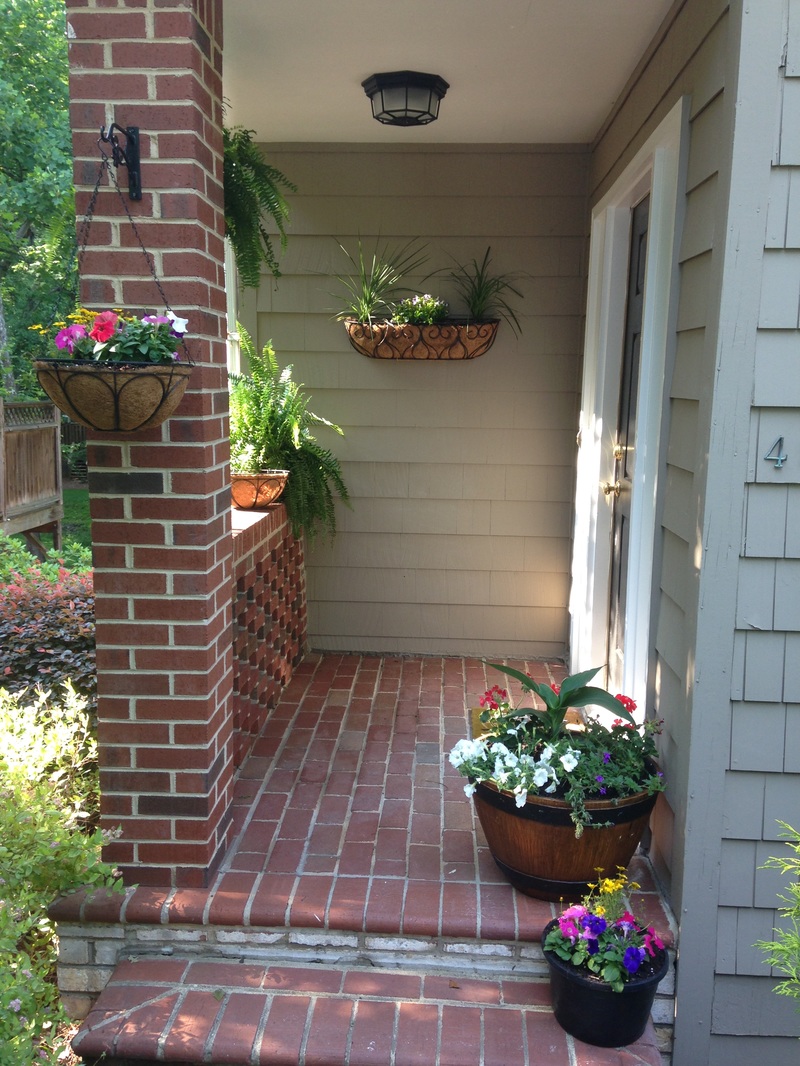
There's a fat man on my mantle, and for the time being, I'm OK with it - because it means I actually have a mantle! 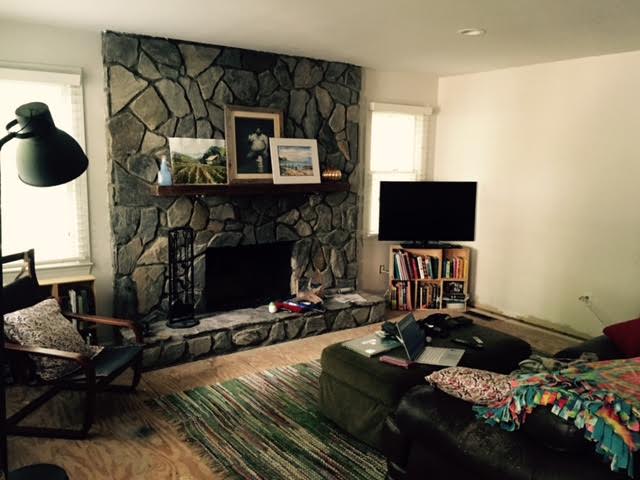 One of my first projects in this house was building my own mantle. I haven't written about it, but I've had the mantle for about a year now (yikes) and it has been sitting in my basement collecting dust... until this weekend! Before we begin, let me recap how (and why) I built my own mantle. 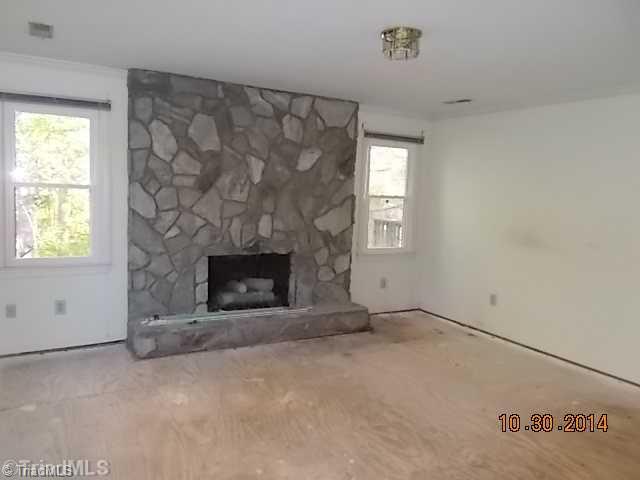 I had a major dilemma with two of my fireplaces (master bedroom and the living room). They are stone, obviously, and when they were installed, the owner never thought to have a couple pieces of the stone protrude out for a mantle to sit on. Or maybe they just never thought, "Hey! It would be a good idea to split this GIANT PIECE OF STONE up with a mantle so that it's not just a GIANT PIECE OF STONE! Let me make sure in my design I incorporate some flat pieces for my mantle to attach to!" Yeah, that never happened. The stone is uneven, thick, and very few places are actually flat enough to attach any sort of anchor. So what to do? Make my own! I really wanted a wooden, rustic, reclaimed look for my mantle without the price of reclaimed barn wood. To get around this, I bought a piece of 2" x 8" x 12' piece of new lumber, cut it into two 6 foot sections, glued and drilled the two pieces together, and sanded the edges down so they were flat (which was a LOT of sanding. A table saw would have made this much easier). What I got was an approximately 3" x 7" x 6' mantle! Brian and I then beat the mantle with nuts, screws, hammers, saw blades... basically anything that was sharp and could cause destruction... and stained it for our finished product. It's awesome (and cheap!!!). The question then became, "How do I attach this to the fireplace?" Great question, which is why I then turned to my trusty friend, Pinterest. I was first inspired by the picture below, and actually went as far as making the attachments, spray painting them black, and attempting to attach them to the fireplace (with the advise from the guys at the Depot). The problem arose when we tried drilling through the stone to attach masonry anchors. Brian and I tried a hammer drill, then we tried a different hammer drill. We drilled about a quarter inch into the stone in about 20 minutes. Simply stated, it wasn't working so we abandoned the project for a year. 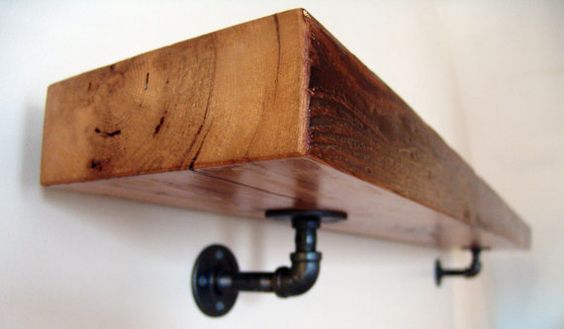 This weekend, for whatever reason, we were inspired again to attempt what seemed to be our futile project. Brian did some more research of hammer drills, and he stumbled across this YouTube video about the differences between a hammer drill and a rotary hammer. Needless to say, we decided to make a trip to the Depot and rent a rotary hammer and attempt the project again. It was like drilling through butter. Yeeessssssss!!!! I also ended up changing my design with the attachments. I decided to go with a simpler design which would allow me to change the mantle easily in the future if I should ever choose. My inspiration picture is below. Basically, the wood just sits on the plumbing nipple instead of being attached to a flange.  With a few more trips back to the store to stock up on more things we needed, we were finally able to securely attach both flanges and hang our mantle. Although I think it might be a little high (we were hoping to put the TV on top of it - not anymore) this is a real wood-burning fireplace and I'd rather err on the side of caution and not worry about my mantle catching on fire. 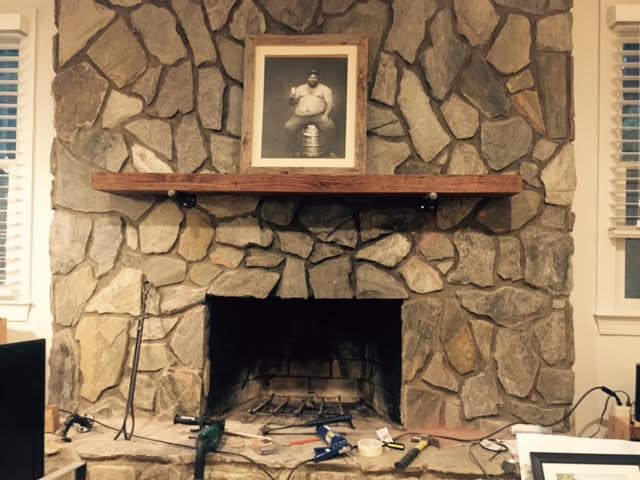 I've been moved in for about a month now, so I figure it's about time that I update the blog again. This weekend's project wasn't a planned one. Brian and I went all over town today just looking for random stuff (nothing in particular), and we ended up back at Lowe's where we stocked up on plants for my front and back porch. Needless to say, I went from a bland entry to a colorful, cheerful, and inviting entrance to my new home! UPDATE: We had to move around my hanging baskets and move one into a pot because they weren't getting enough sun. Here's the new look! |

about meHi! I'm Lauren! I'm a twenty-something teacher and homeowner in North Carolina. I love math, decorating, and getting down and dirty learning new things about home renovation and repair. Categories
All
Archives
December 2018
|


 RSS Feed
