|
Our project the last couple of weeks has centered on getting the master bedroom framed up ASAP. Normally, since the townhouse has three bedrooms, I wouldn't say the master was a priority, however the master bath is located directly above the kitchen. This is an issue because the kitchen currently doesn't have a ceiling. In order to install drywall in the kitchen, the master bath needs to get re-plumbed while the pipes are exposed in the kitchen. In order to re-plumb the bathroom, the framing needs to be installed so the plumber knows where to move all of the pipes. Hope that made sense. This will be kind of a two-part posting. First, let me discuss the framing in the bedroom itself. After we removed the old closet and busted out the tub, I had a giant missing wall between the master bedroom and the master bath. 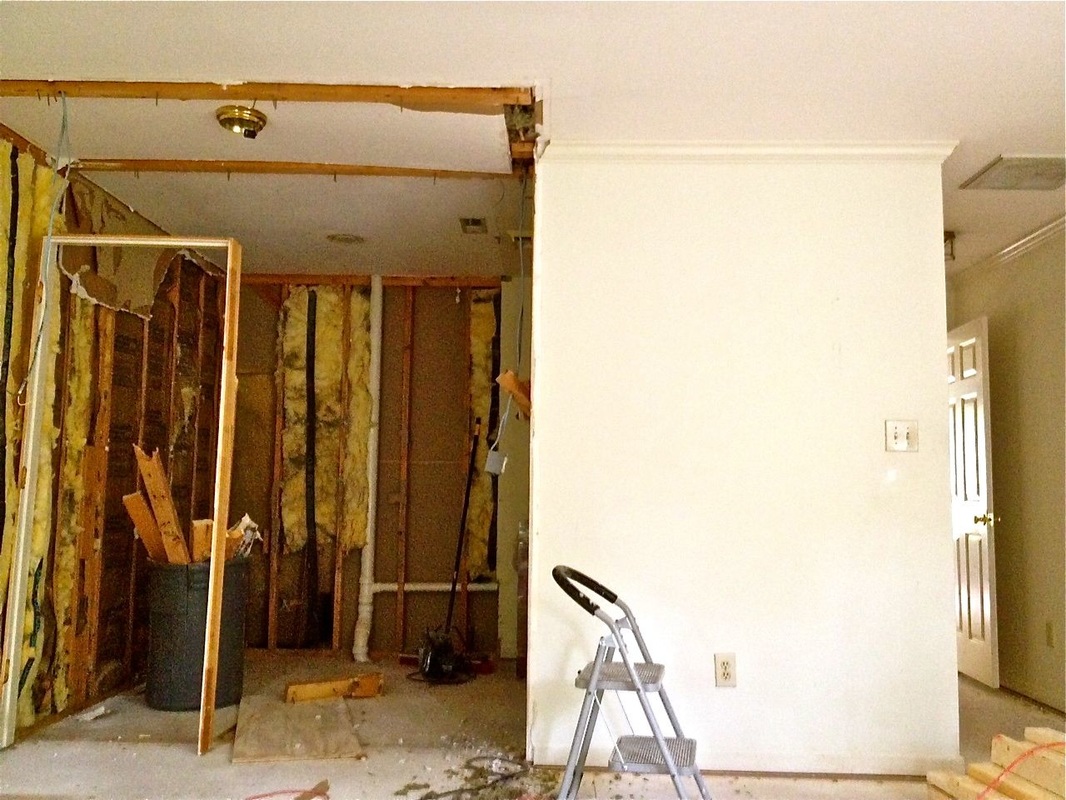
0 Comments
Matthew-the-Awesome was back again today (YIPPIE!) and brought light back into my house! Let me catch you up on the kitchen real quick. No, it is not finished. No, it is not close to being finished. Yes, it is looking pretty good. Before, the kitchen was a galley kitchen (which it still will be), enclosed on basically all four sides. It was tight, confining, and uncomfortable. Now, the kitchen is open to the living room and the dining room, and will have an overhang into the living room creating a breakfast bar area. About two months ago, Brian and I knocked down the shared wall between the living room and the dining room. A couple of weeks ago, I rebuilt the wall (yes, me!) to exactly 34.5 inches tall (cabinet height) so that the countertop would be able to sit on top of the cabinets and the wall, and ultimately overhang into the living room. Unfortunately, I sat straight up in bed one night realizing that I forgot to include the height of the floor (which the counters will sit on top of) when measuring the wall - so I was a half-inch too short. Simple fix - rip half-inch plywood to the width of a 2X4 (which is actually 3.5 inches) and nail it on top. 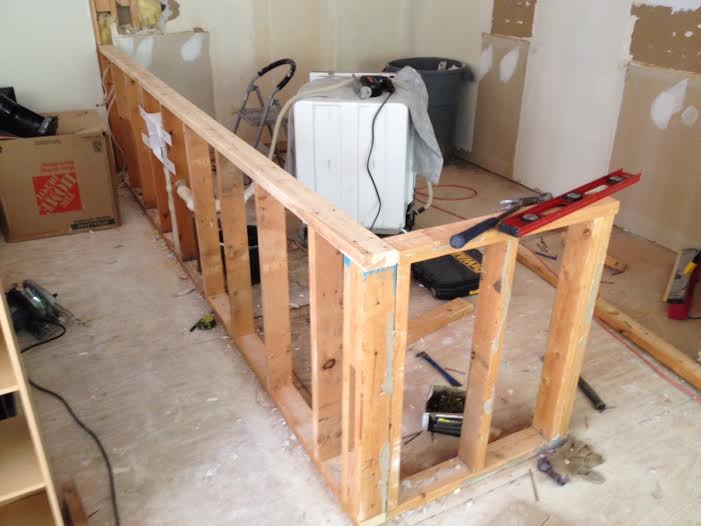 I've been Pinteresting a lot for this house (duh) and stumbled across a lot of DIY forums on building a board-and-batten entry. I loved the look, and honestly, my entry is a bit boring. Brian liked the idea as well, so I gave the project to him to tackle. 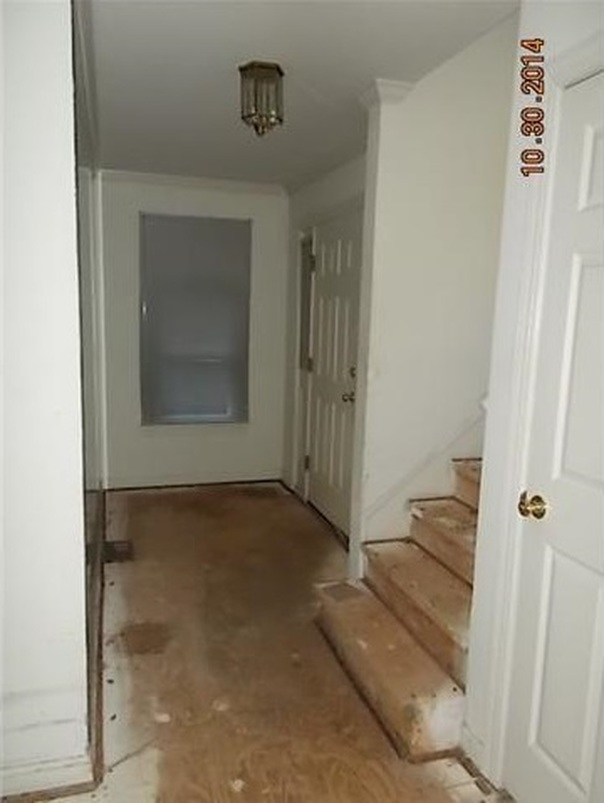 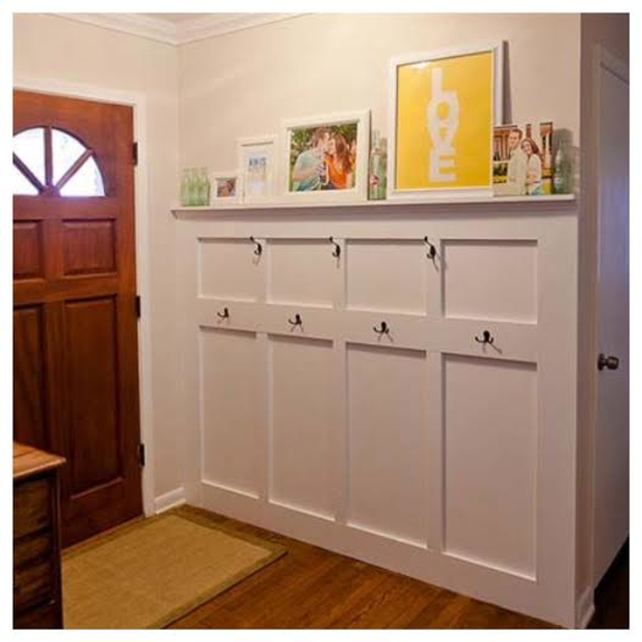 The image above is what the entry basically looks like. Unfortunately, the wall you can't see (to the left) is the wall where the board and batten is going, but you can get the idea. It's a long space - almost 12 feet - that you can't do too much with, so adding some sort of POP right when you walk in the door will just be extra nice. Plus, you have to remember that my whole idea for the house is "beachy-rustic," so this is that beachy element. Below is Brian's "inspiration" picture. This blog also had a great DIY tutorial that helped guide Brian in his measuring decisions.  Using the nail gun for the first time! I love the hooks and the fact that you can put pictures on the mantle, however I didn't like how skinny the middle pieces were, so I asked Brian to increase the middles to four inches instead of three. It took a few trips to the Home Depot, some executive decision on what "product" to use (pine or MDF), but in the end, ours turned out a little patchy but looking good.  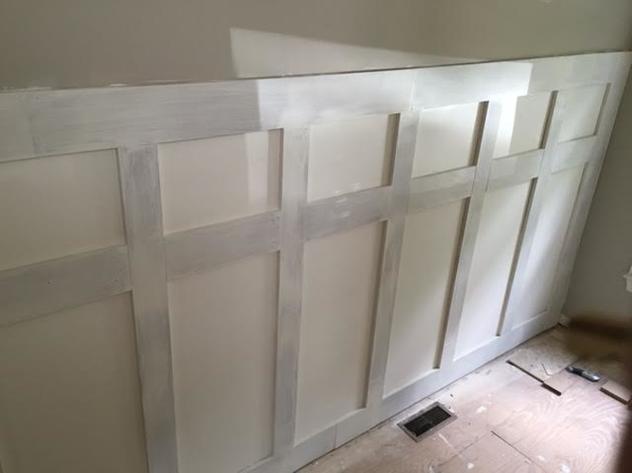 All primed up! 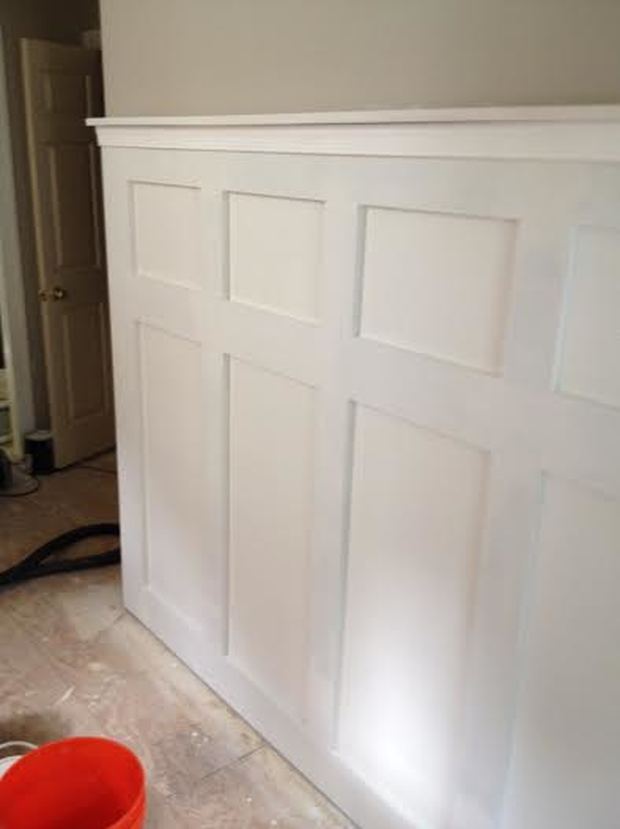 Added a top plate, molding, and a second coat of primer! 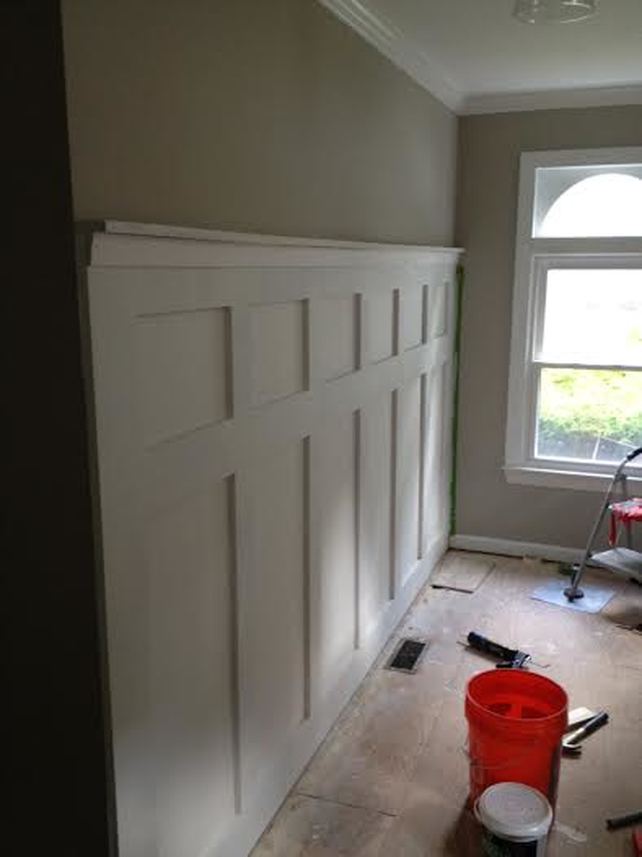 I'm getting a little ahead of myself (we still need to paint and caulk), but I was just too excited to wait on this! I think it's looking great!
Well friends, my first project is officially (kind of) complete! Although this probably shouldn't have taken this long, it's okay because I think the result is great! First, let's recap what the first floor bathroom used to look like: 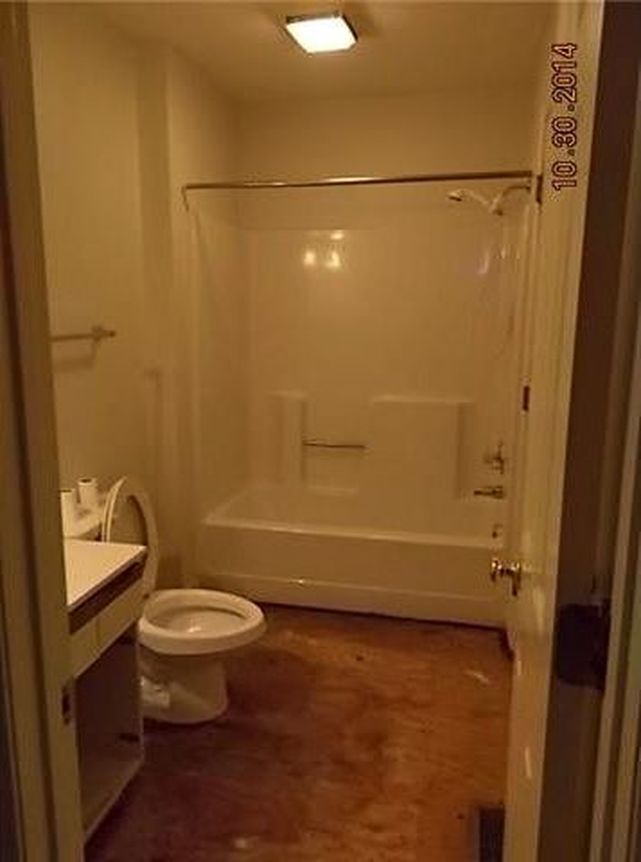 Brian and I then went to Lowe's (I know, Home Depot - I miss you too), and found something a little different - groutable vinyl tile. It didn't match the vanity top either (big surprise), but it was my favorite looking tile by far and Brian's favorite as well. Terry-the-painter-turned-decorator also told us that if the tile didn't match the top, just match the paint to the tile, and that the vanity top should be neutral enough to go with anything. True dat Terry. True dat. After a long debate about if we should use vinyl or not, we went with it, and I think the results are amazing! Bonus - I was able to install and grout the tile all by myself! BOOM! You can't really notice the terriblegrossrottingfloorunderthetoilet in this picture, however you can admire my 30-in tall melamine cabinets! After we repaired the subfloor, I attempted to remove the wallpaper - but failed. It. Would. NOT. Come. Off. So, my philosophy was if it wanted to stay - it will stay. Terry-the-painter told me not to worry - a little oil primer over the entire surface and spackle on the joints should seal the wallpaper to the walls, so let's hope he is right! After we primed and spackled the joints, it was decision time on the floor tile. This is really what held up the bathroom for so long. I probably took home about 20 floor tiles trying to match something to the vanity top. The tiles were either too dark or too light, too busy or too boring, too brown or too pink... you get the idea. 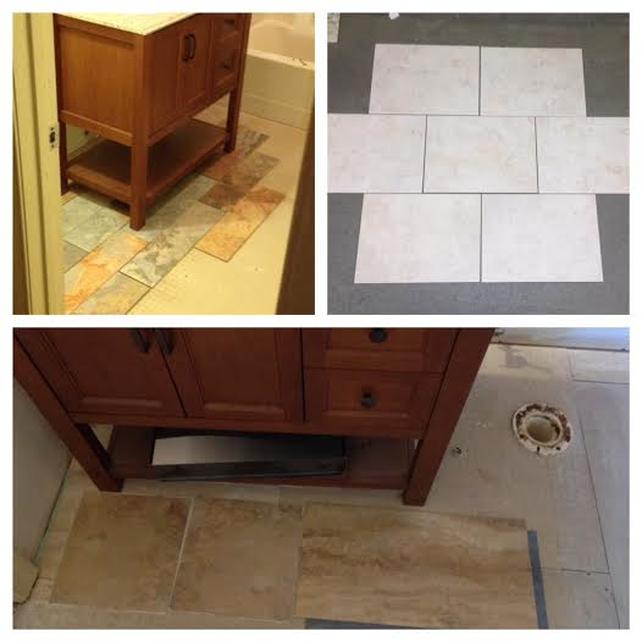 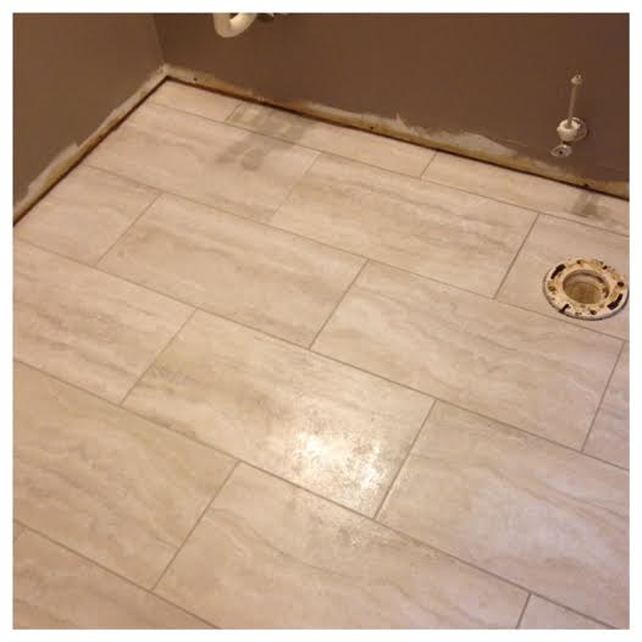 Look at those perfectly cut tiles and straight grout lines! #Mathintherealworld Finally, we reinstalled the floor molding (and did some molding repair), officially installed my vanity (found on clearance from the Depot), hooked up my new faucet, hung my new curved shower rod ($12 at Marshalls), and installed a new soft-close toilet. I still need a mirror, shower curtain, towel racks, etc., but as for the big stuff, I'd say this bathroom is complete! Hurray!   Brian capturing some "Pure Michigan" Brian capturing some "Pure Michigan" Well, I'm back! After a long vacation from the blogging world (I've had to move out of my apartment, take a final for one of my summer Master's courses, drive to Michigan, and maybe take a breath for a second, drive back to North Carolina, oh and still renovate a house), I am finally back with a few updates. First, I bought some fixtures and learned how to install a light! Brian took the liberty to show me how to connect the electrical, and then went on to install my new ceiling fan. You can purchase my hallway lights and ceiling fans from the Home Depot. 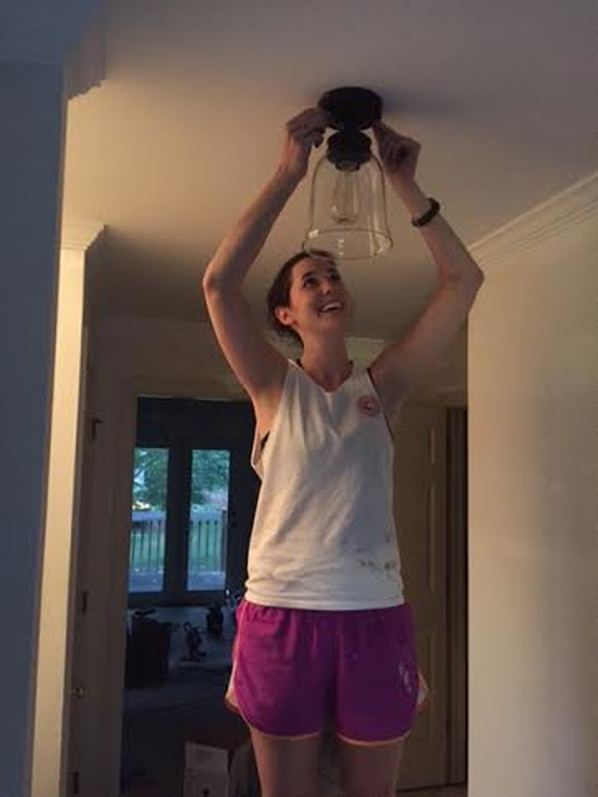 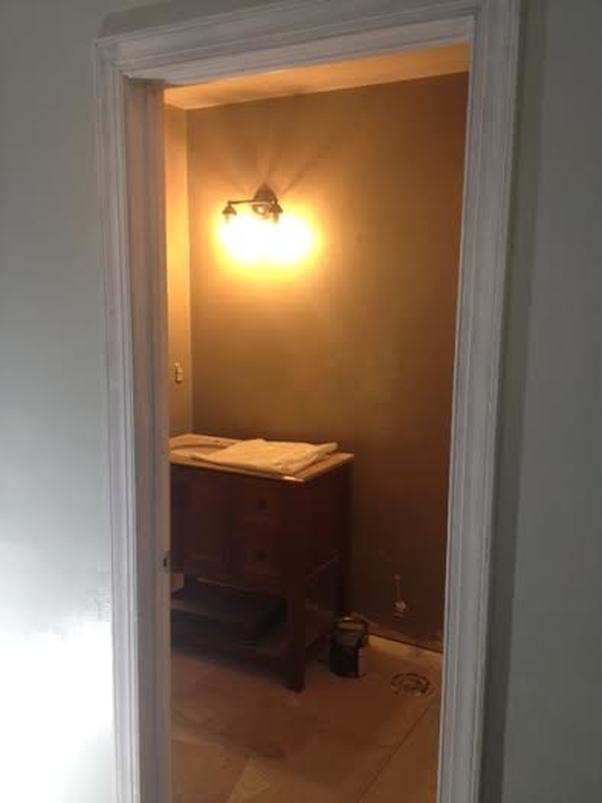 Downstairs bathroom - Sherwin Williams "Pewter something..." The painting is almost complete for the five areas that can actually be painted at the moment (downstairs bedroom and bath, upstairs bedroom and bath, and the hallway). The trim still needs to be done, so just overlook that for now. 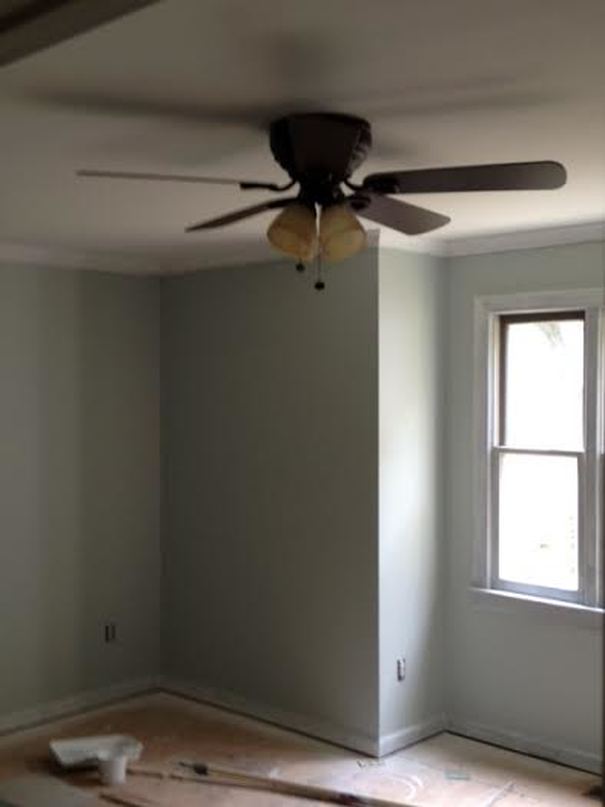 Downstairs bedroom - Sherwin Williams "Sea Salt" (notice my new fan!) 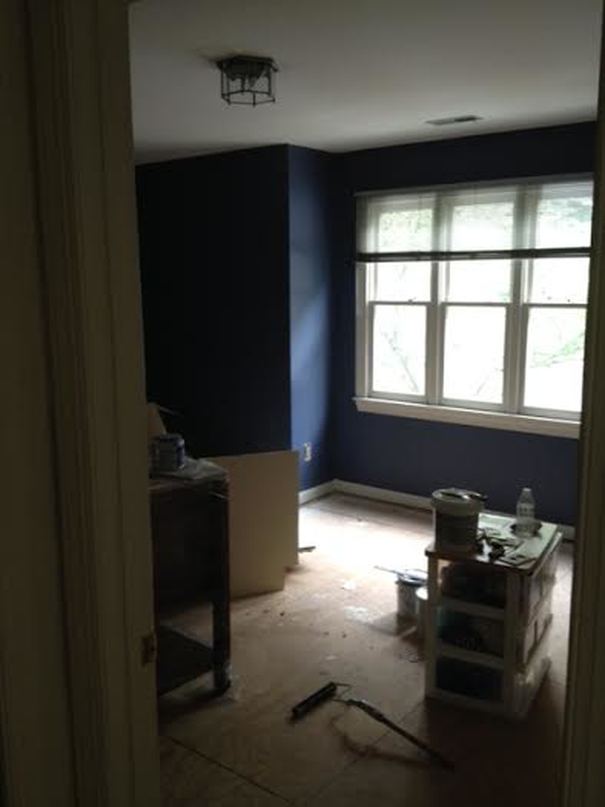 Upstairs bedroom - Sherwin Williams "Distance" 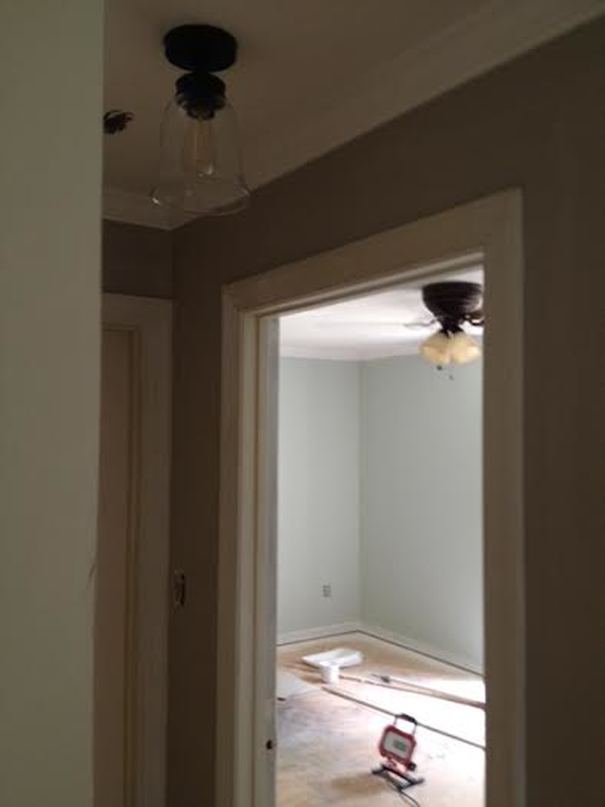 Downstairs Hallway - Sherwin Williams "Anew Grey" Also, the Thursday before I left for Michigan, my house was really feeling like an actual job site. My students volunteered themselves to destroy my master bathroom (they finished removing the cement board from the walls, sawed out the bathtub, and chopped down more of the closet), Terry-the-painter spackled his heart out, and the plumber, electrician, and handyman all came by to work on miscellaneous stuff. 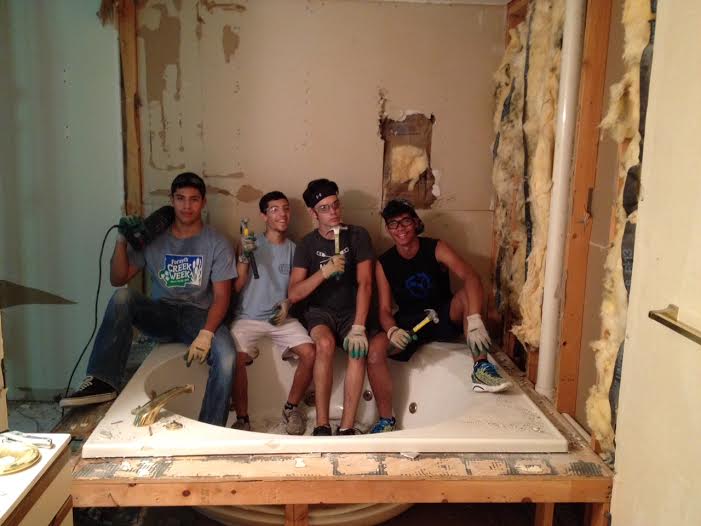 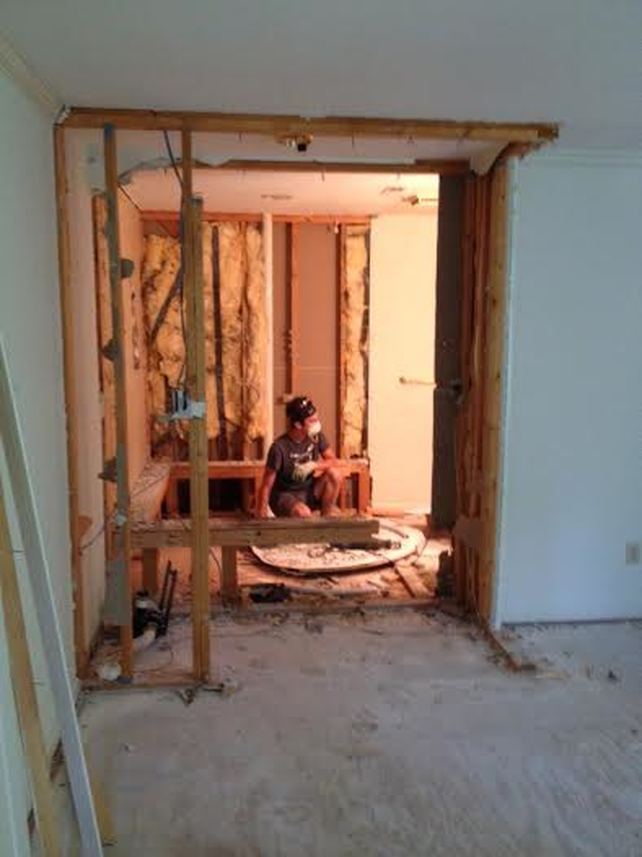 Goodbye master closet... and bath! 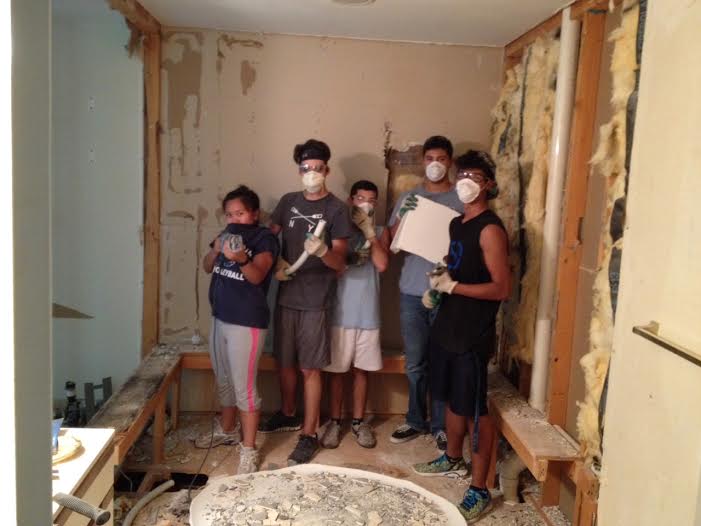 And, a little sneak-peak of my first floor bathroom and the tile I just installed (yes, all me!!). 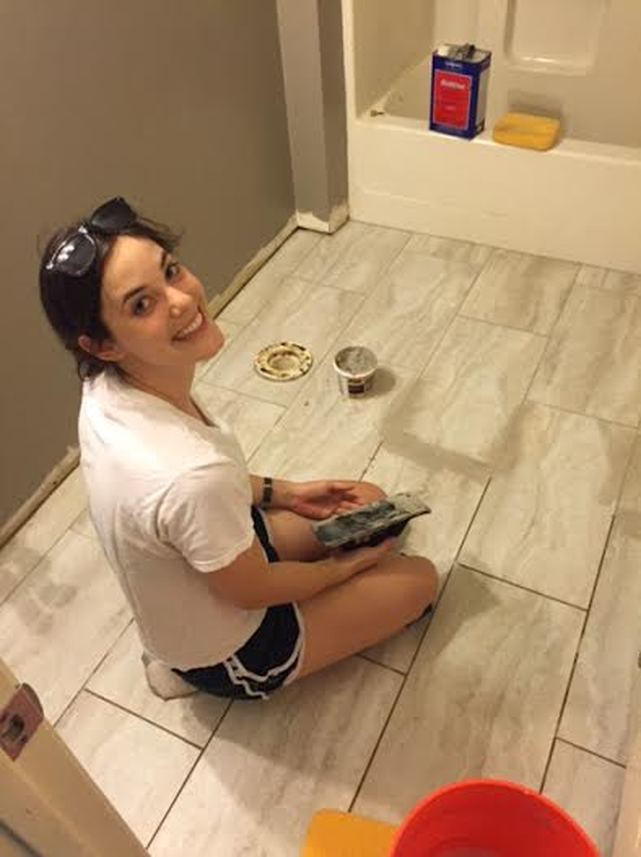 |

about meHi! I'm Lauren! I'm a twenty-something teacher and homeowner in North Carolina. I love math, decorating, and getting down and dirty learning new things about home renovation and repair. Categories
All
Archives
December 2018
|
 RSS Feed
