|
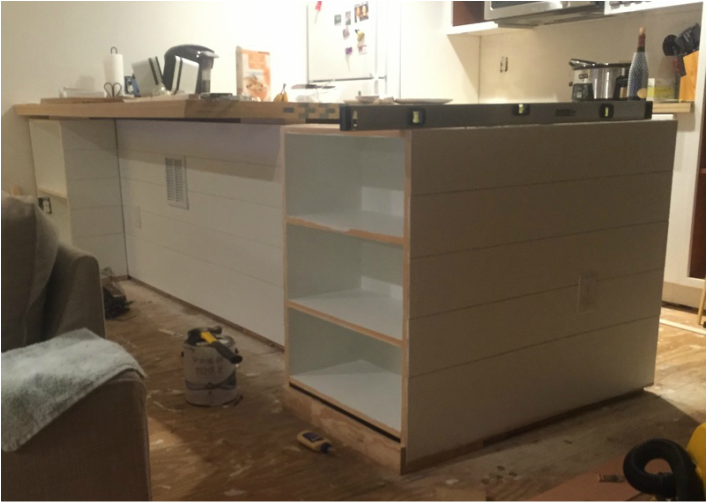
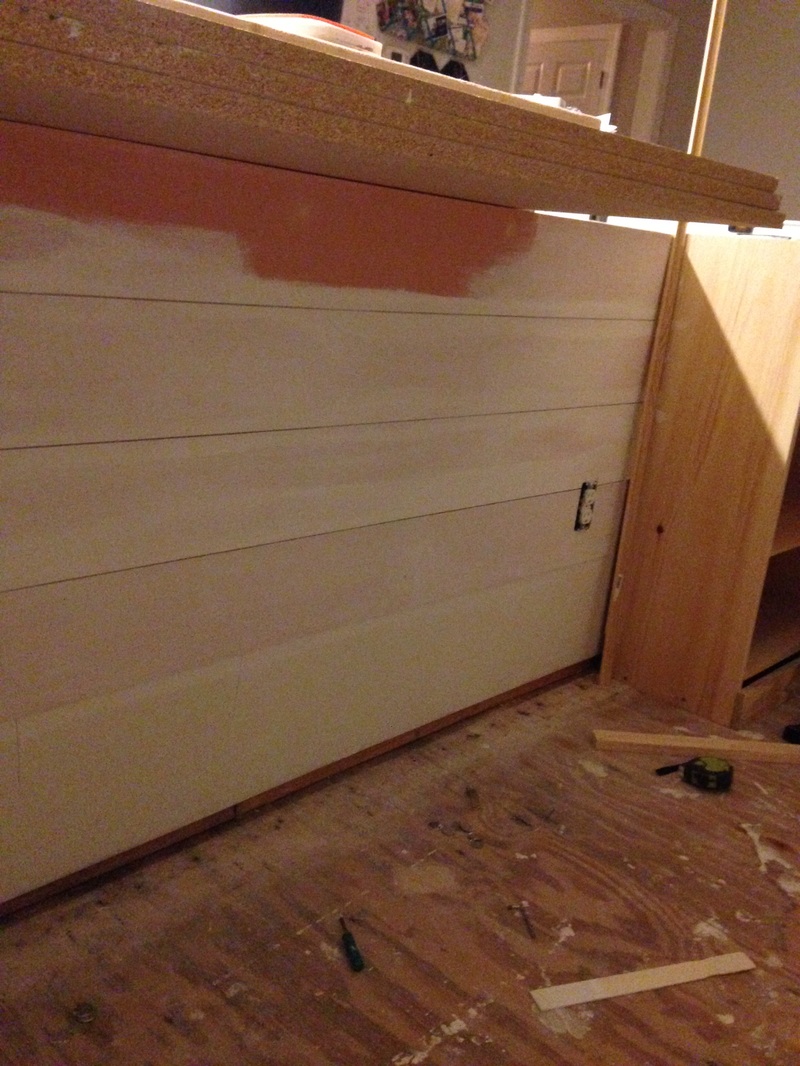
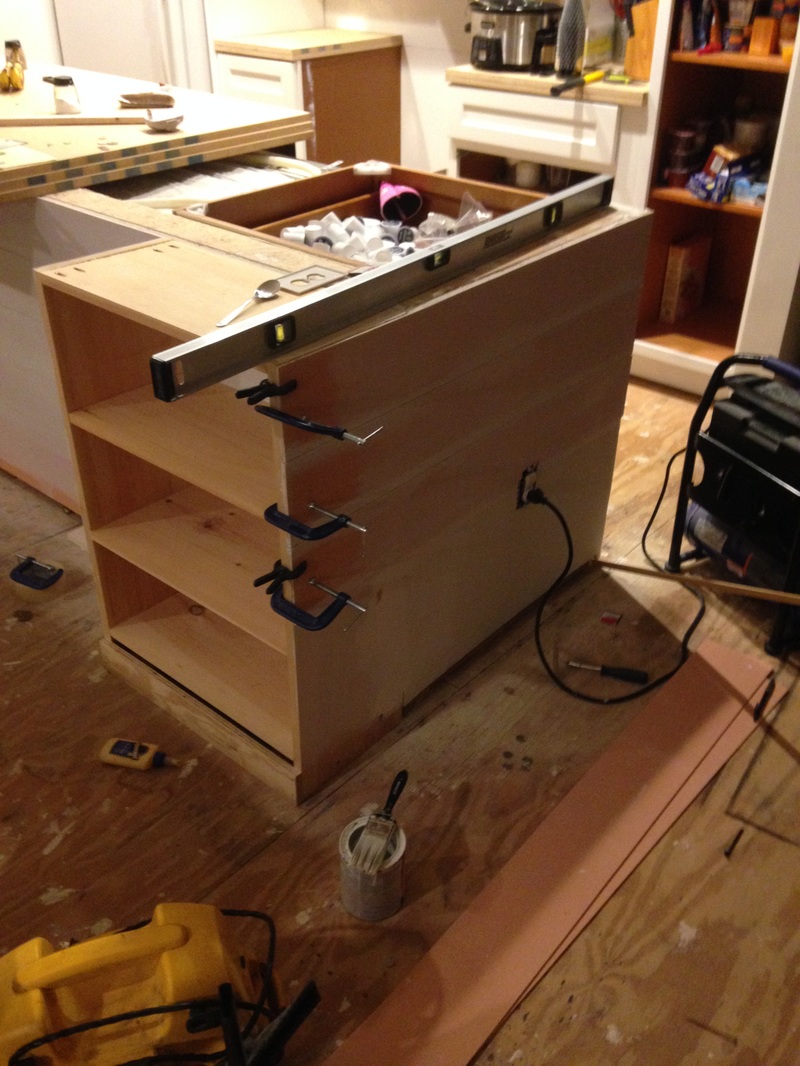
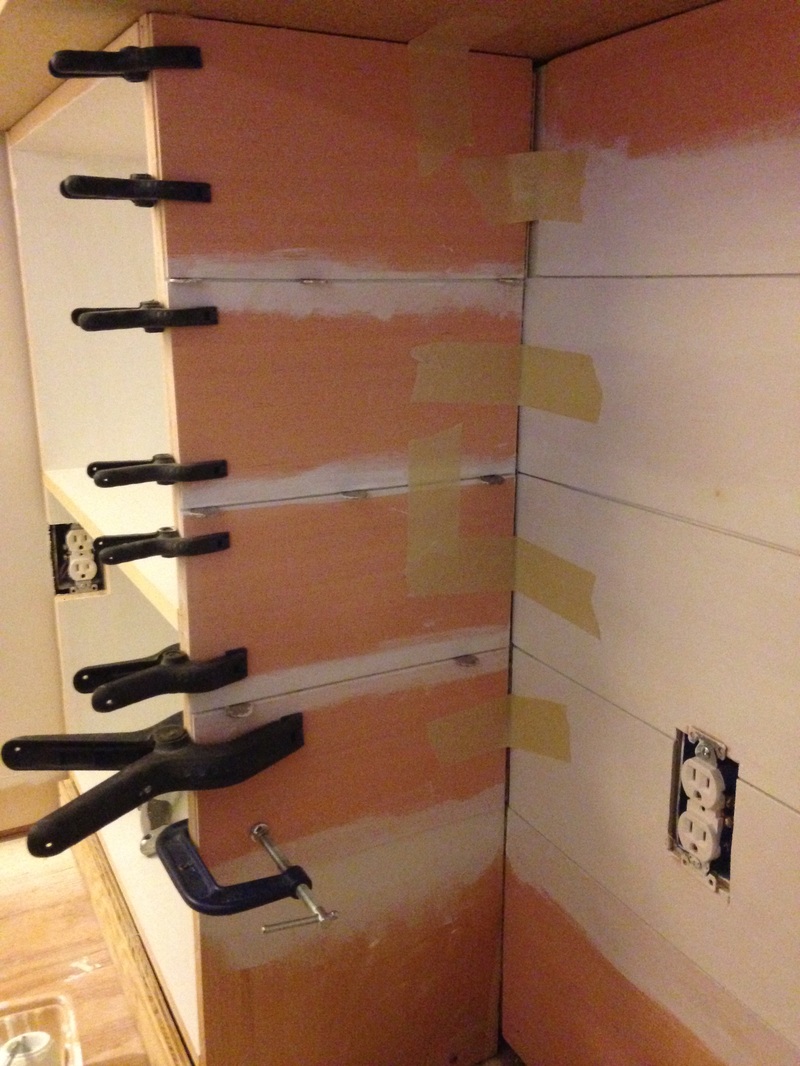
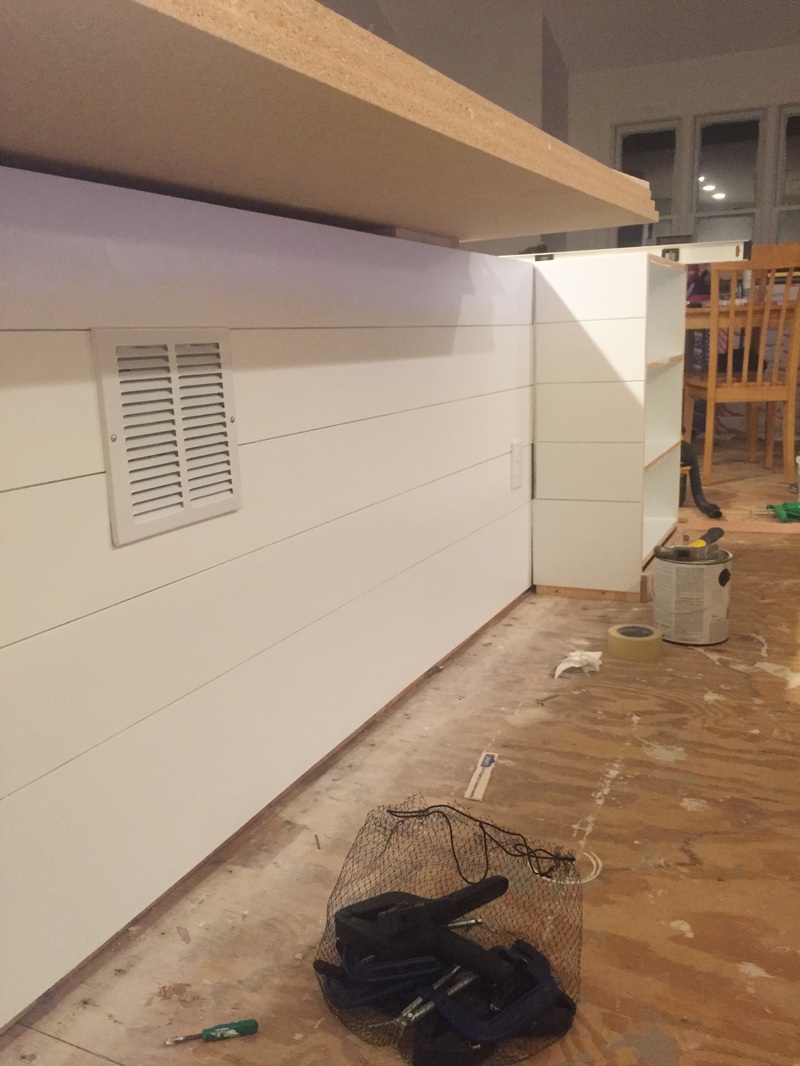
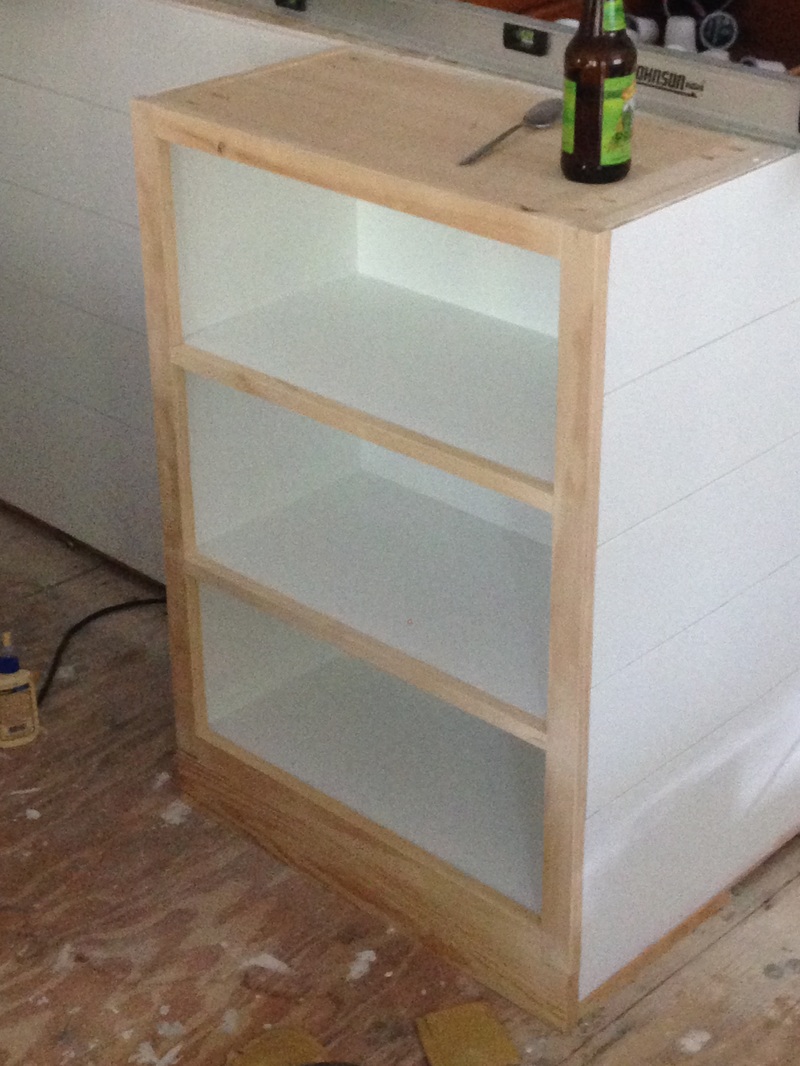
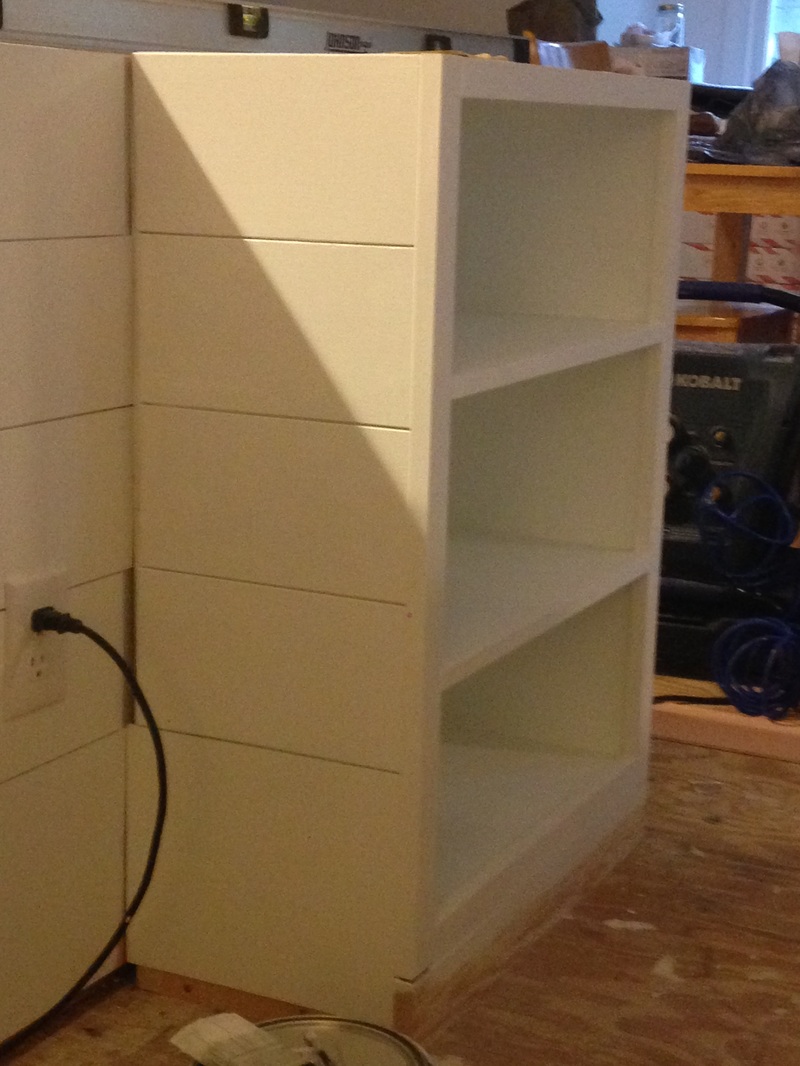
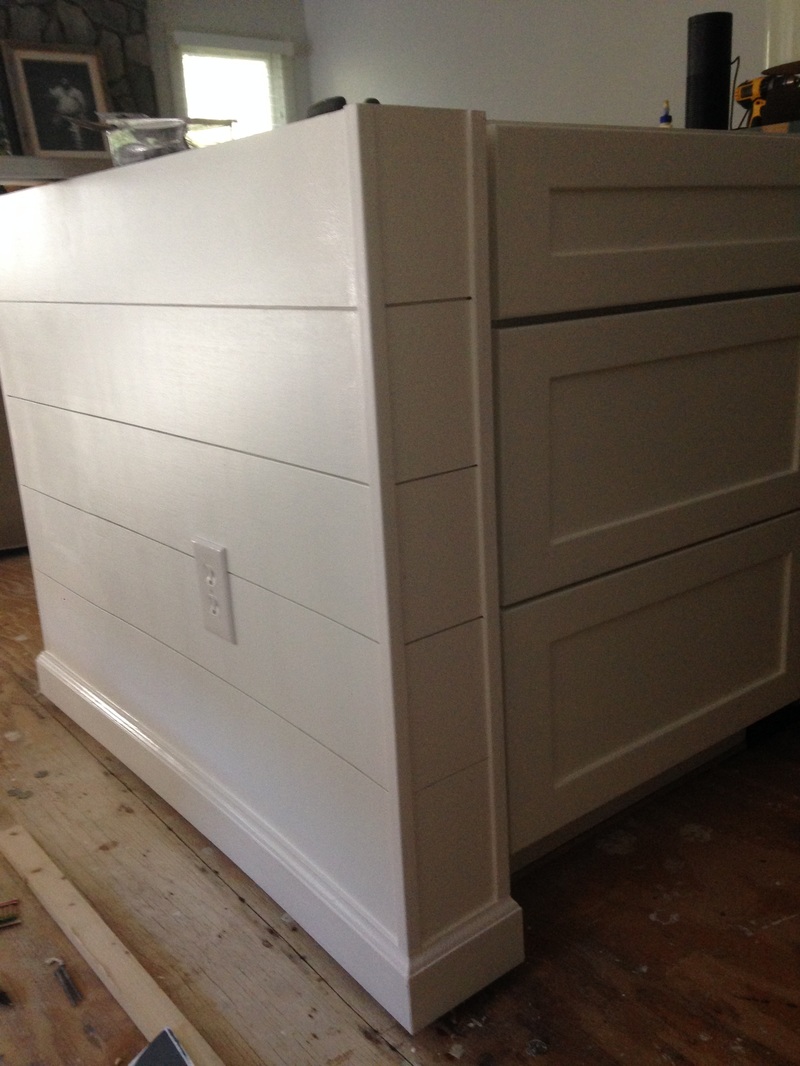
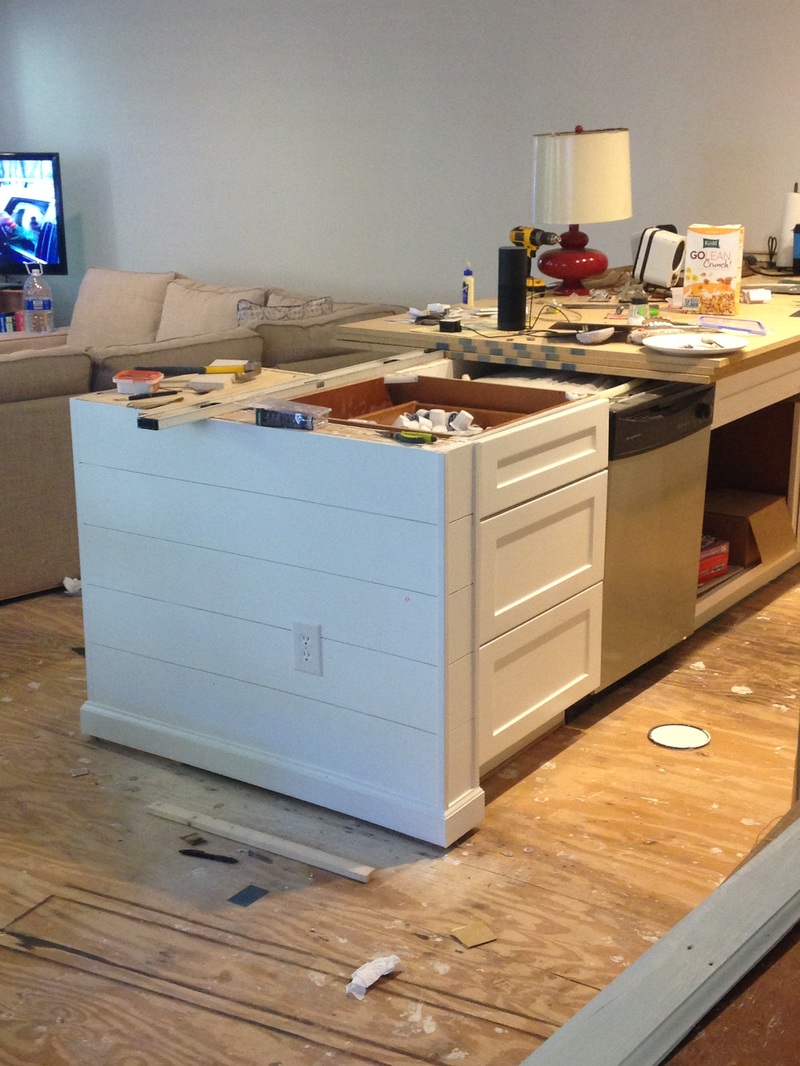
The floors are going to be installed in a few weeks, and to prep for them, we have to make sure the trim work is ready to go. This has forced me into project mode, which I actually really like :). So, the current project is finishing the kitchen peninsula. Here's a quick reminder of what we started with: 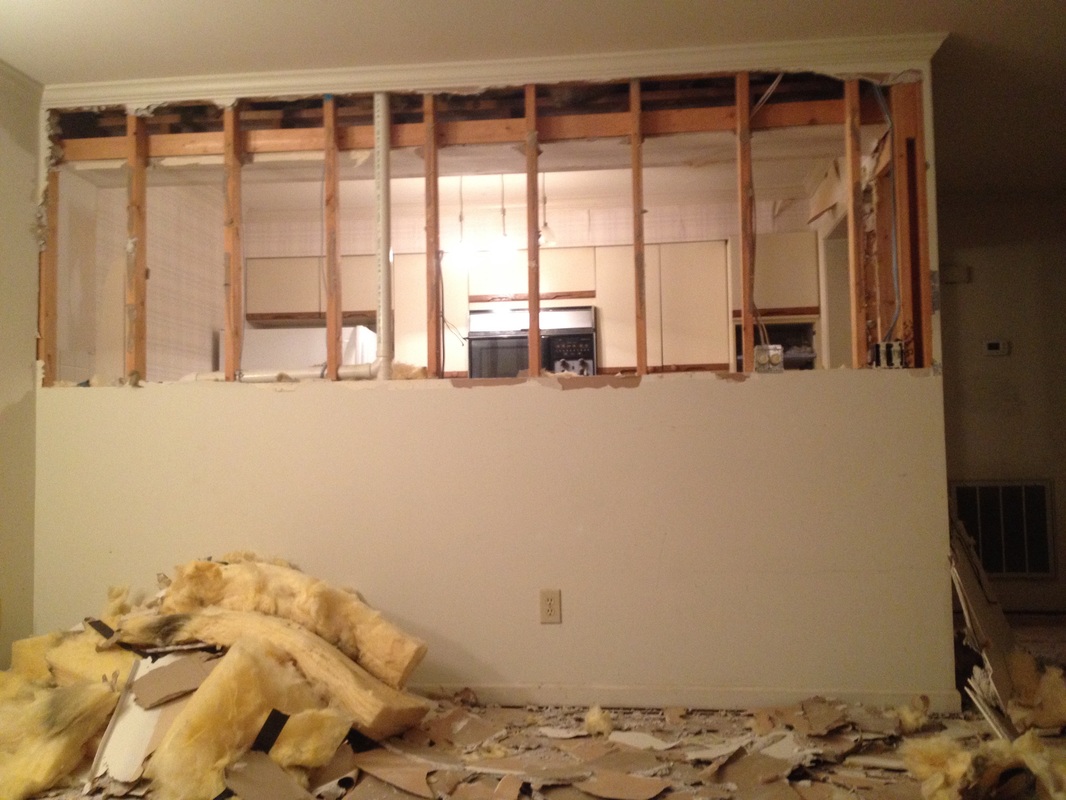 Then this:  That is probably the cleanest the kitchen has ever looked! Dreams! Well, you should notice there is no base moulding and the bookshelves kind of stick out like a sore thumb. I decided the only way I could really blend them in was to add some DIY shiplap. I'll let you all google the how-to and just show you my pictures of the process. 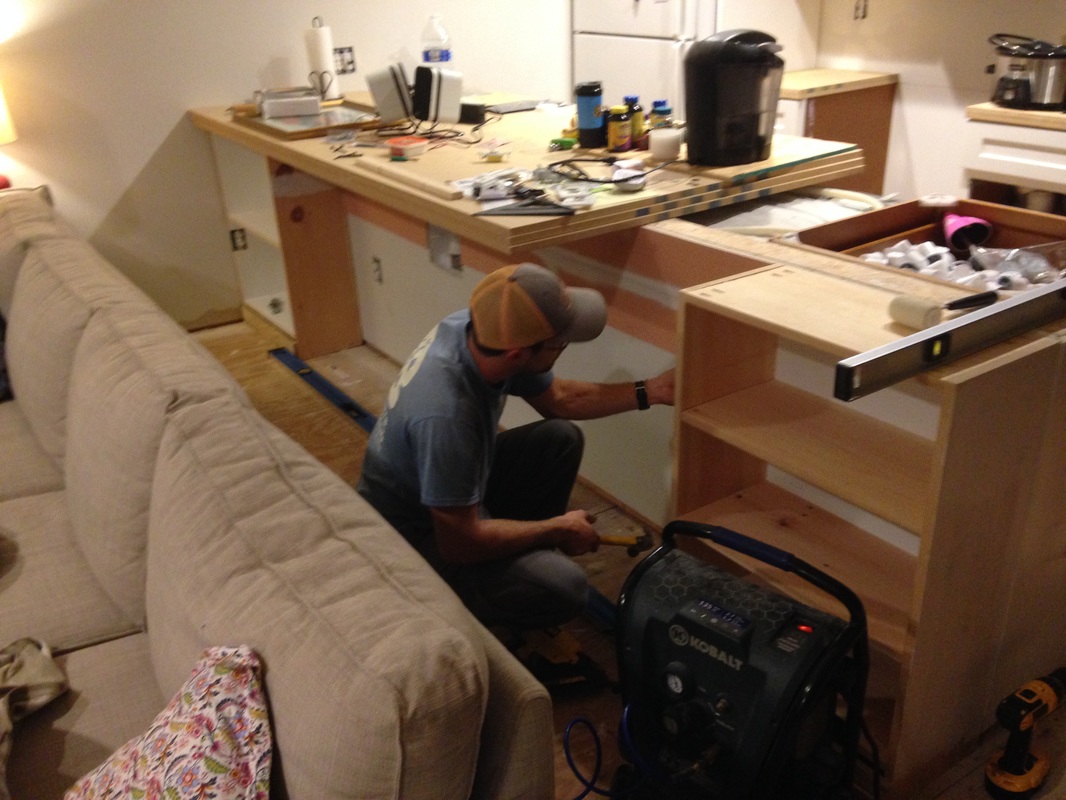
And now with moulding, trim, and paint! 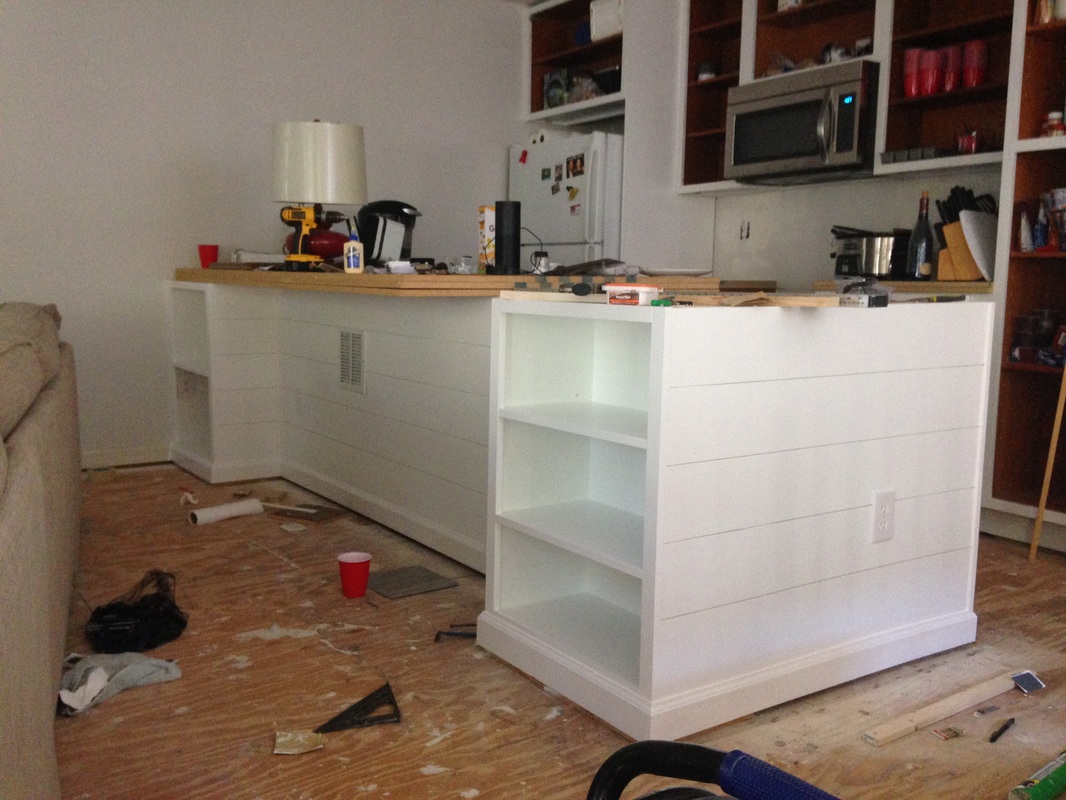 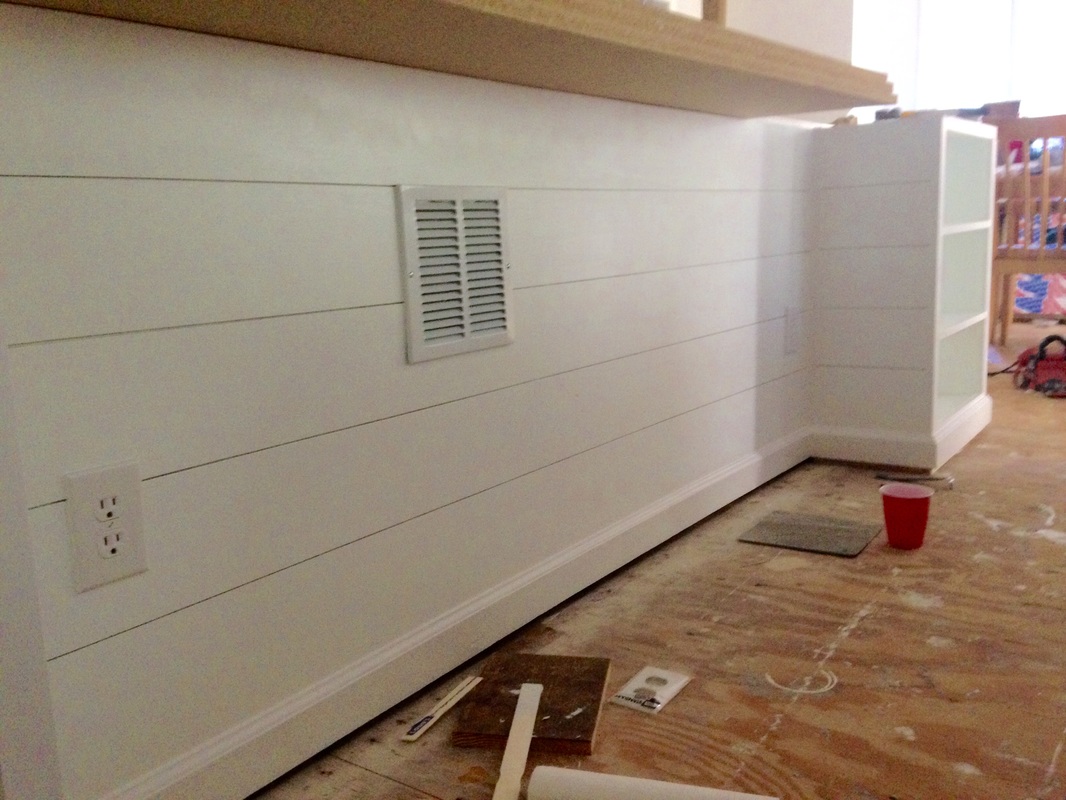 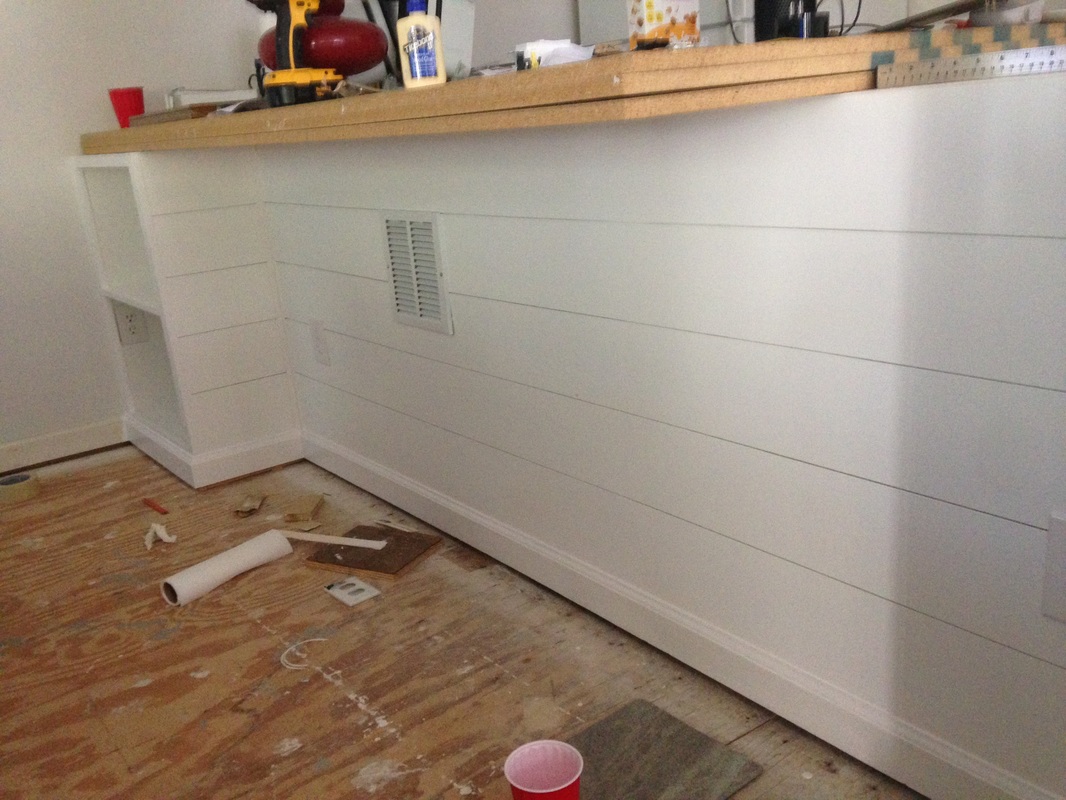
Now all I need is a countertop and I'll be all set!
0 Comments
So this has been a long time coming, but I've finally taken pictures of my stairs. I have to say I am SO HAPPY with the way they came out. A few things real quick and then I'll get to the pictures: The Stain: I used Mixwax prestain for all of the stairs because they are pine. Next, I applied one coat of Minwax Honey, let that dry for a few hours, and then applied a mixed stain of Minwax Special Walnut and Minwax Dark Walnut. I tried my best to match it to my laminate floors, but I'm not sure I made it a perfect match. Oh well - they look great anyways! I applied three coats of Minwax polyurethane to finish them off. How to Attach: I used Liquid Nails on the stringers and the plywood risers, and then predrilled (with a countersinking bit) two holes per side and attached the wood with 2.5 screws. I then bought and stained plugs that fit the holes and hammered them into place. For the curved stairs, I just applied a TON of liquid nails, used sandbags for extra weight, and then used a nail gun to securely attach them. 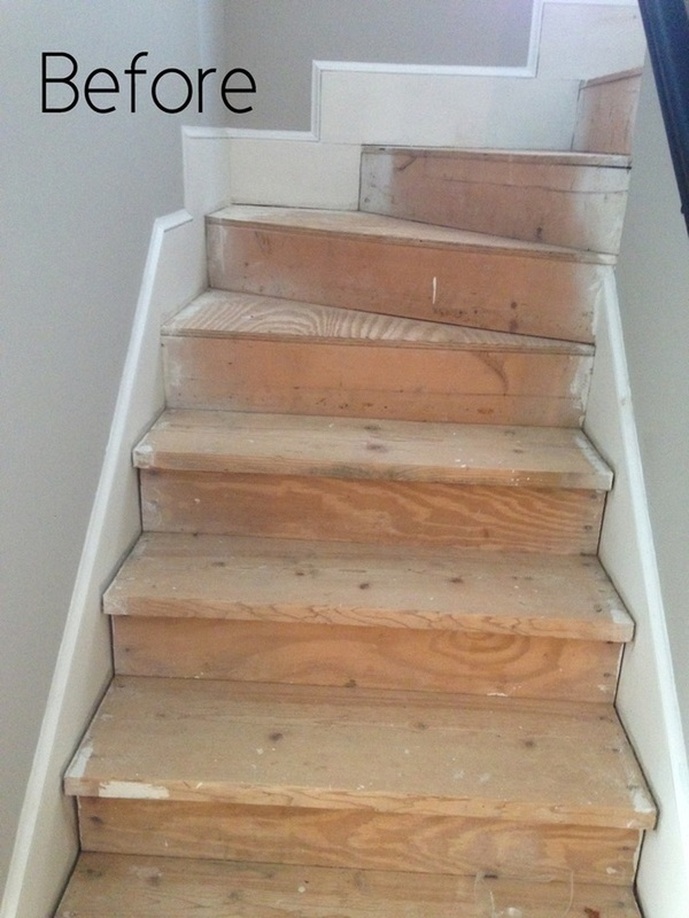 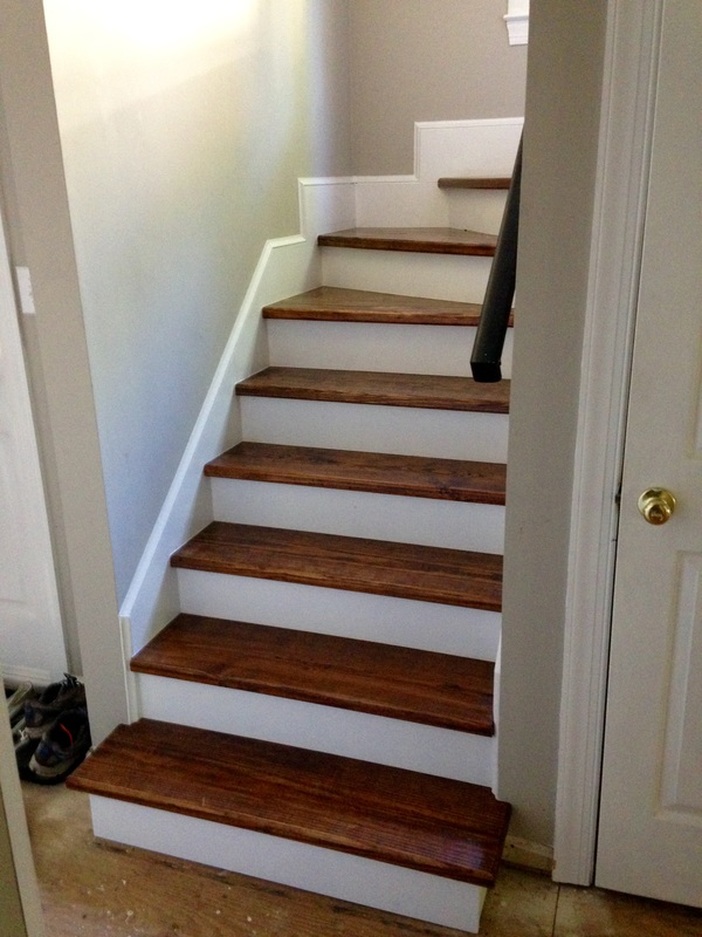 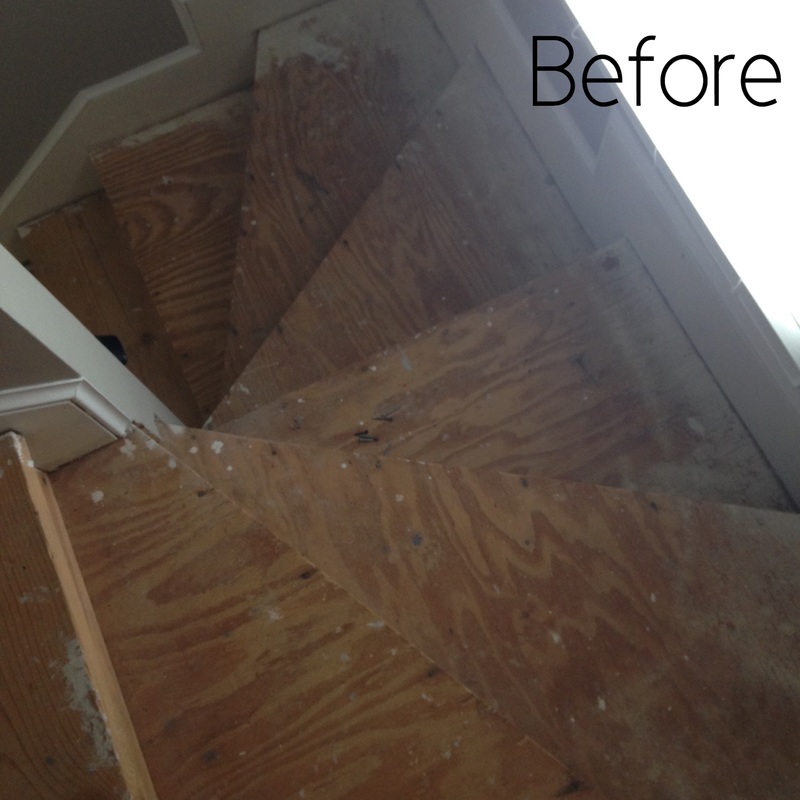 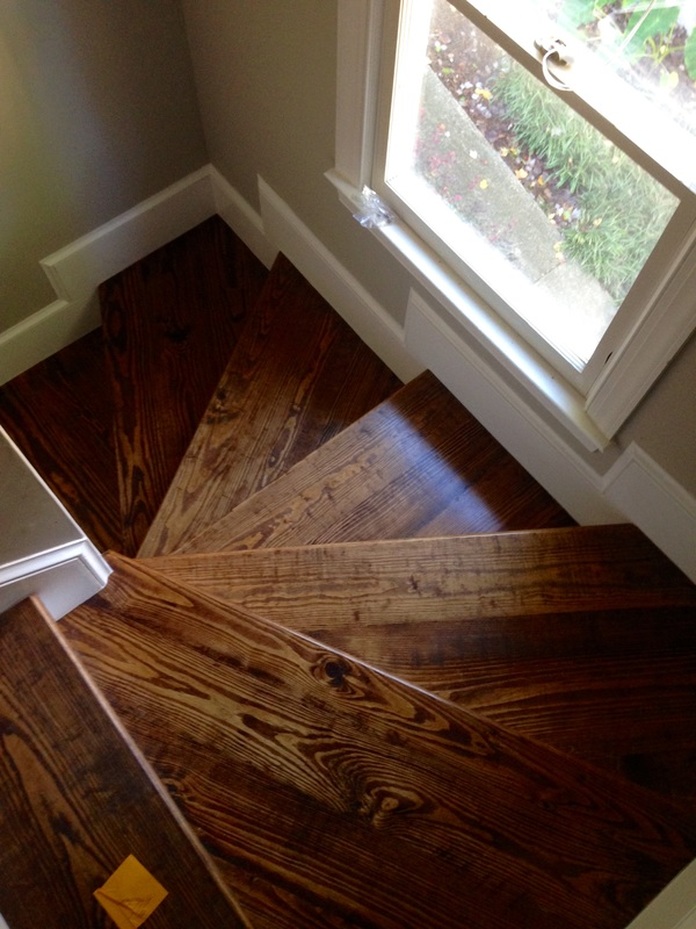 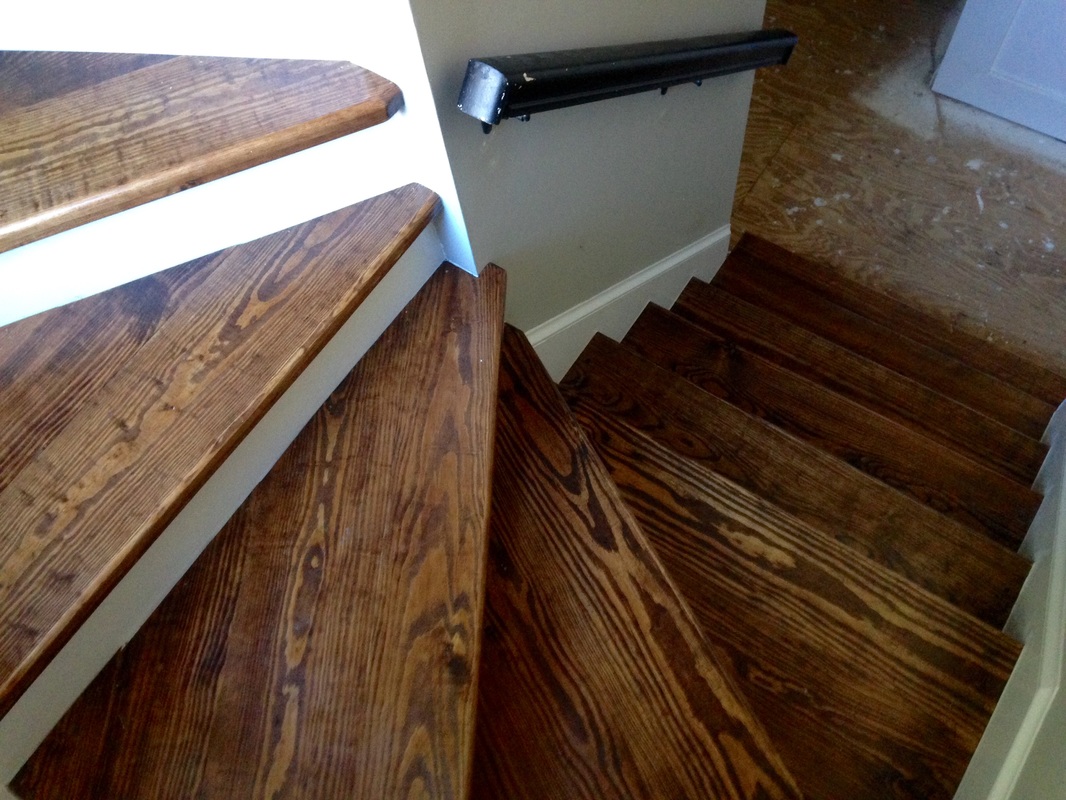 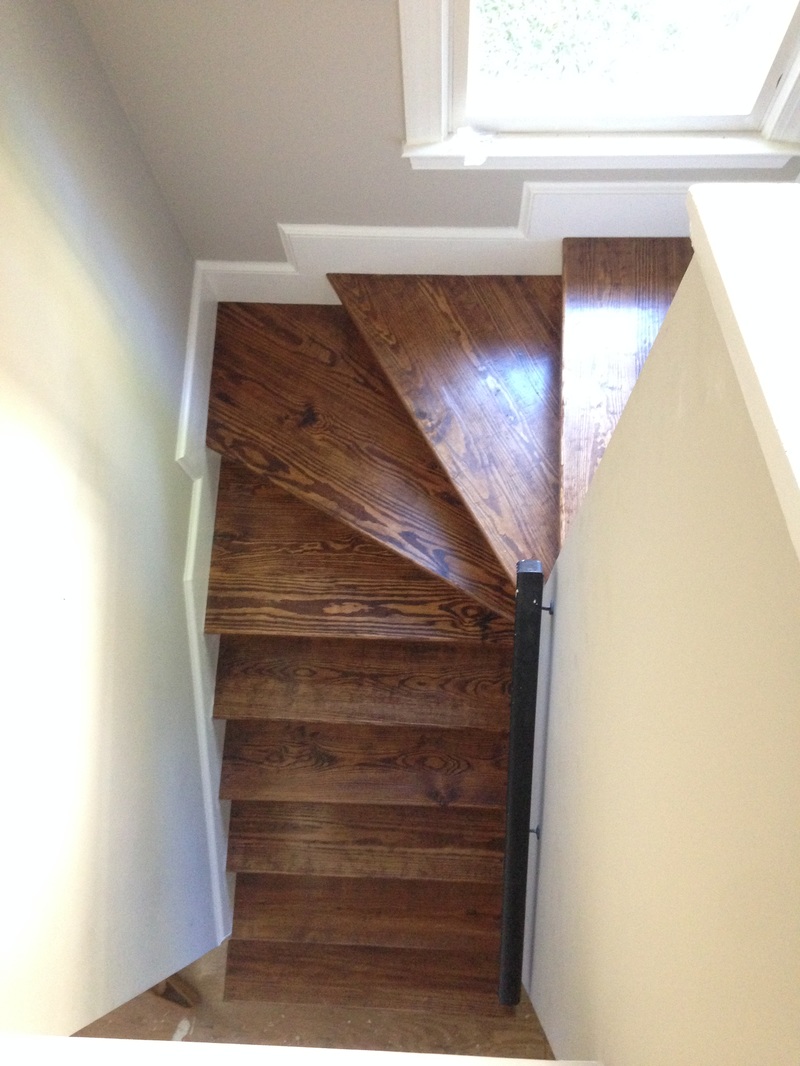 |

about meHi! I'm Lauren! I'm a twenty-something teacher and homeowner in North Carolina. I love math, decorating, and getting down and dirty learning new things about home renovation and repair. Categories
All
Archives
December 2018
|
 RSS Feed
