 Hello, piano! Recently, Brian was gifted a piano from one of his coworkers, Jennifer. The piano is such a wonderful gift (Brian has been playing since he was a child), but the piano was in pretty rough shape. Unfortunately, I only took one picture of the piano when it first arrived in the house so I can't show you the flaws of this well-worn piece. 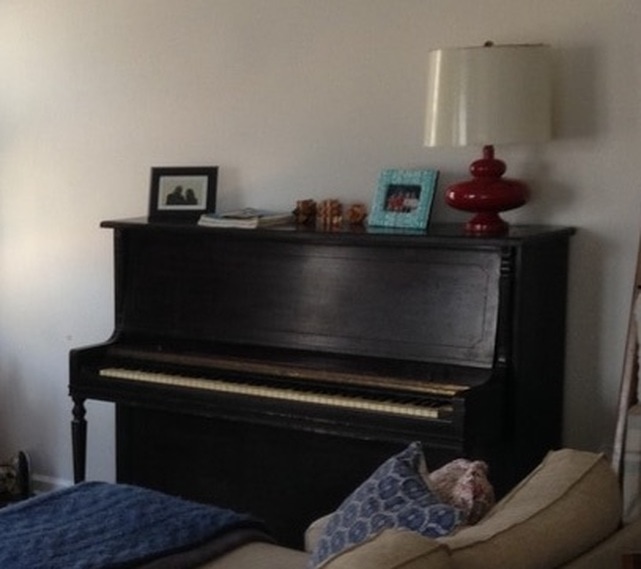 The piano was also a bit - dark. Now, I've already complained about how boring white the living room is, but the dark brown piano took all of the life out of the room. It stuck out and felt out of place. So what is a girl to do? To Pinterest, of course! I researched painted pianos, all of which were super cool. I knew didn't want to paint it anything too dark (see comment above), but I also wasn't sure what was considered an "acceptable" color for such a large piece of furniture. When I stumbled upon Your Homebased Mom's blog and her painted piano, I knew I had found my inspiration. 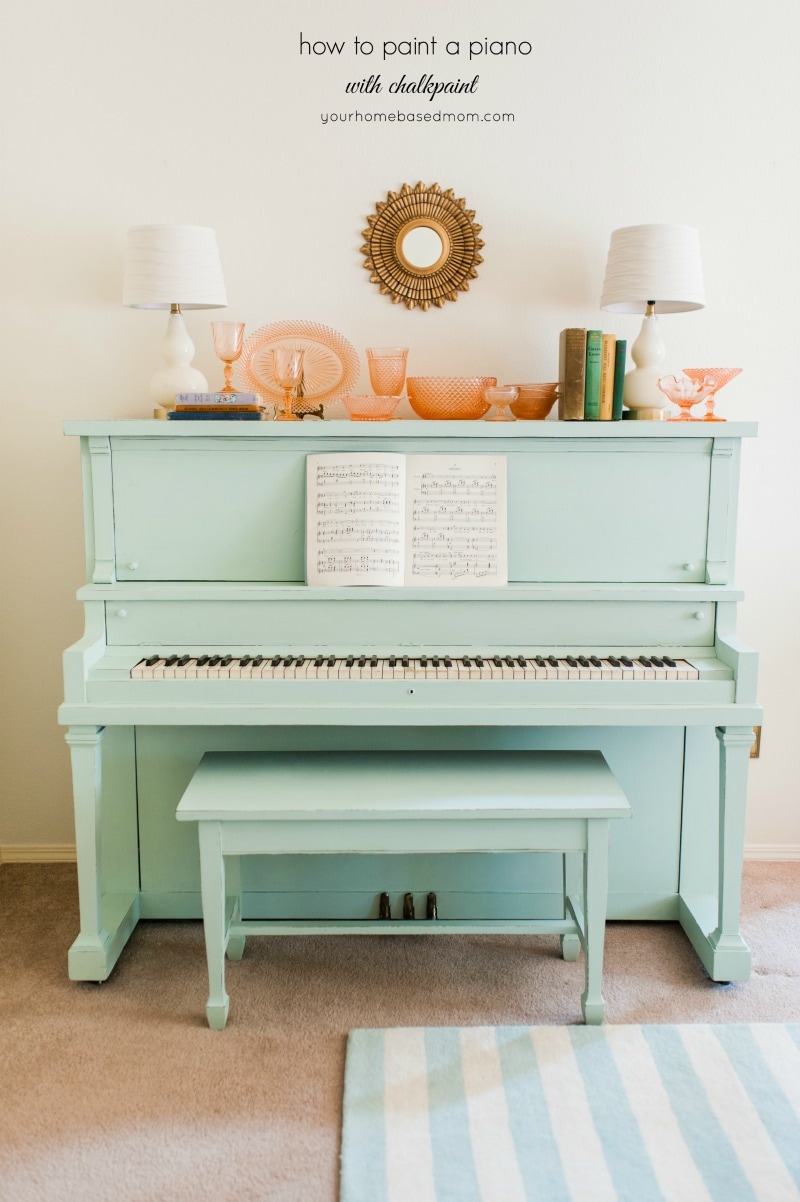 Its beachy, blueish-green, and beautiful. I love it. So, Brian and I took a trip to the Depot and tried to color match the color above. FYI - its nearly impossible to feel confident that you are correctly color matching off a phone. We literally sat at the Depot for close to an hour with not one, but TWO workers in the paint section holding little paint samples up to my phone. Finally, Brian picked the color "seaglass" and we went with it. Have I already told you how amazing he is? The color is almost a dead-on match. 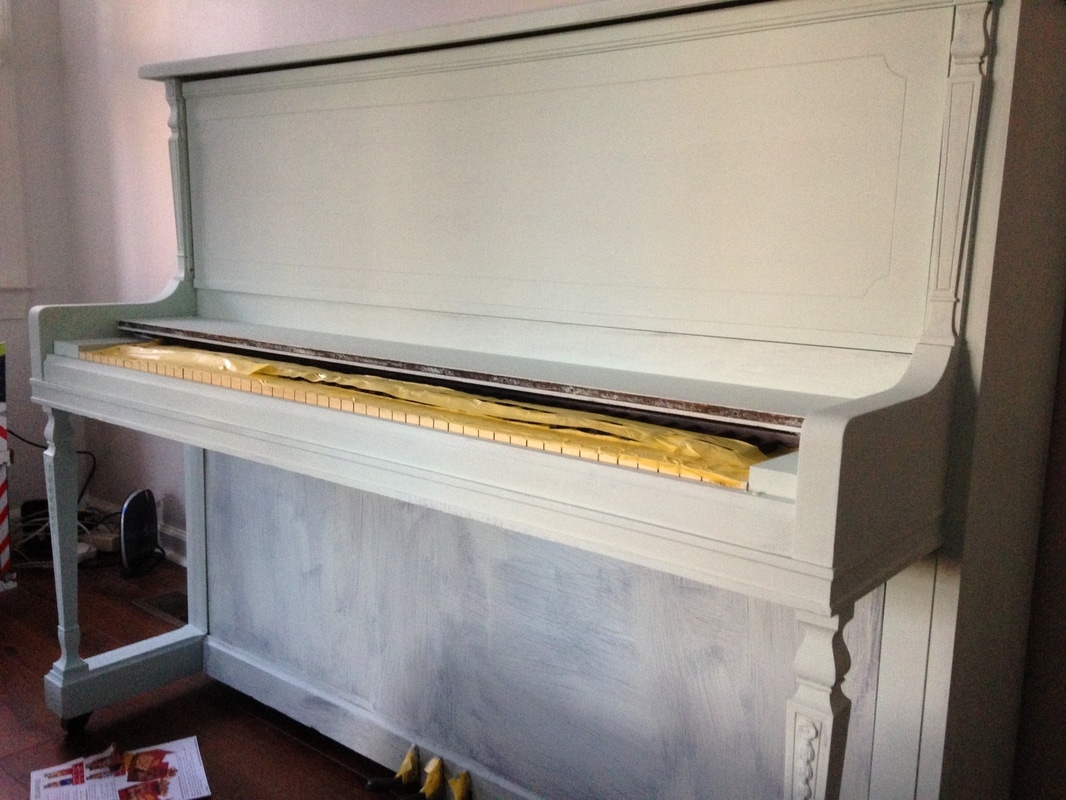 I created my own chalk paint and went to town painting the piano. This was my first experience working with chalk paint, and it worked pretty well. I don't think it sticks to the wood as well as others have claimed, but I'm satisfied with the way it turned out. It took me two days to put on three coats of paint (total - maybe 4 hours of work). I also sanded down the edges to give it a more worn, antique look. 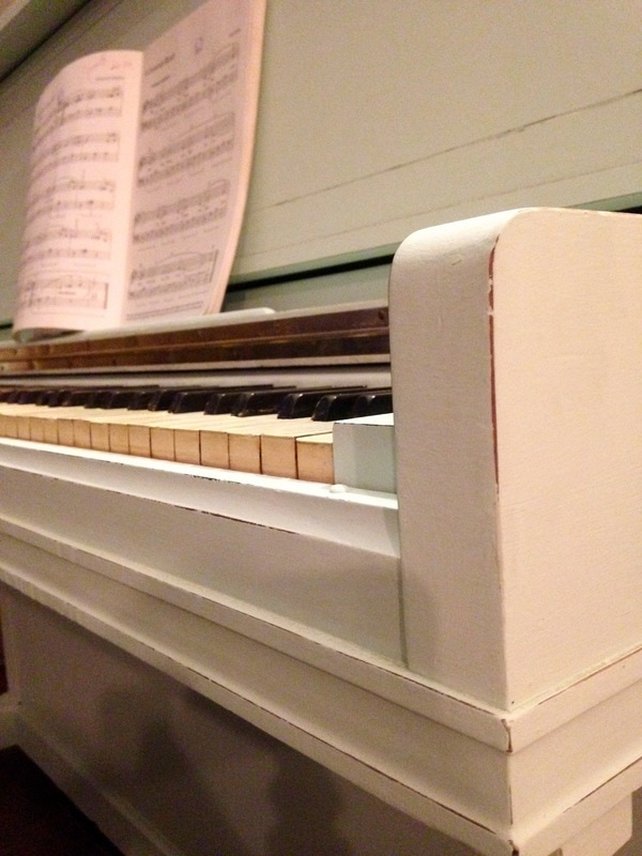 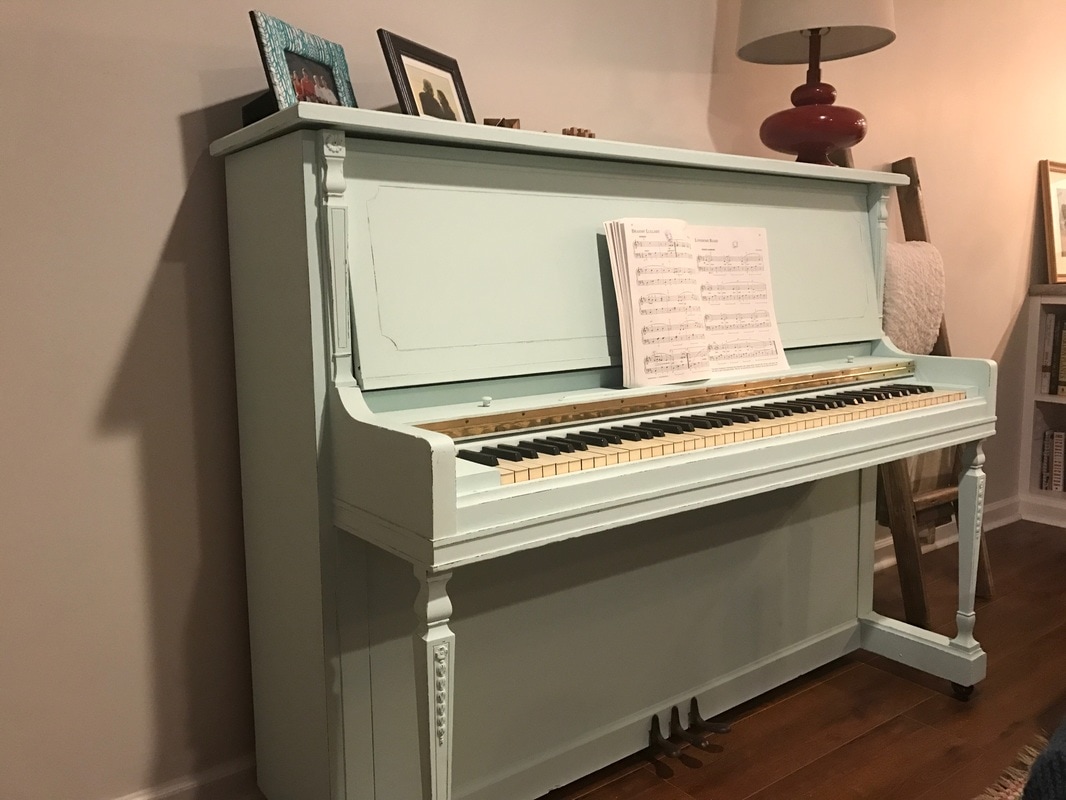 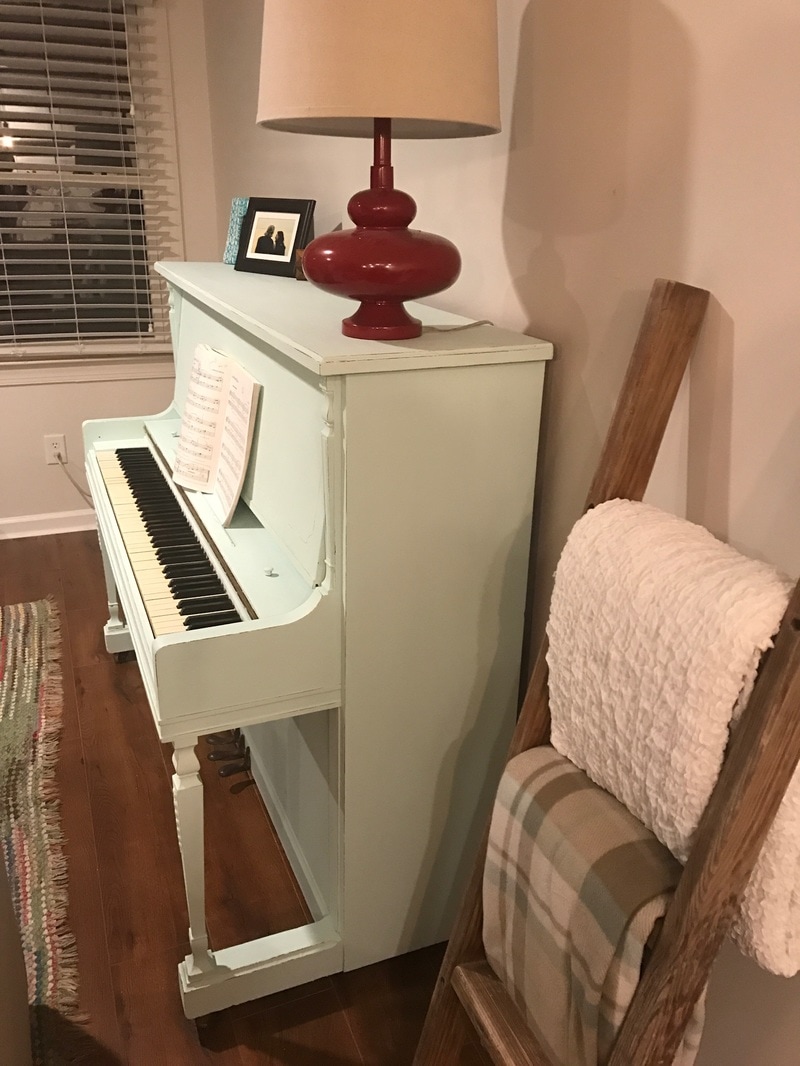 Now, all we need is a bench and we'll be set! 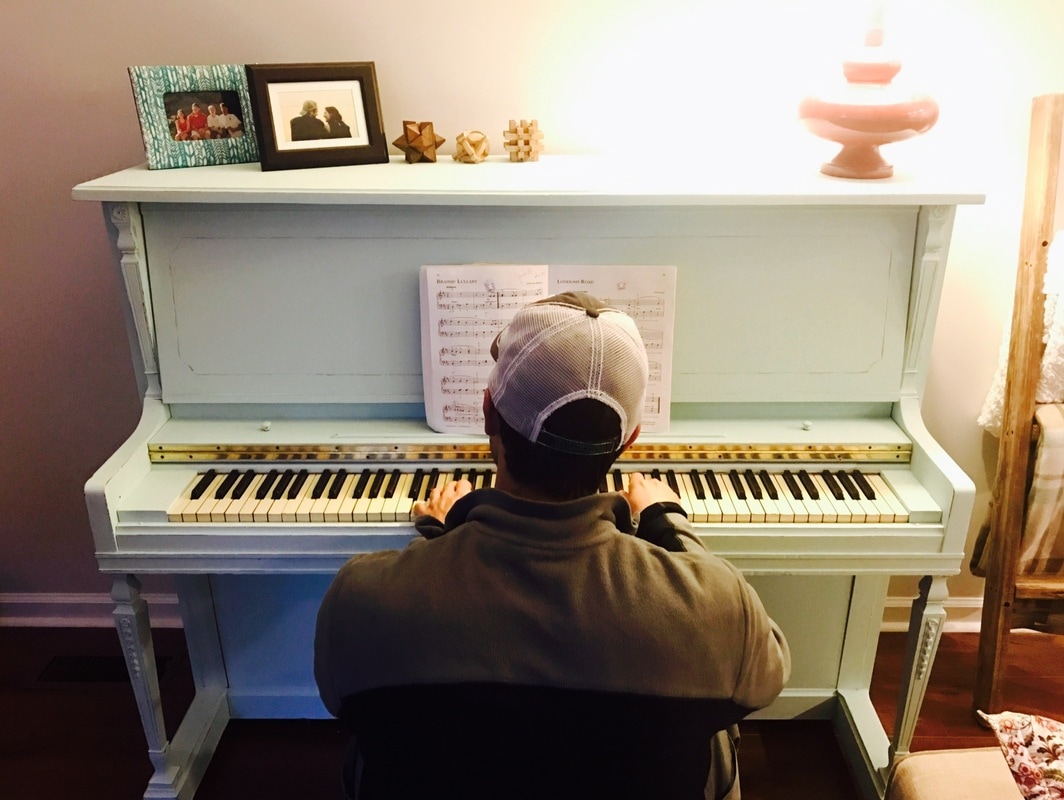
1 Comment
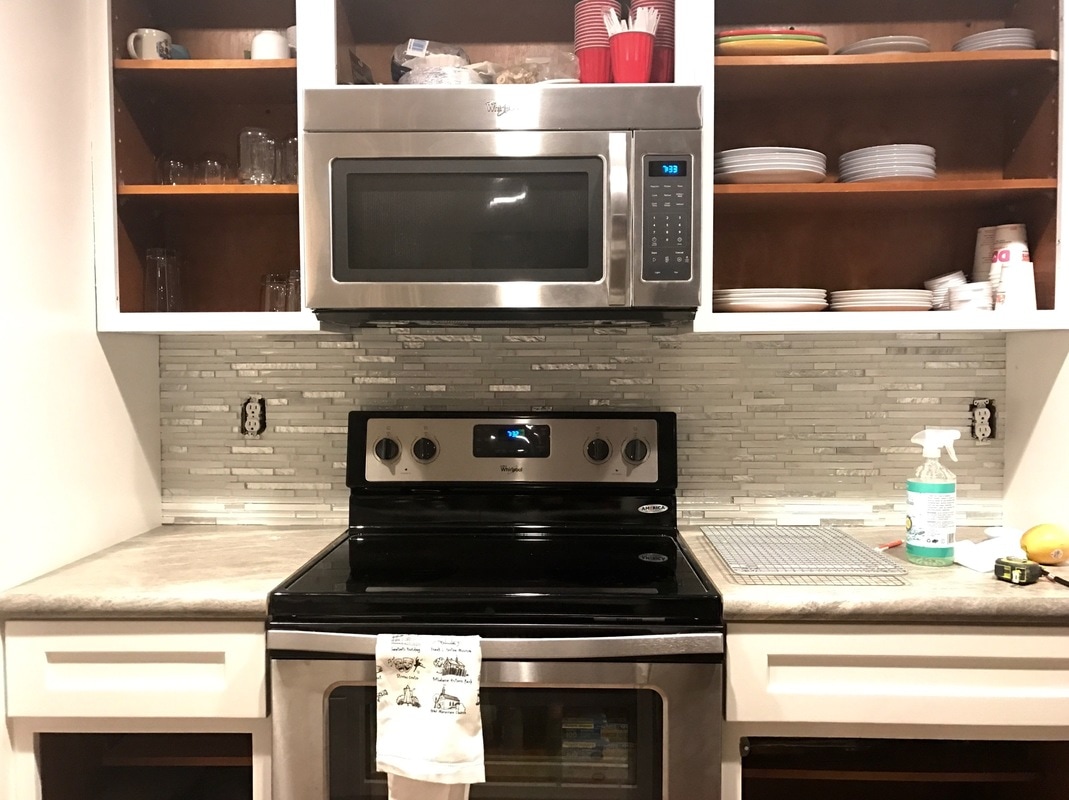 Before Christmas, Brian and I installed the backsplash behind the stove in the kitchen. We mulled over different designs for a while, but ultimately a beach-y blue/white/silver won out. You can find a link to the backsplash here. Below is about the best image I have of the backsplash prior to our installation - a bit boring (minus the silly kitties).  Of all the things that needed to get done, the backsplash was not high on the list. I was just sick of looking at WHITE. Everything in the house is WHITE. WHITE walls. WHITE cabinets. WHITE ceiling. WHITE WHITE WHITE. I needed some color in my life! 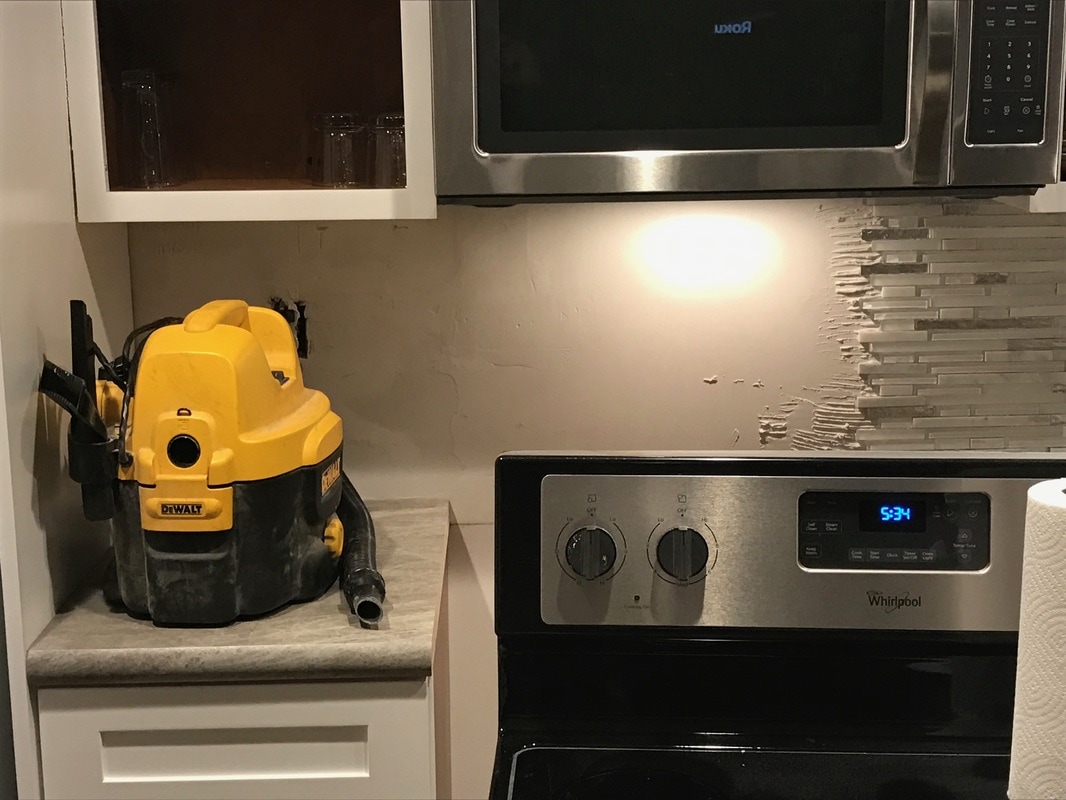 The installation took about two hours, and was more frustrating than originally anticipated (surprise, surprise). The tiles kept slipping down, the cement kept pushing up into the seams, nothing was straight, etc. To say the least, I needed a few glasses of wine to get me through the project. 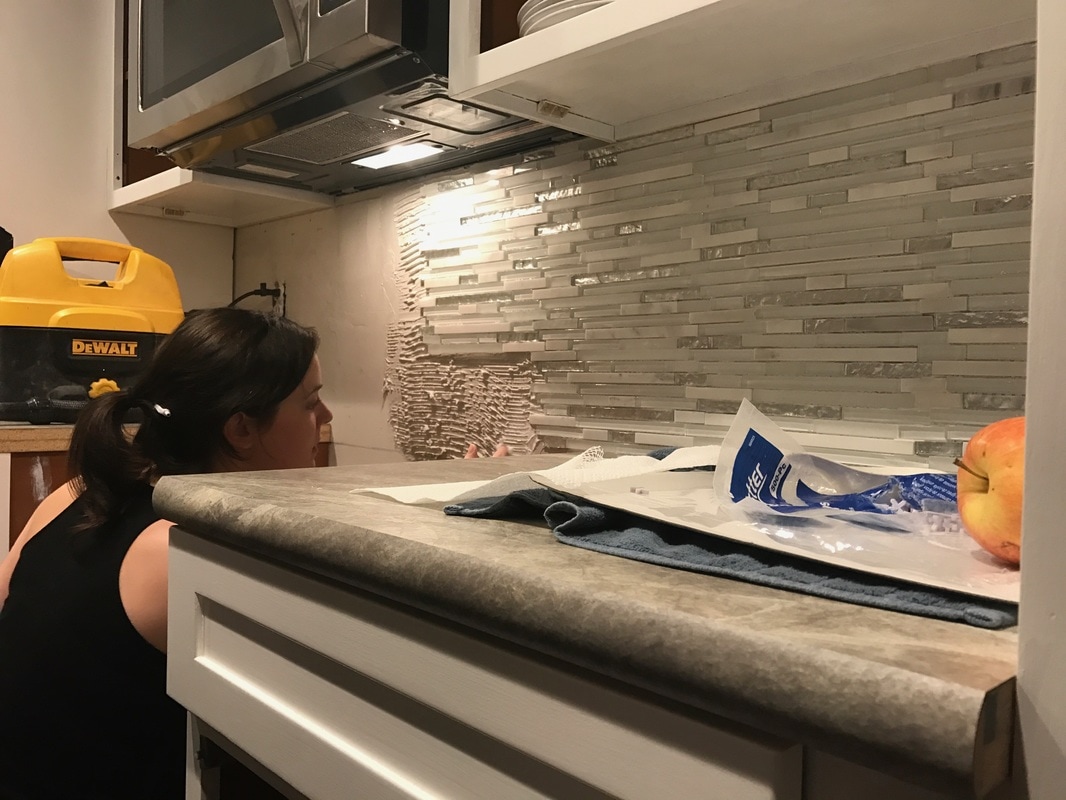 And what kind of project would this be if it was complete? Nope, even three months after installation, we still need to grout the joints ;) Coming soon, I hope... 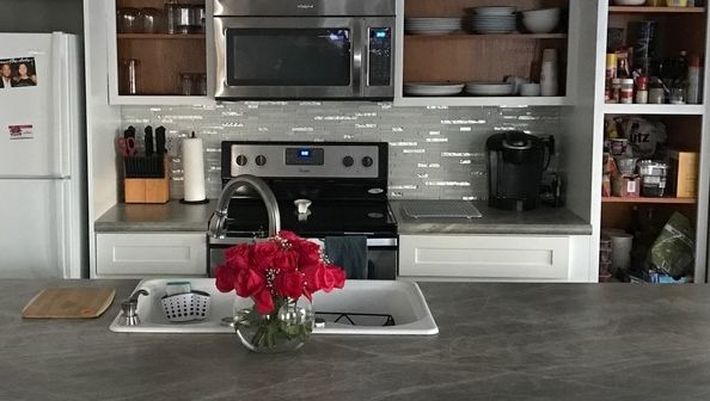 This week I finally got fed up with the chaos that is my kitchen. The kitchen is almost done (still have some little projects here and there), but I am finally cooking happy in my wonderful little space. Except when it comes to finding my cooking utensils and spices, that is. So, I took to Pinterest to find some DIY projects to help organize my drawers. Here's what I created: 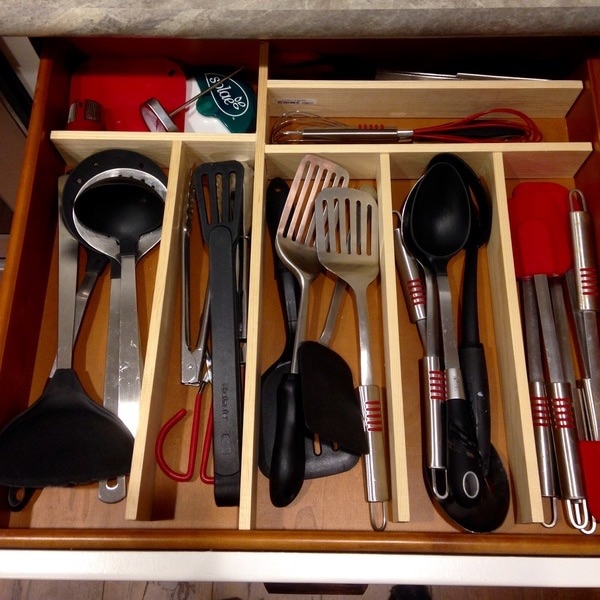 I simply went to Lowe's, bought $20 worth of small pine boards, cut them to size, and glued them together. Brian admitted to having doubts about how my DIY organizer would come together, asking why I didn't just buy a drawer organizer from the store, however, he loves them now and realizes how much more functional the custom organizer is! For the step-by-step instructions, click here! 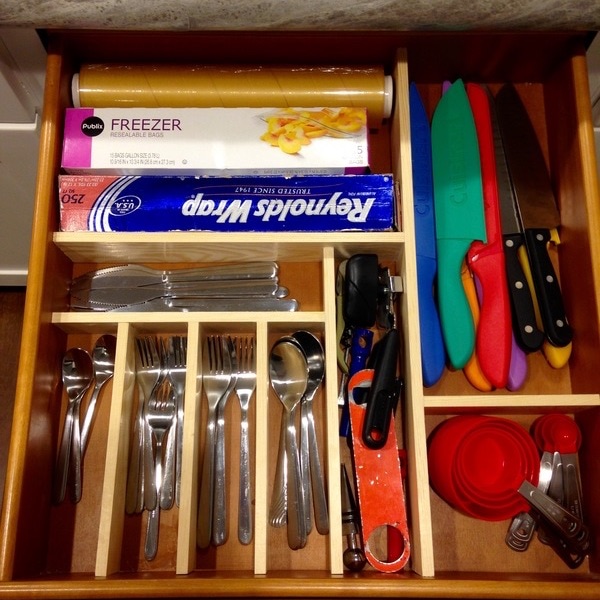 Finally, the most frustrating element of my cooking space was the lack of spice organization. Since we've started cooking again, knowing what spices we actually have not only makes cooking easier, it saves us money. We have so many duplicates because we keep buying stuff we already have! Ugh! So, what else would I do but make a DIY spice rack. The best part about this project was that it was free!! I made it out of some scrap wood I have laying around in my basement. Sweet! 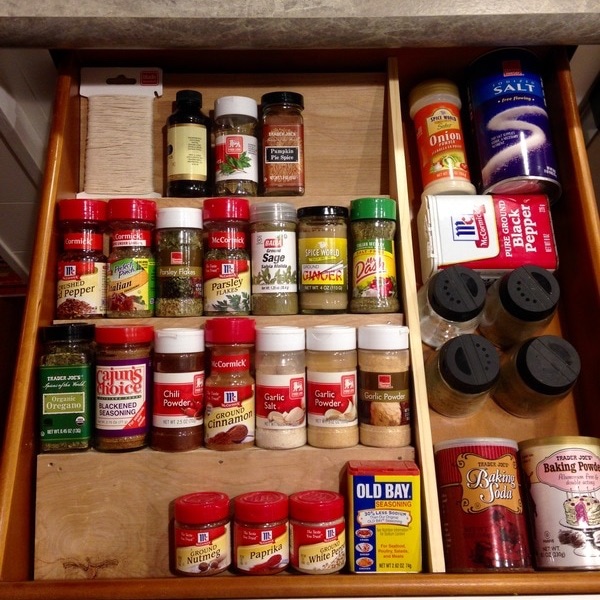 If you'd like to see the spice rack step-by-step instructions, head on over to Ana White's amazing website.
I'll let the pictures speak for themselves! 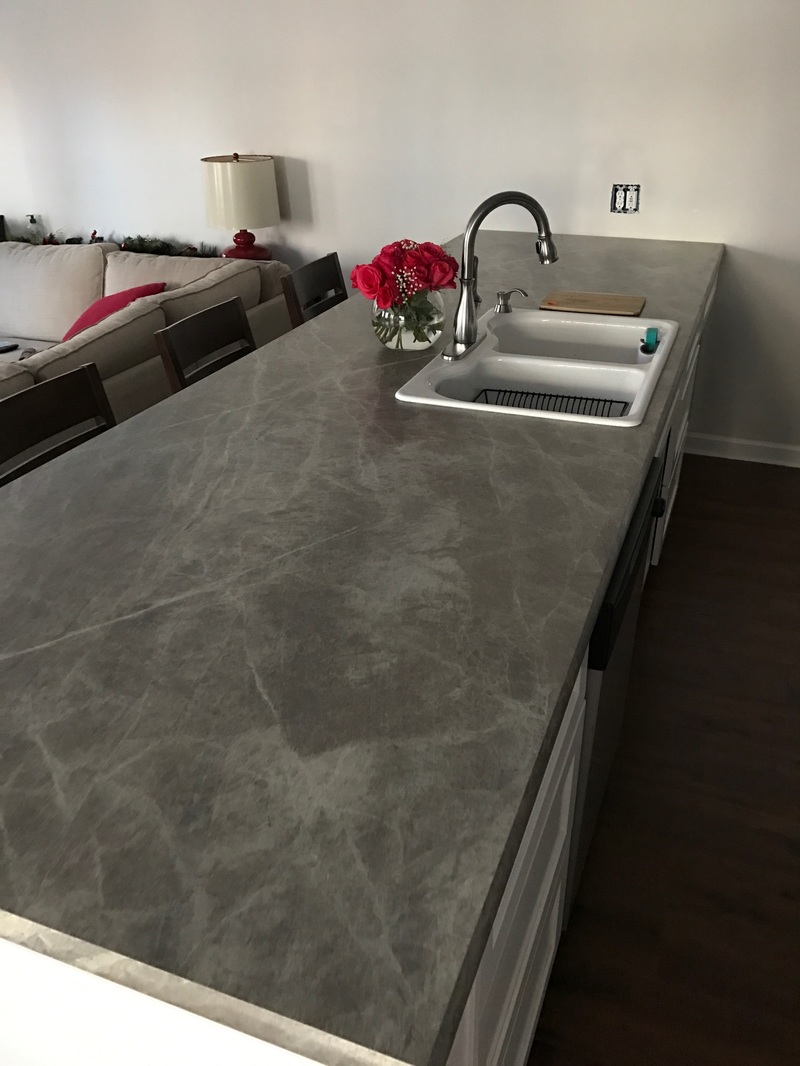 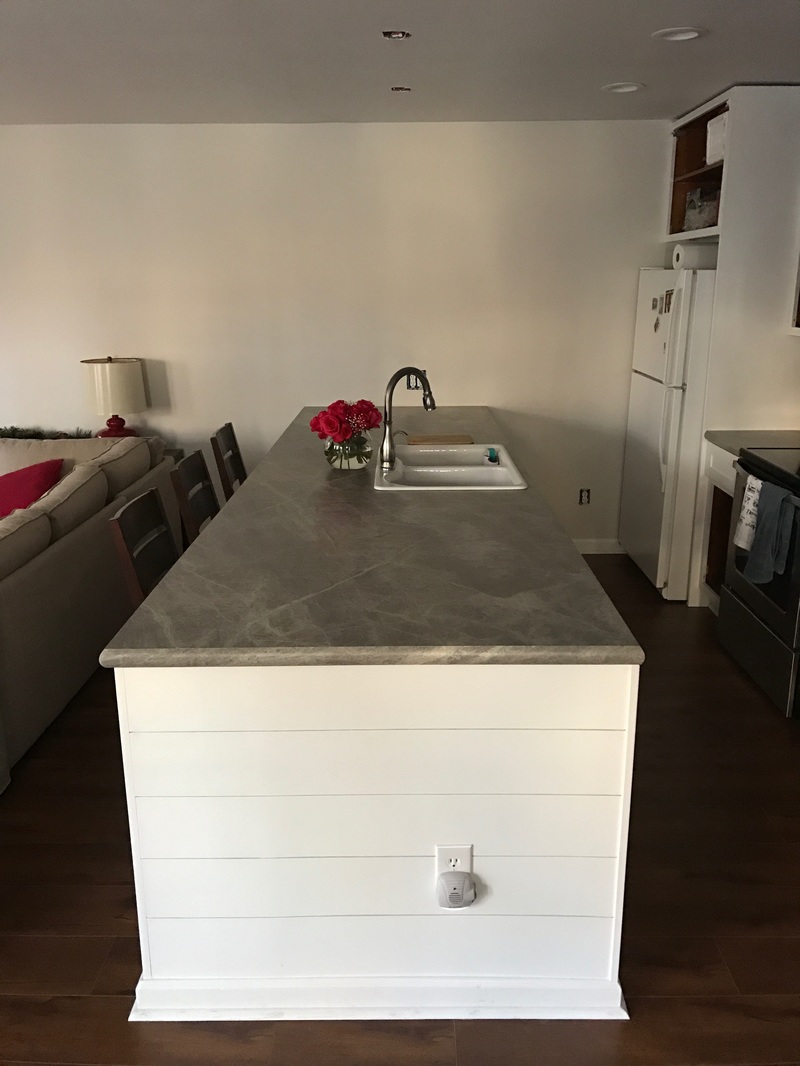 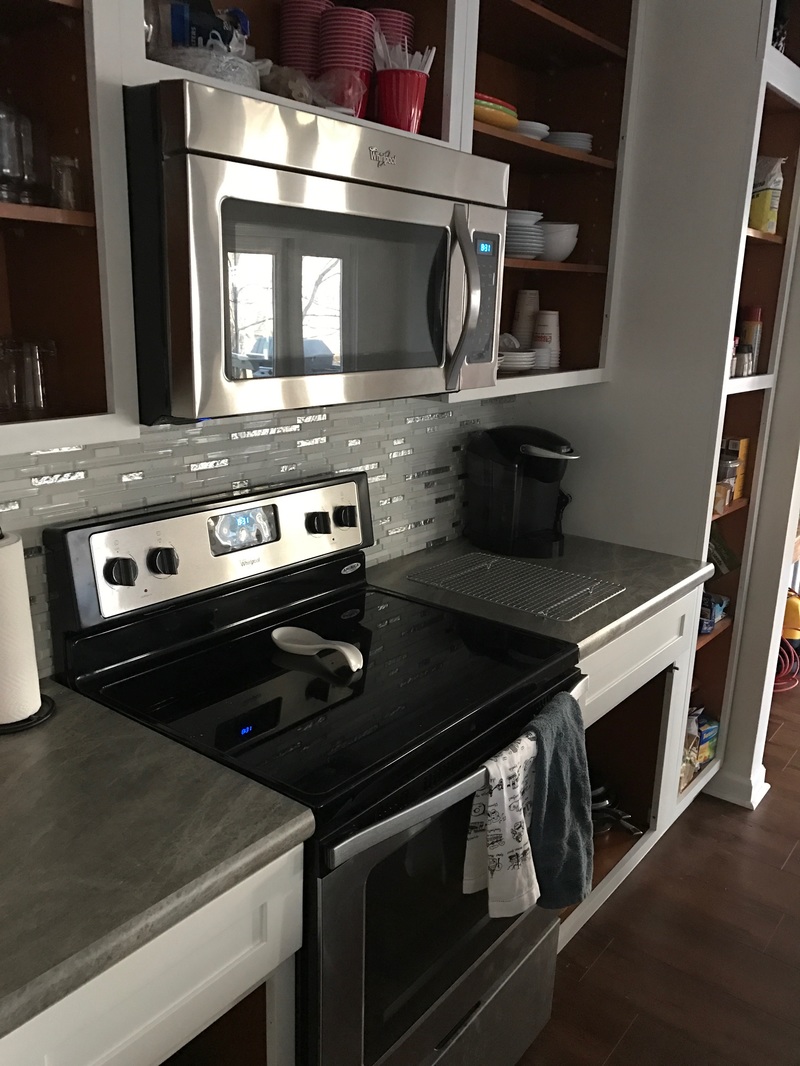 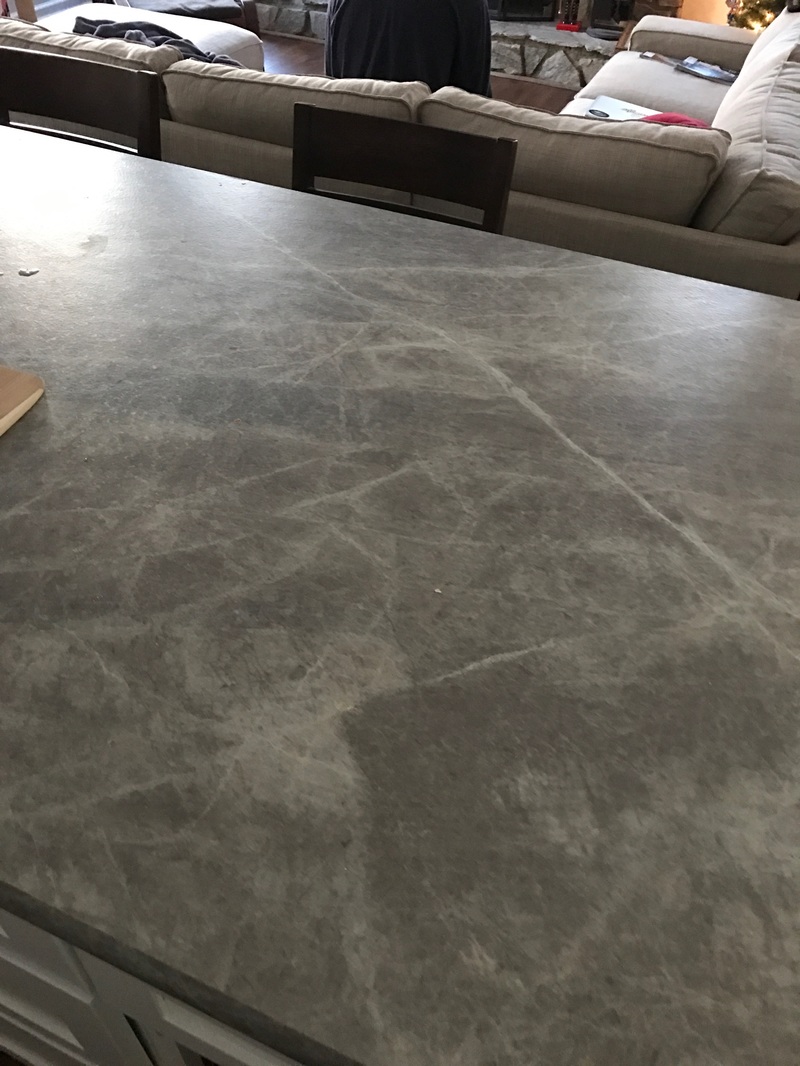 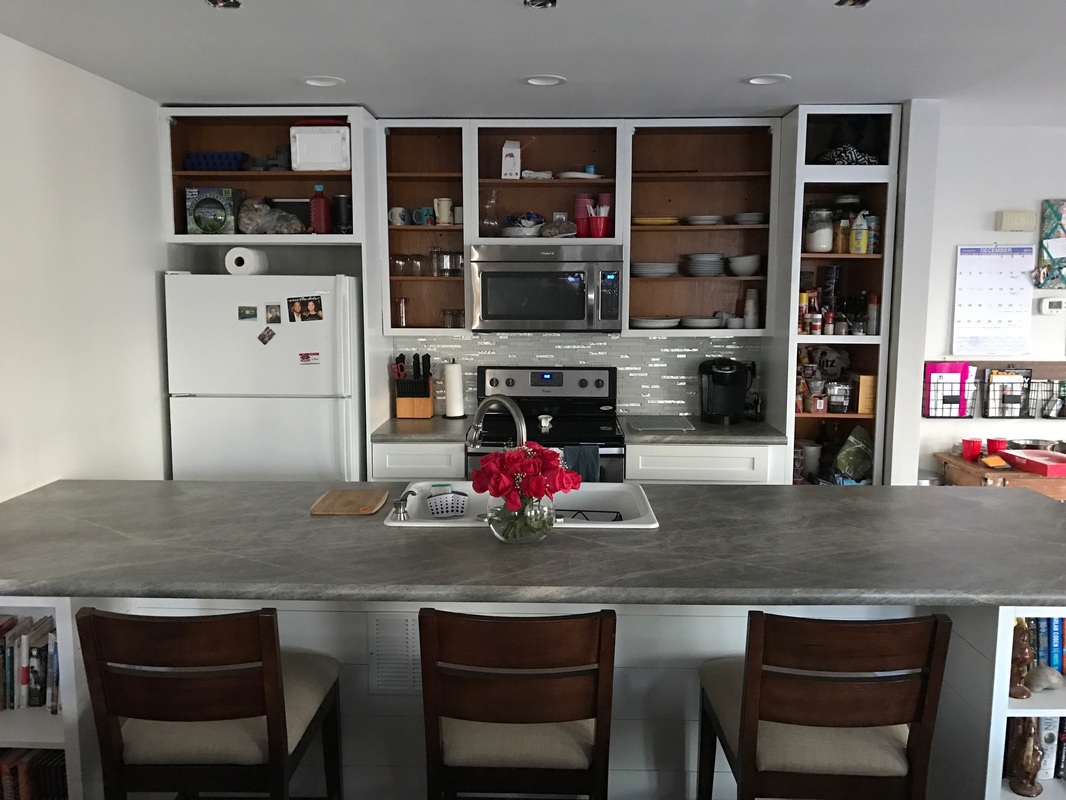 Mr. Boots especially loves the new (AND WORKING!!!) kitchen faucet. He can't help but be super adorable! 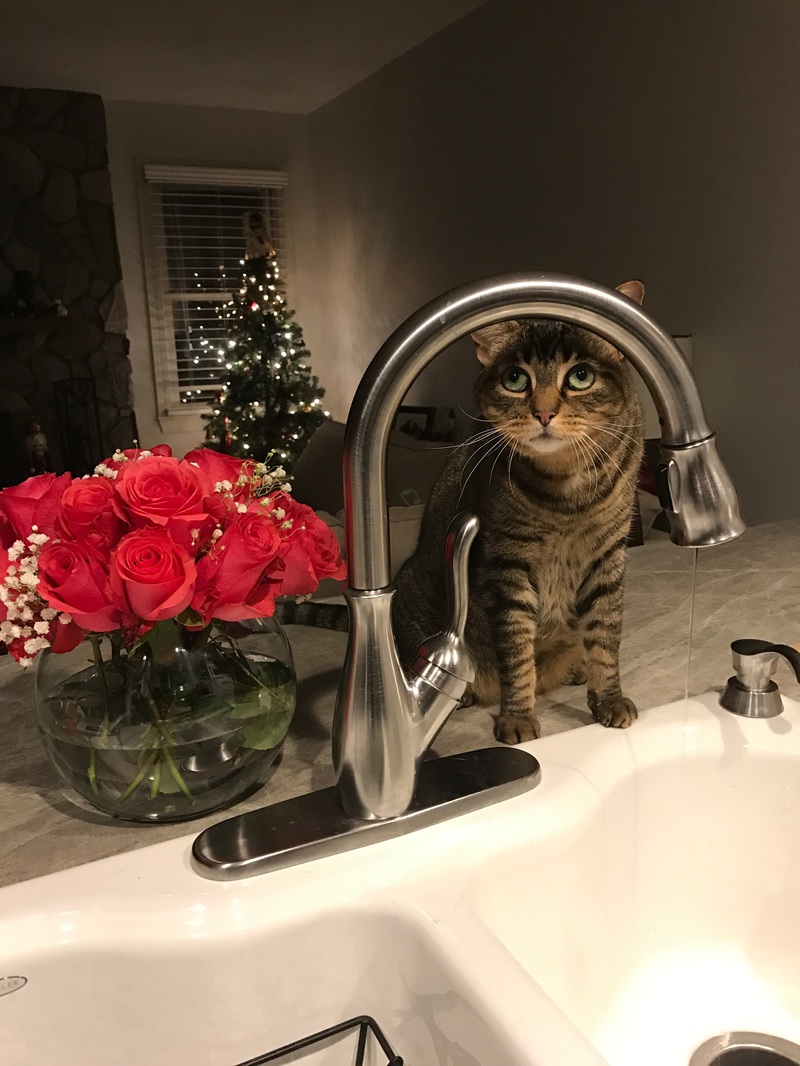 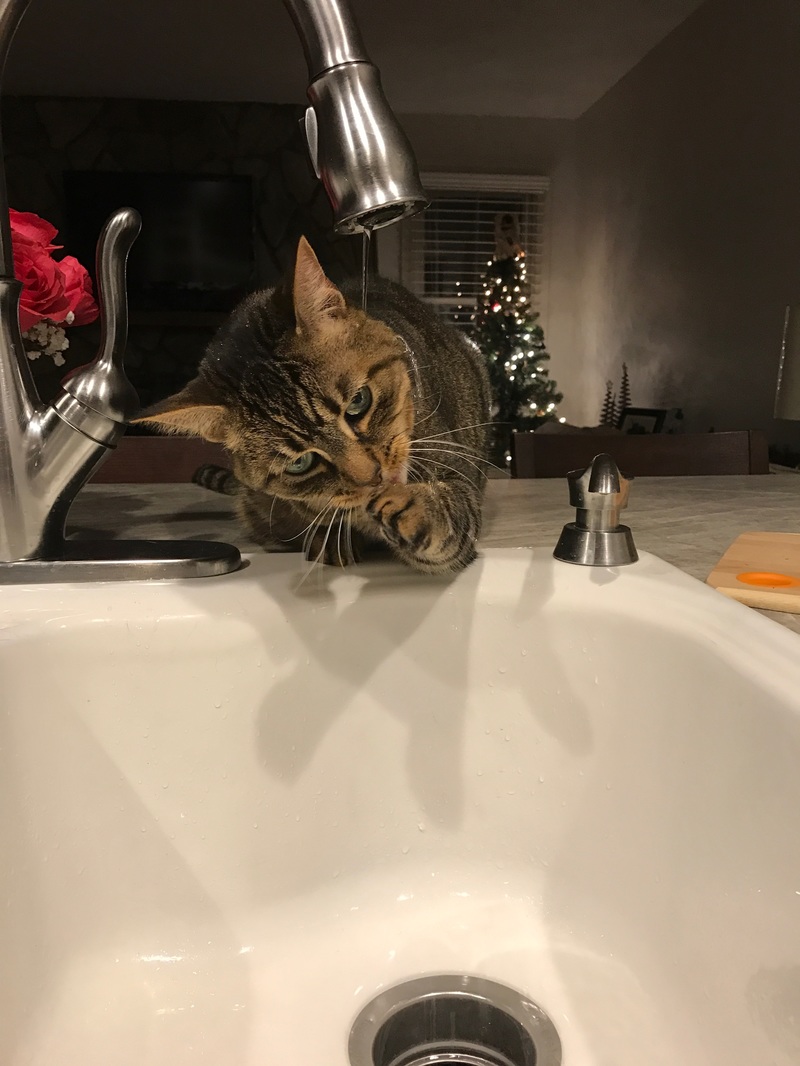  Yay! The countertops are in! Well, they've been in for about a month and a half, but we've had a lot going on since then so here's the update on the process. Our friend Garland came over to help us with the countertop installation. We had never worked with laminate before, but let me tell you - literally ANYONE could do this. It is SO easy. The hardest part was cutting the hole for the sink. To be fair, Garland did most of the "hard" work - we were too afraid to screw it up any cuts. He made us deal with the glue. :) 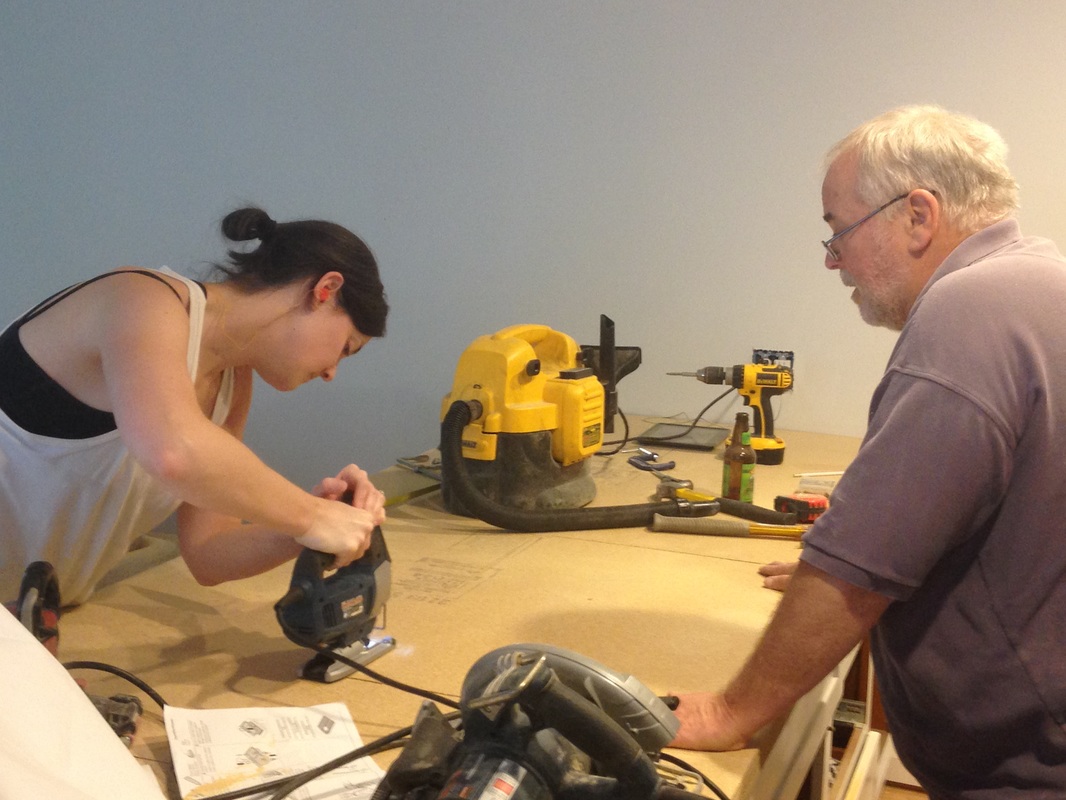 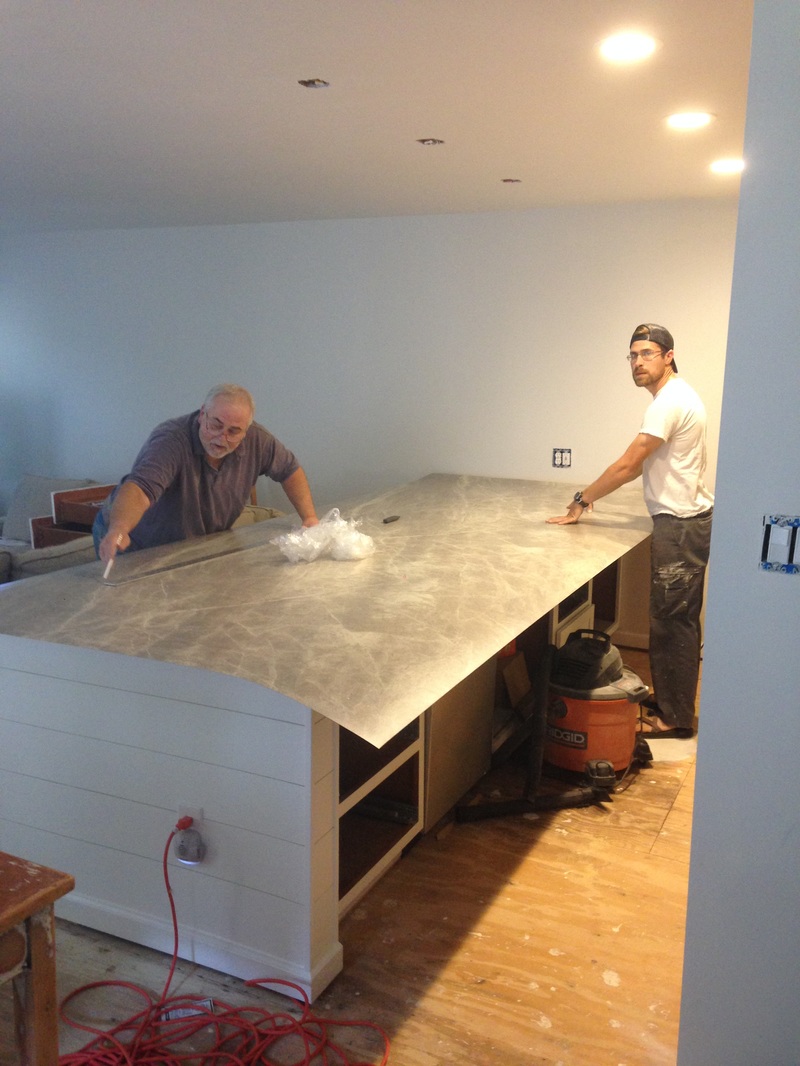 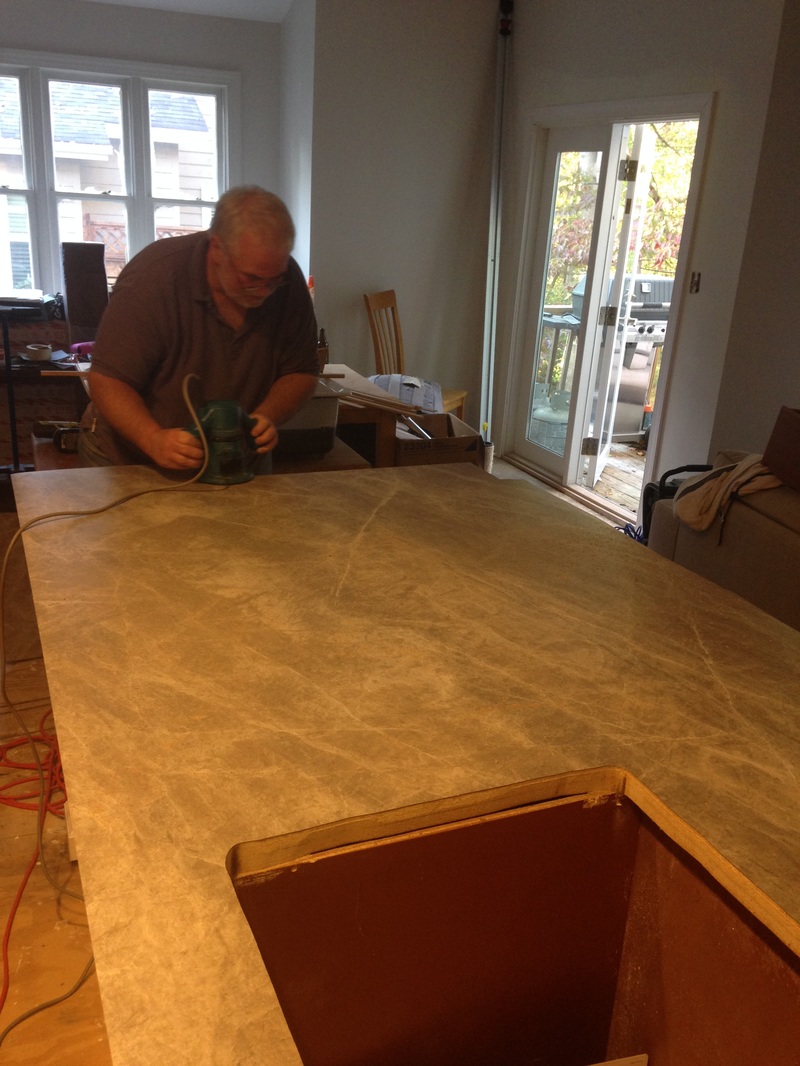 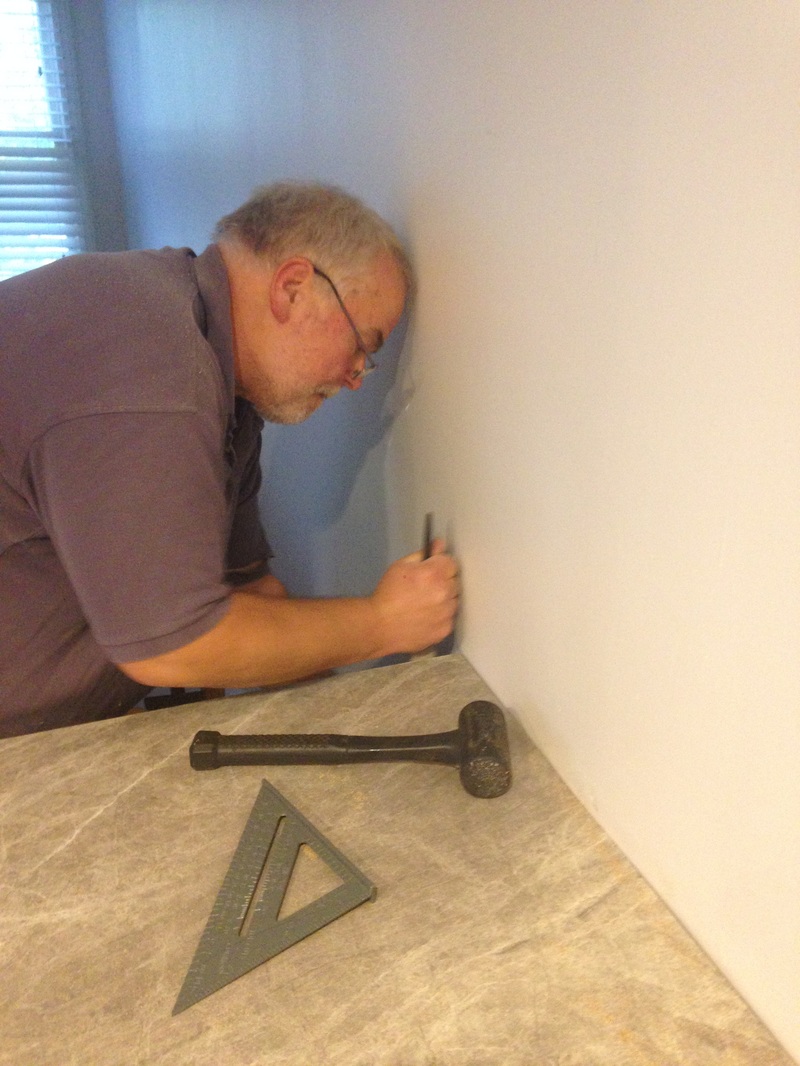 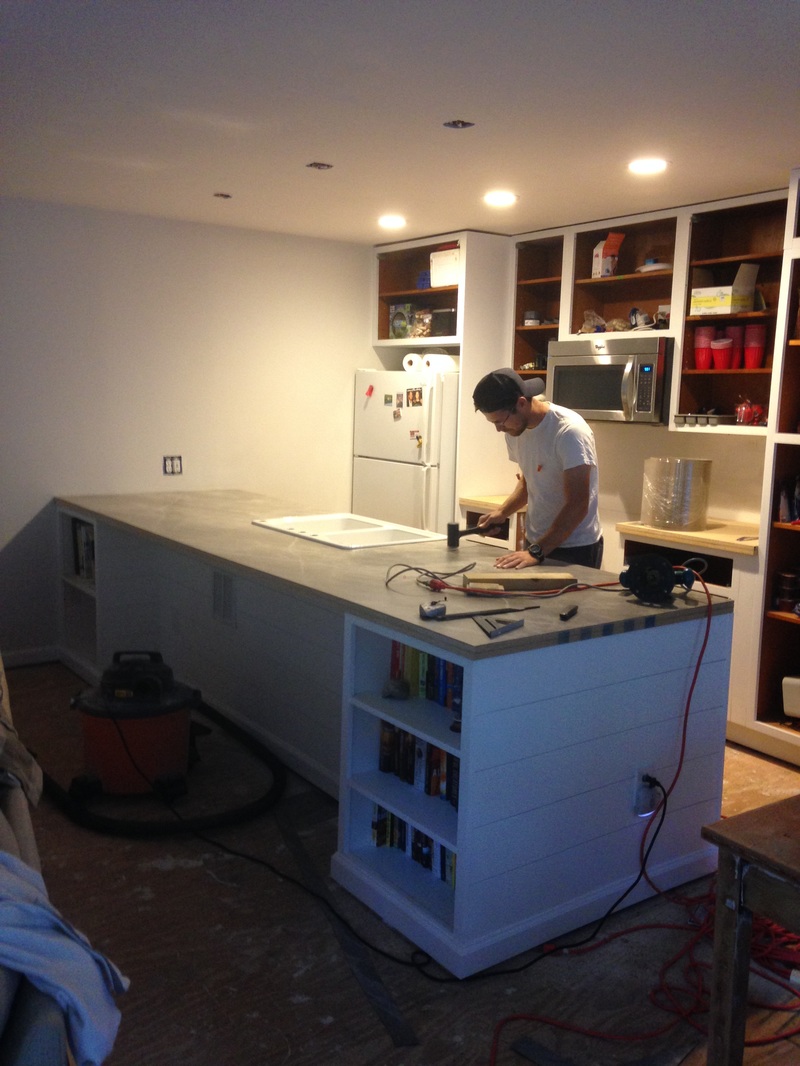 I did splurge a bit on countertop edging. I thought it would give the countertop that finished look it needed instead of the typical flat edge on most laminate countertops. I went with a bullnose edging ordered from Cabinetmaker Warehouse. It was super easy to install (I just used some Gorilla Glue, tape, and made a few miter cuts for the corners). This made an immediate difference in the look of the kitchen. 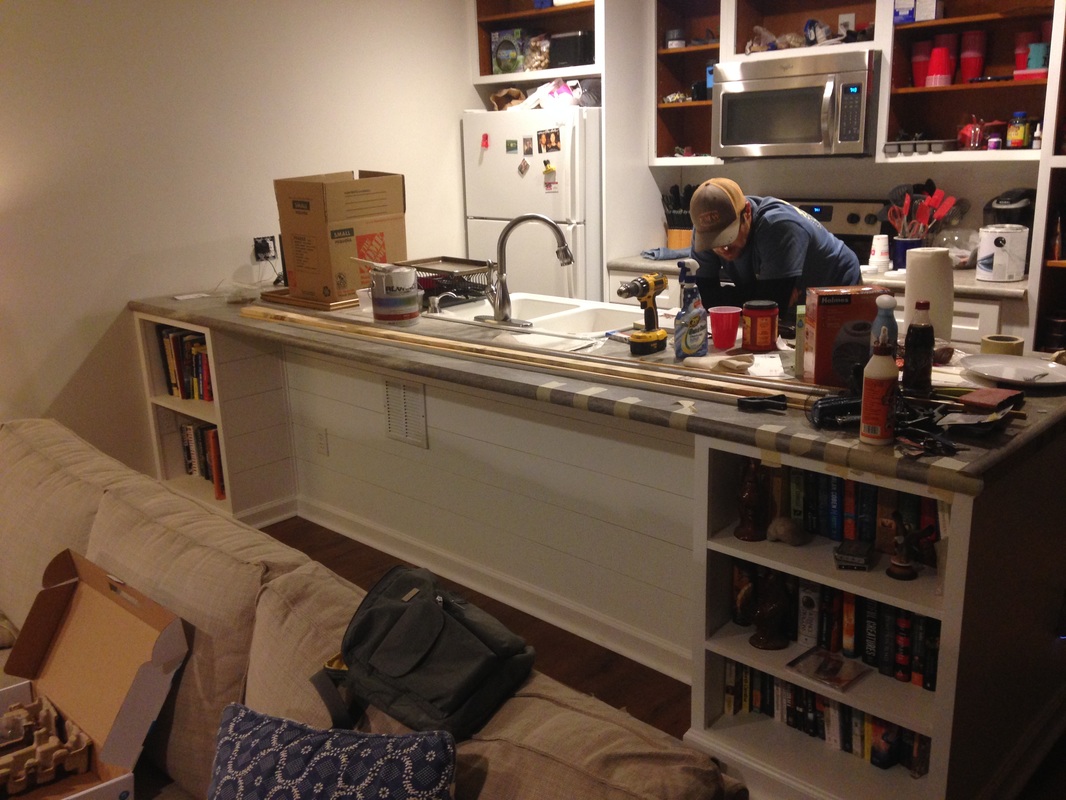 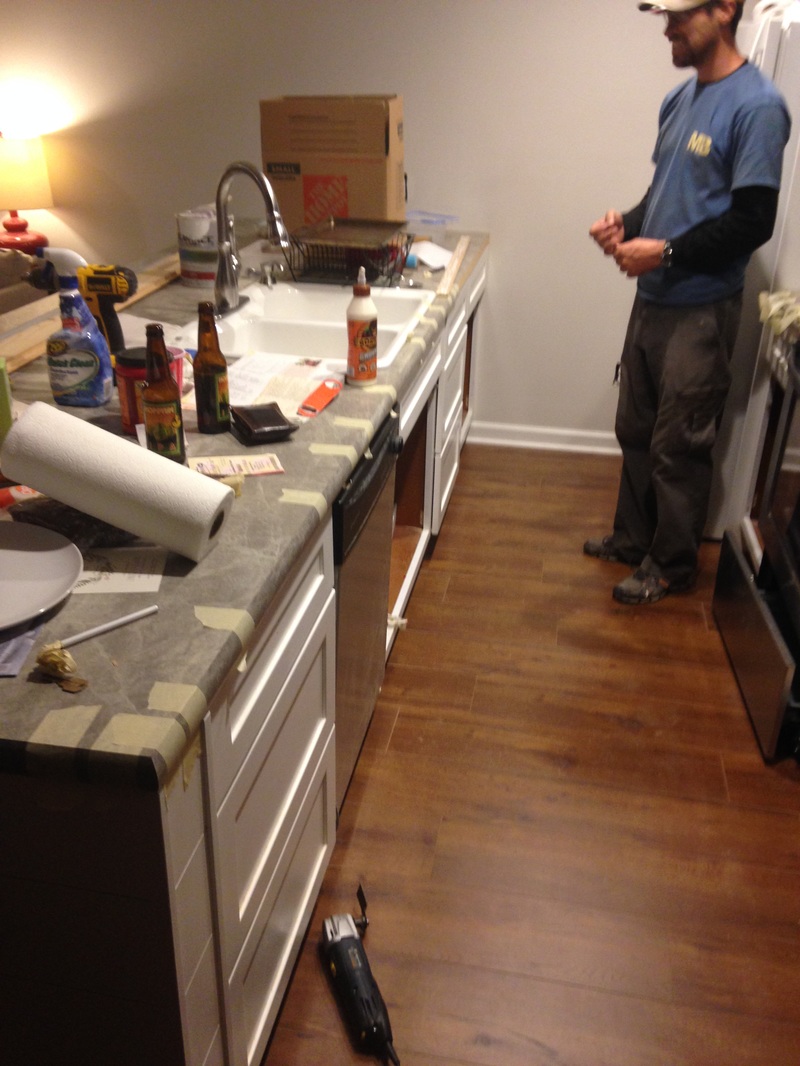 The cost breakdown:
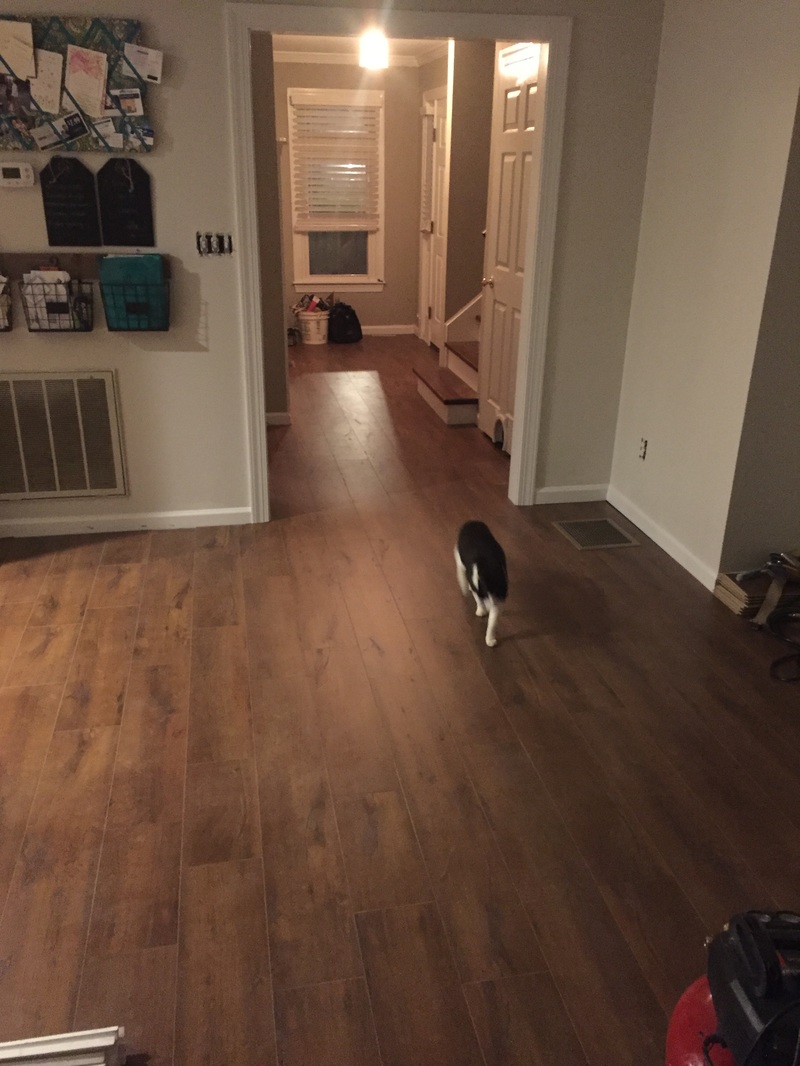 My floors were finally installed this week. I used a local company, Styron Flooring, who have done a fabulous job! They are awesome and my floors look great! Having my floors professionally installed was probably the best decision I have made regarding my house so far. Brian and I tried (and failed) installing the floors last year, but my subfloor was so uneven that the floors bounced whenever you walked on it. We tried leveling, but obviously we failed. Now, the floors are stable (having poured about 50 gallons of leveling cement on them), and I know they will hold up in the long run. The guys were even able to install them so that there was no transition strip in ANY of the doorways (except in the bathroom). It looks flawless and I am SO HAPPY!!! 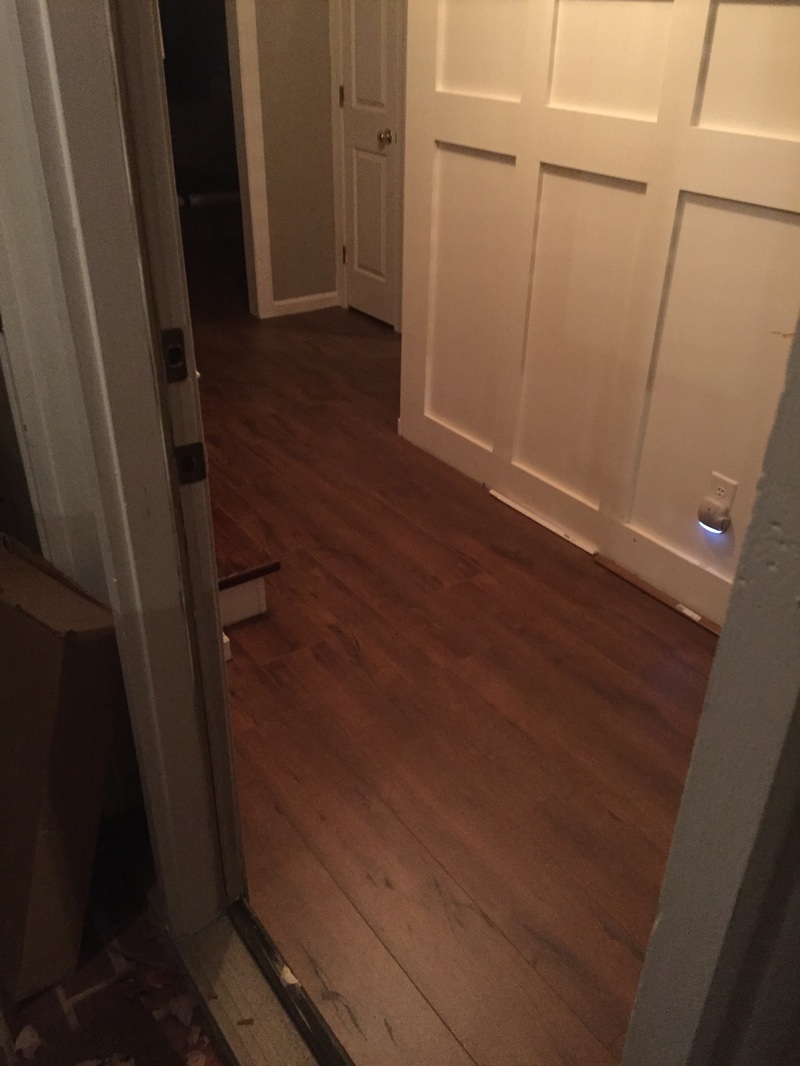 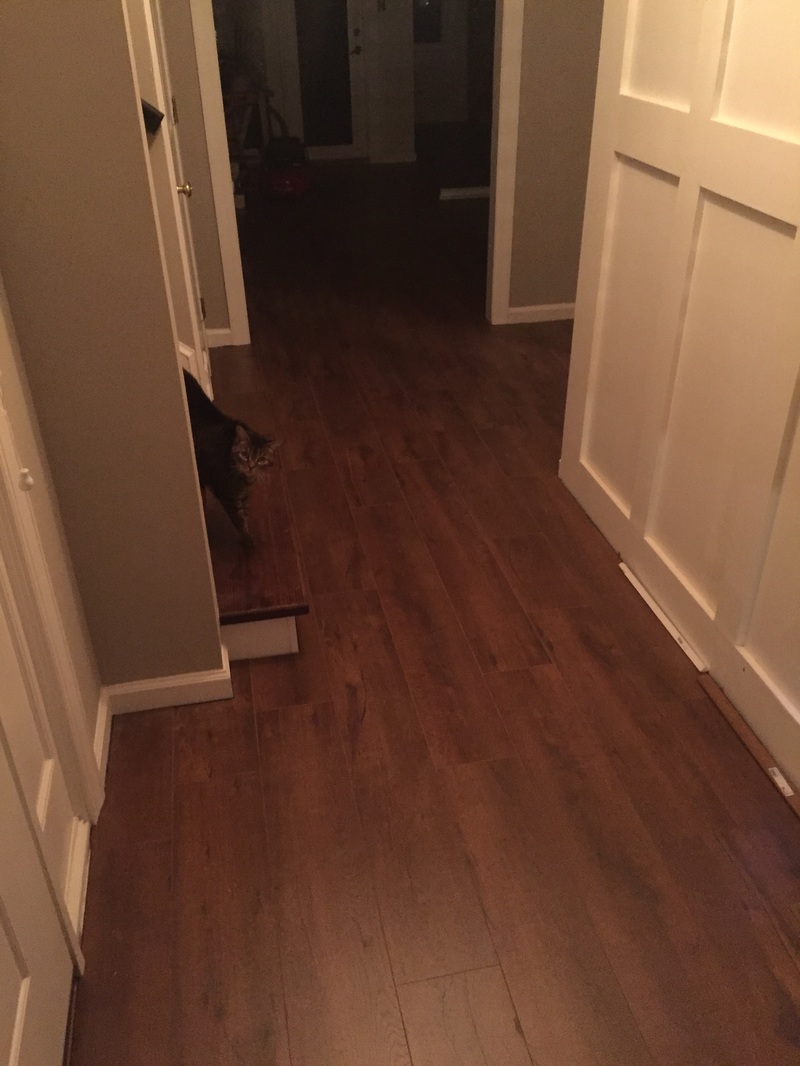 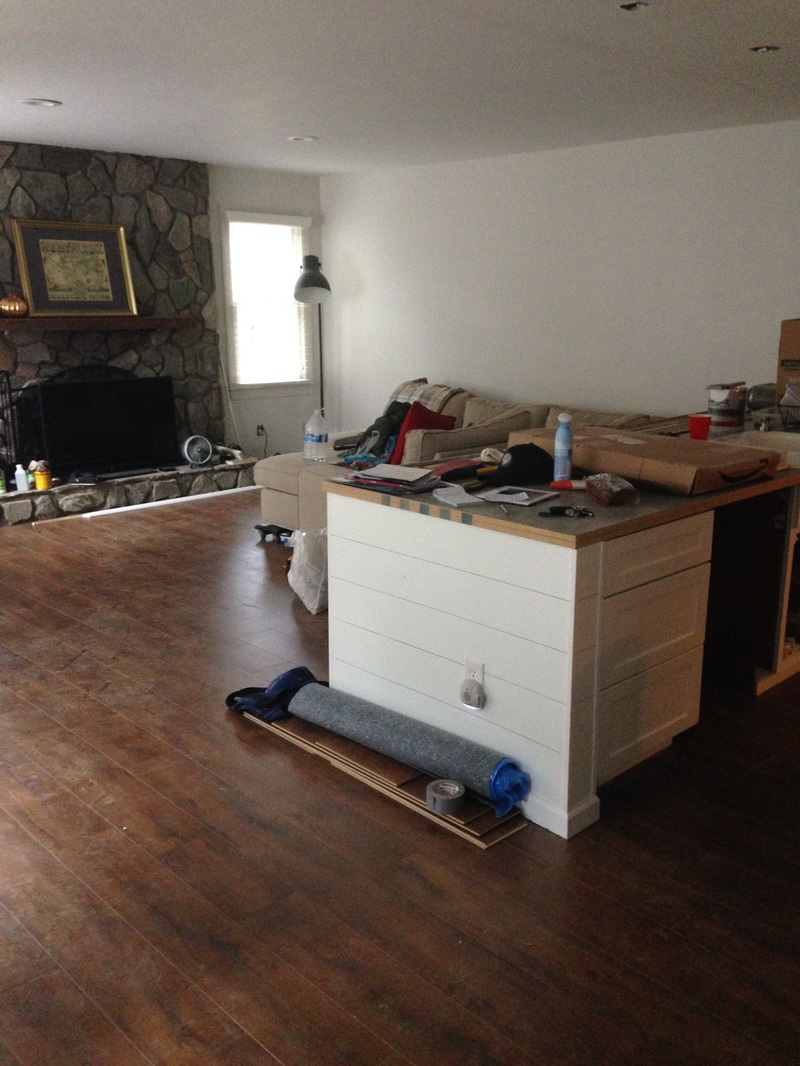 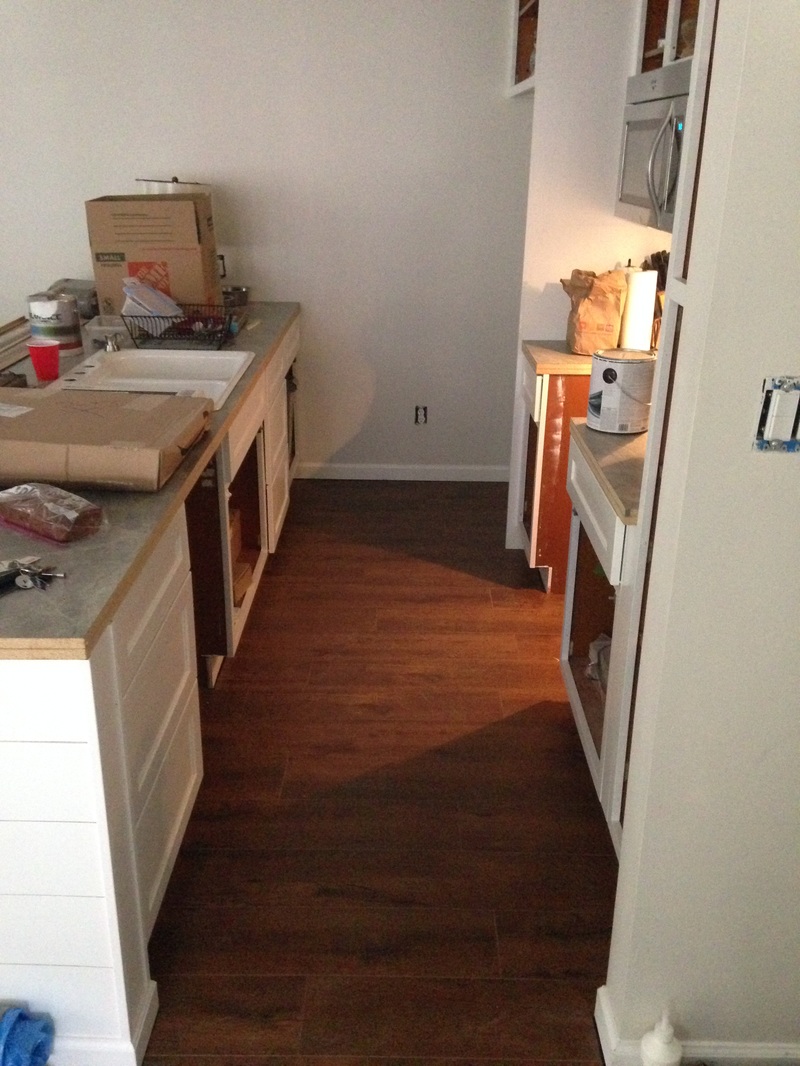 Look at the back bedroom - all of that leveling cement!!!! No wonder my floor was so bouncy! 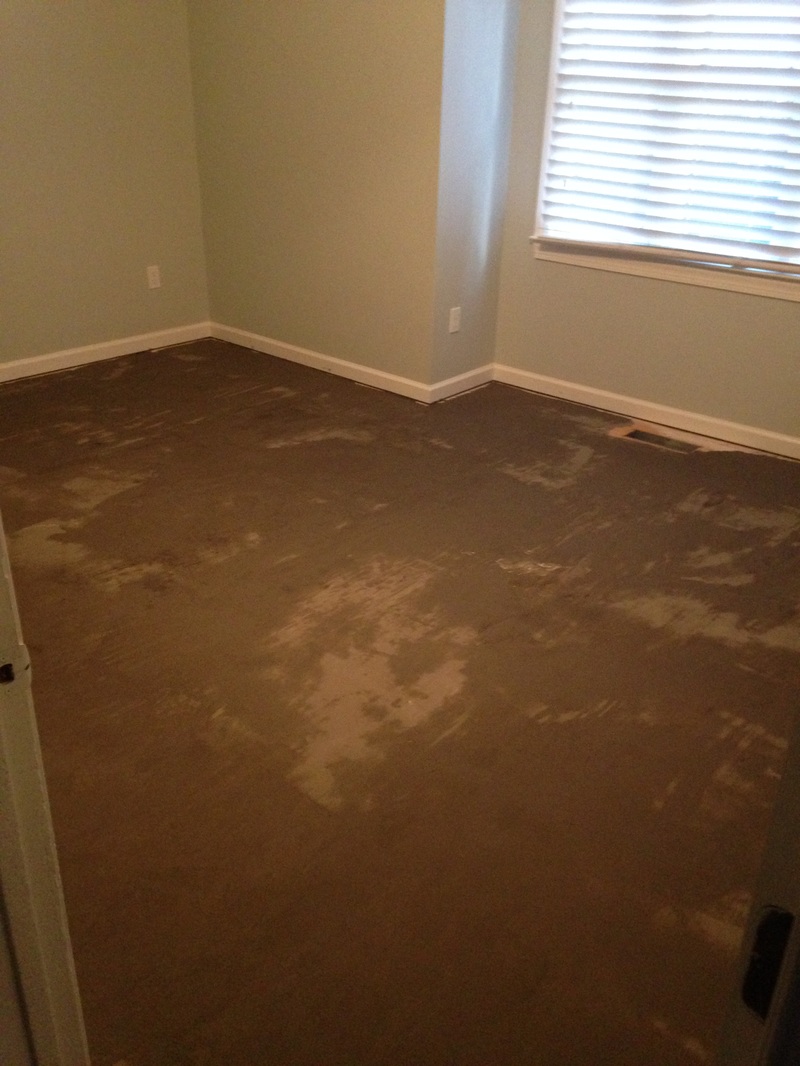 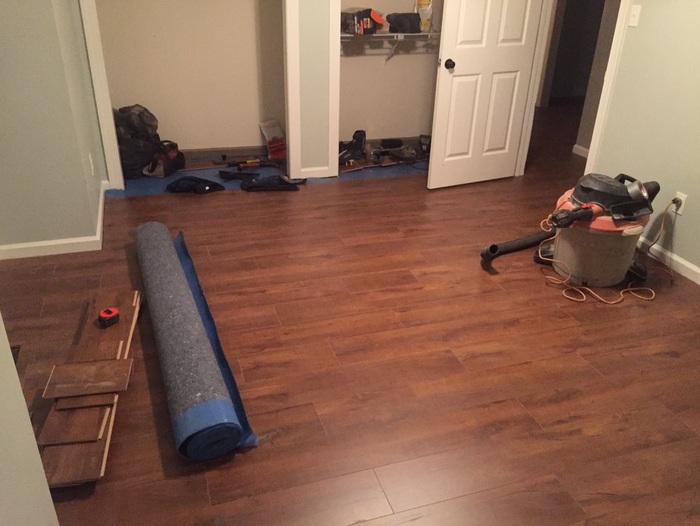 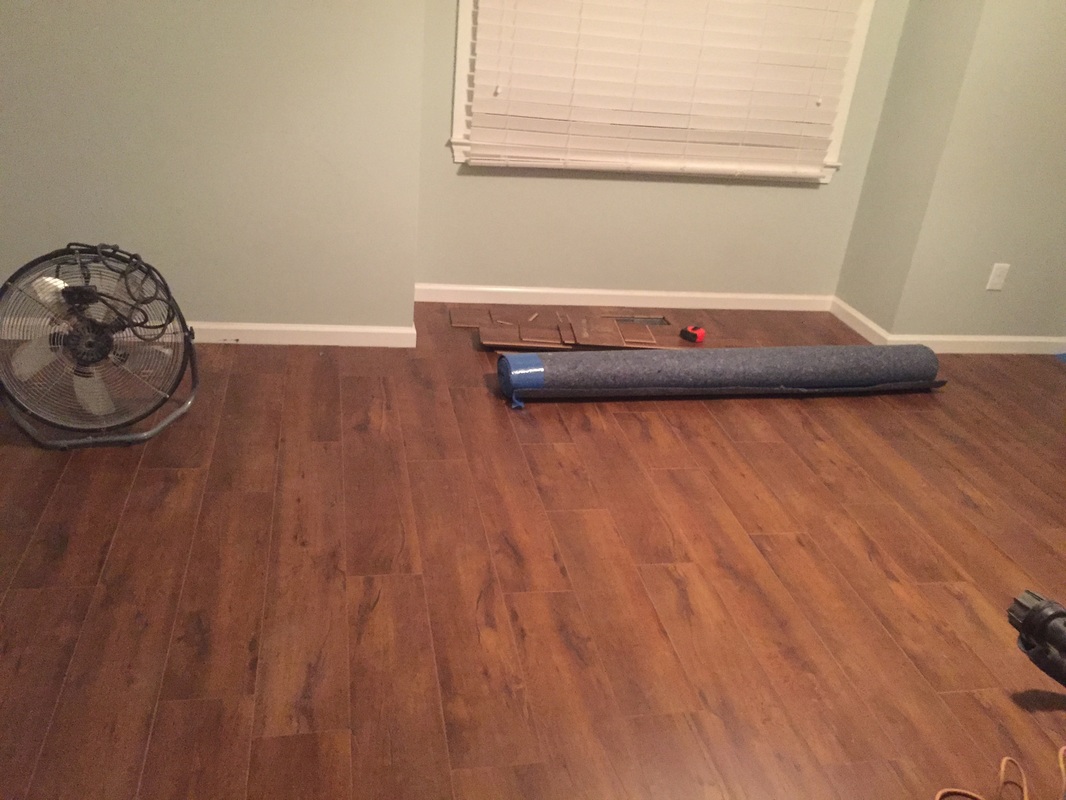 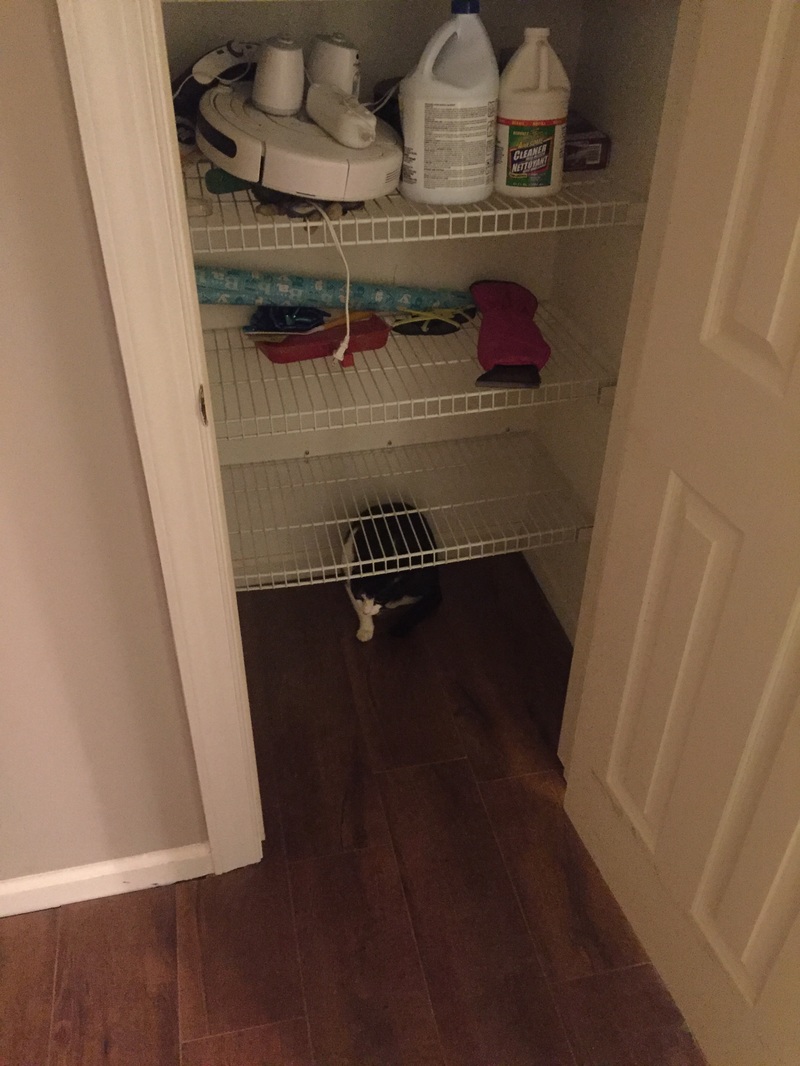 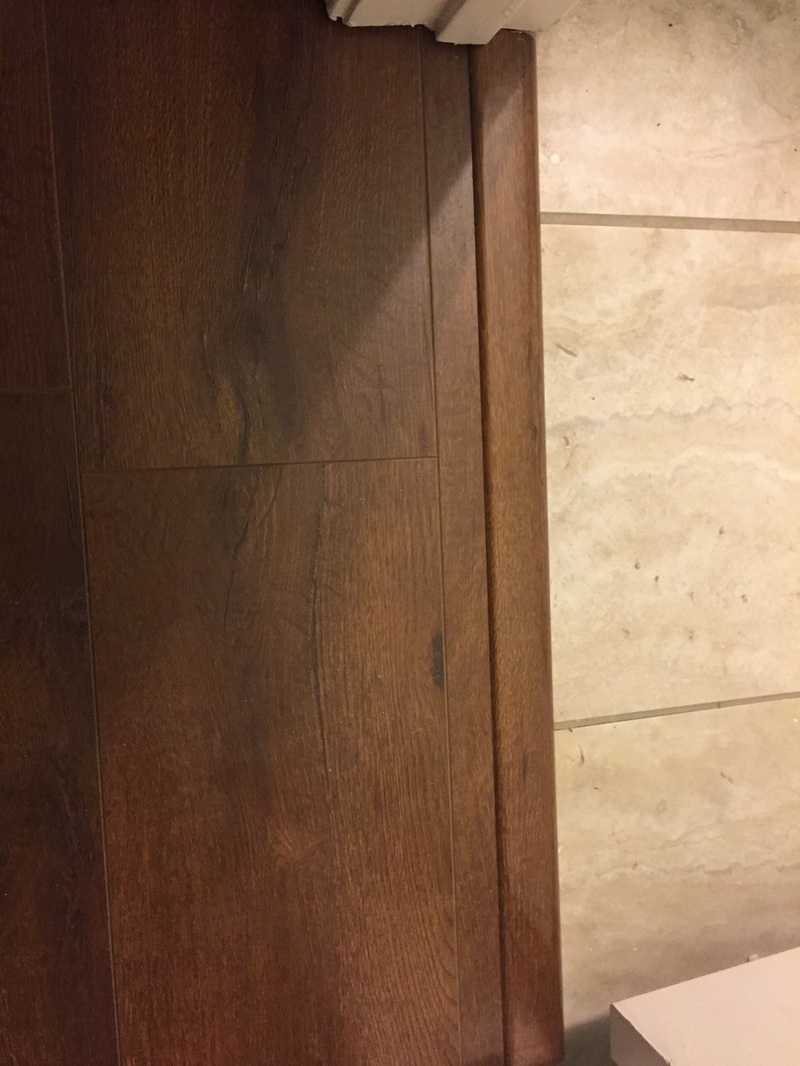 I suppose I am getting a little ahead of myself. The installers still need to add toe moulding, finish the back bedroom closets, and I need to clean (and clean, and clean). Regardless, I'm in love. THANK YOU SO MUCH to Styron Flooring. You guys are awesome!!!!!!!!
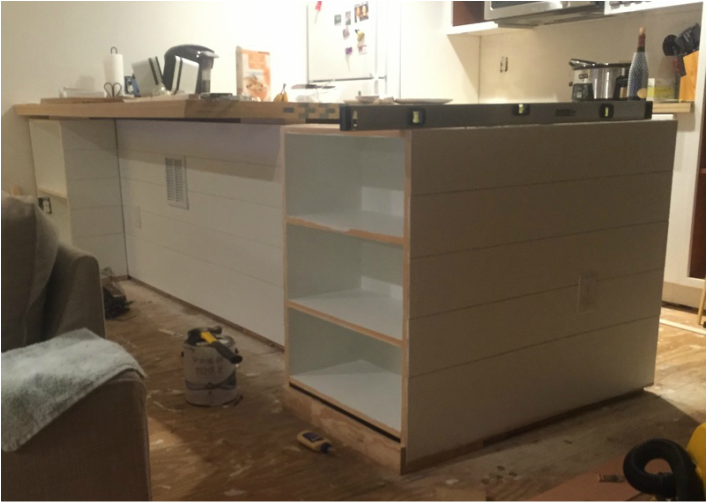
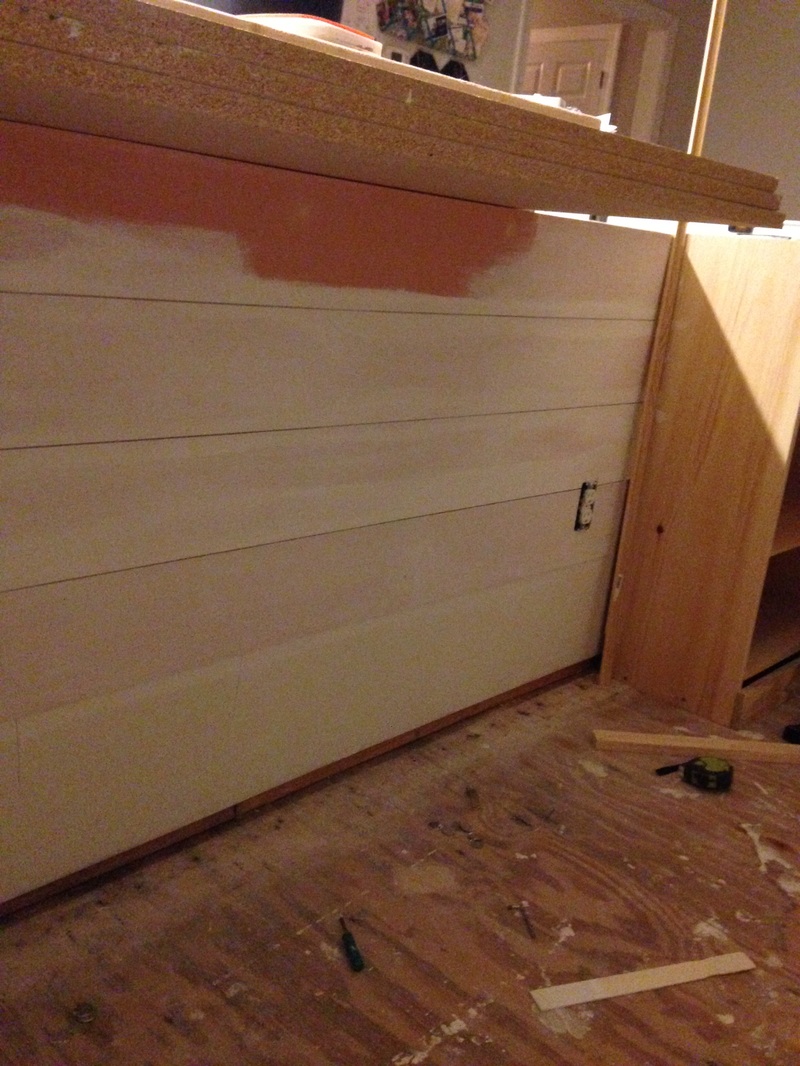
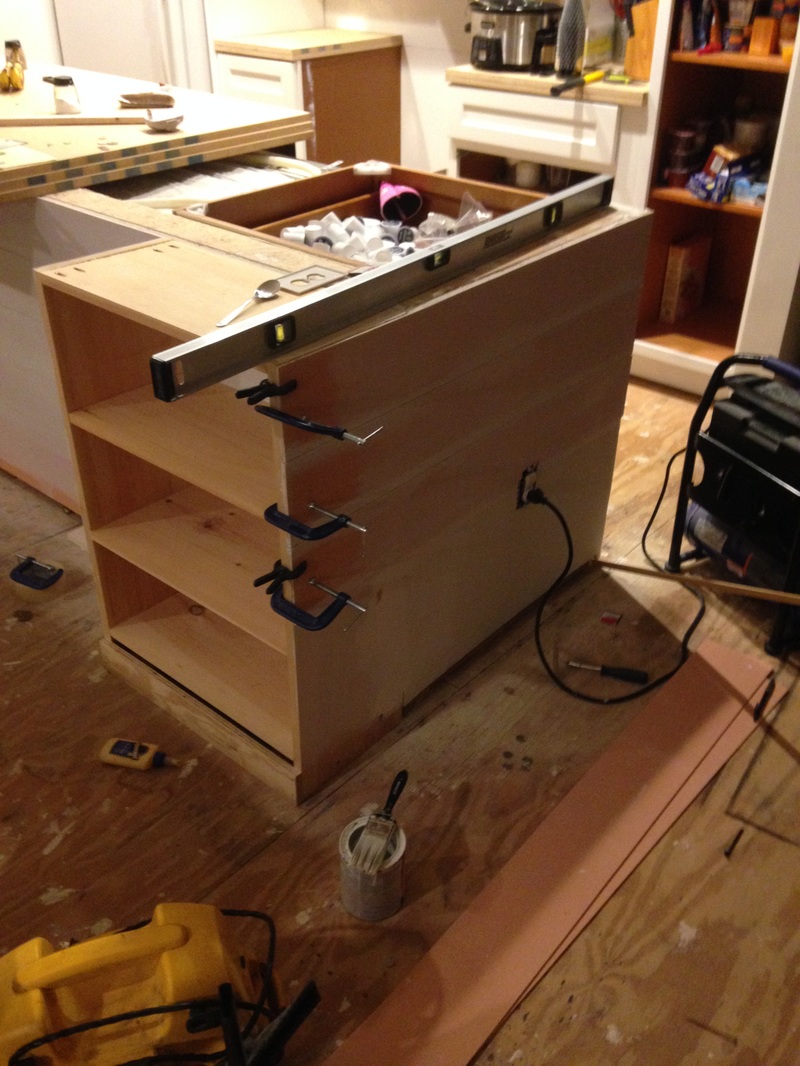
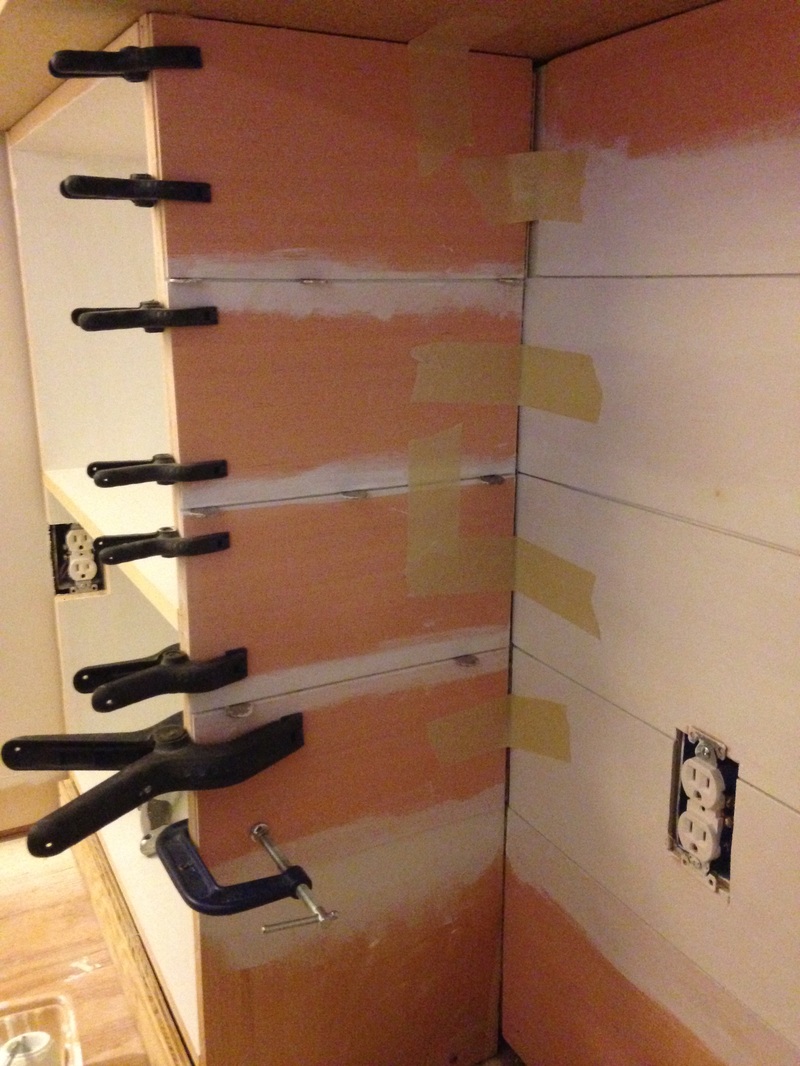
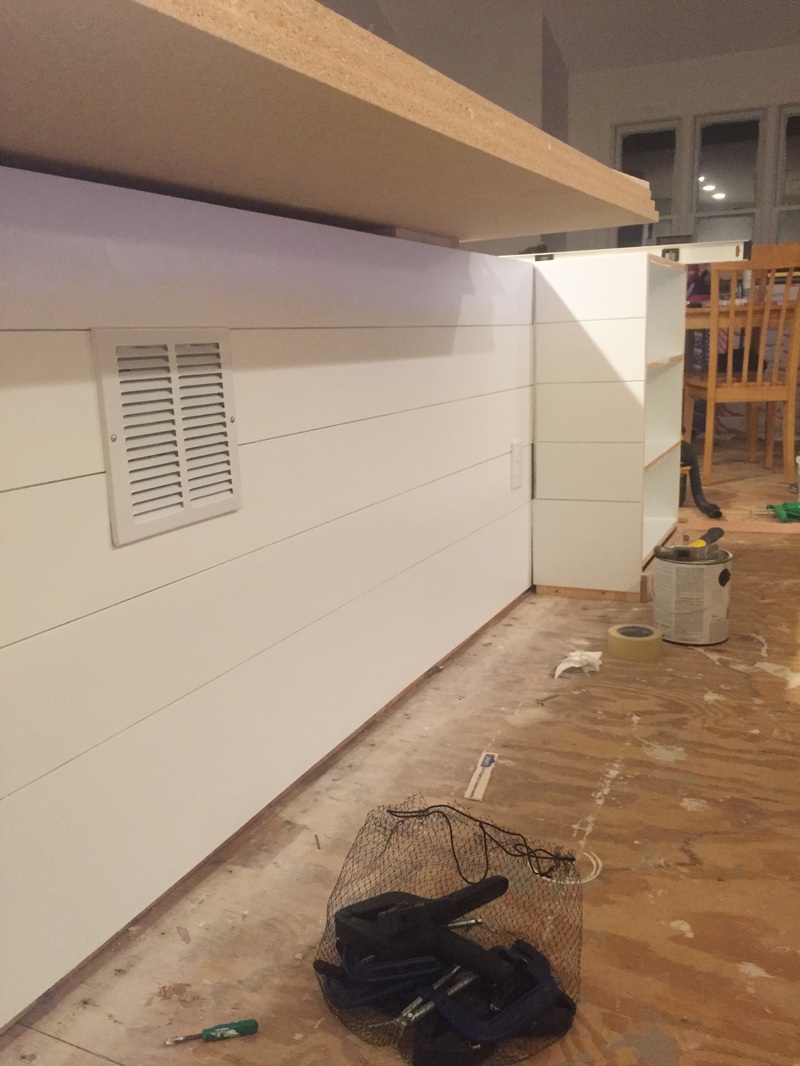
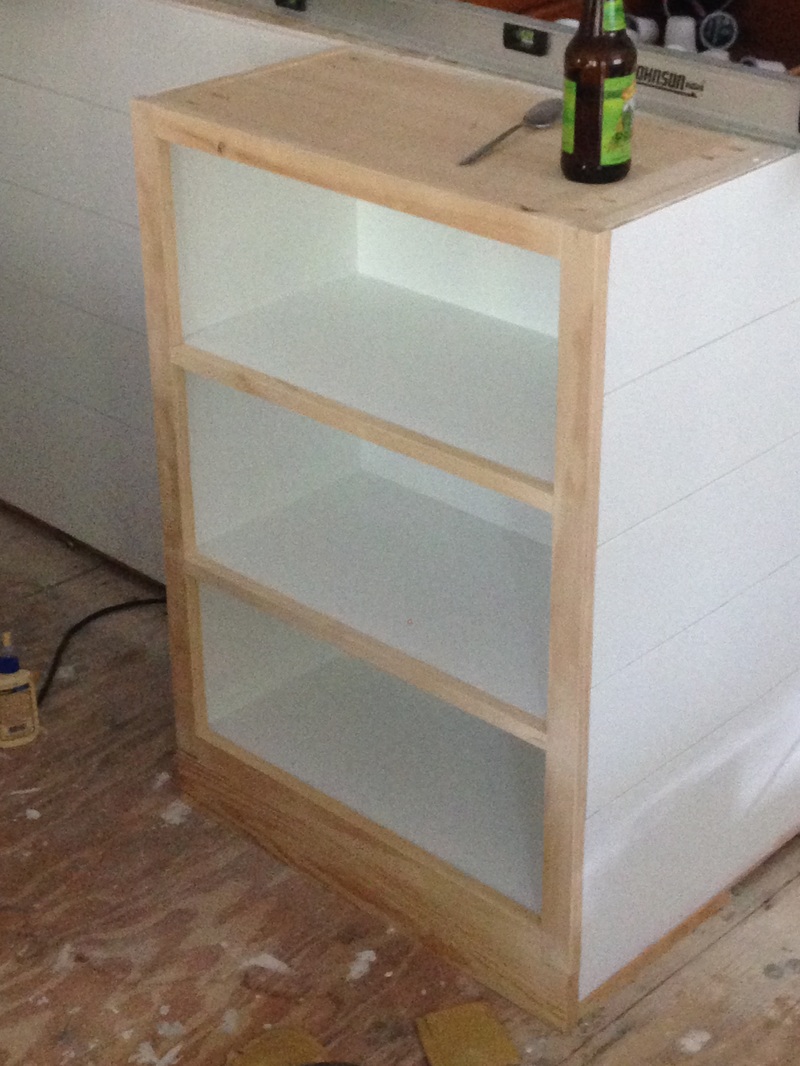
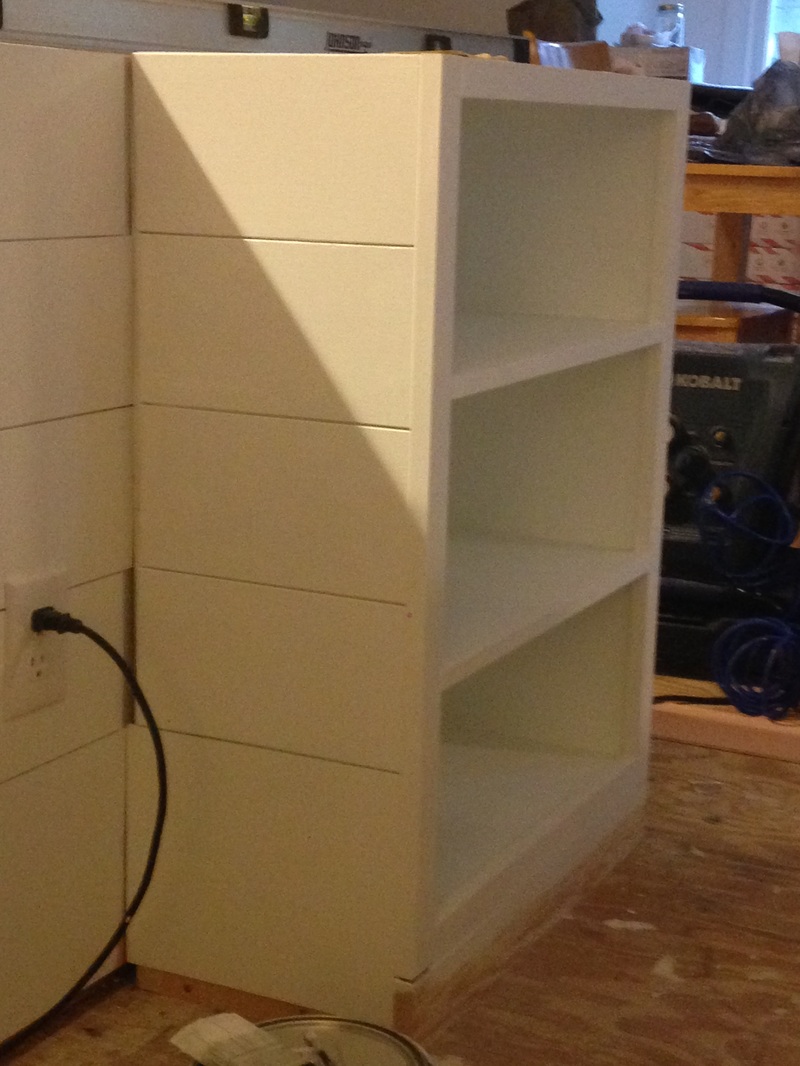
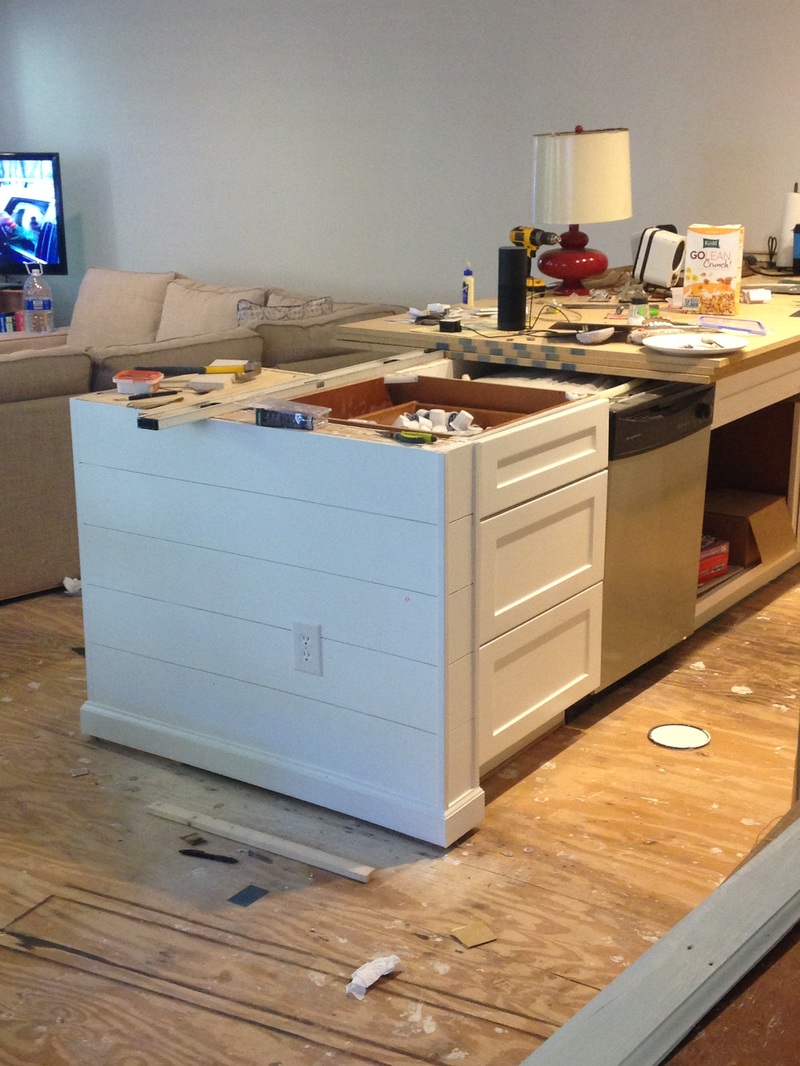
The floors are going to be installed in a few weeks, and to prep for them, we have to make sure the trim work is ready to go. This has forced me into project mode, which I actually really like :). So, the current project is finishing the kitchen peninsula. Here's a quick reminder of what we started with: 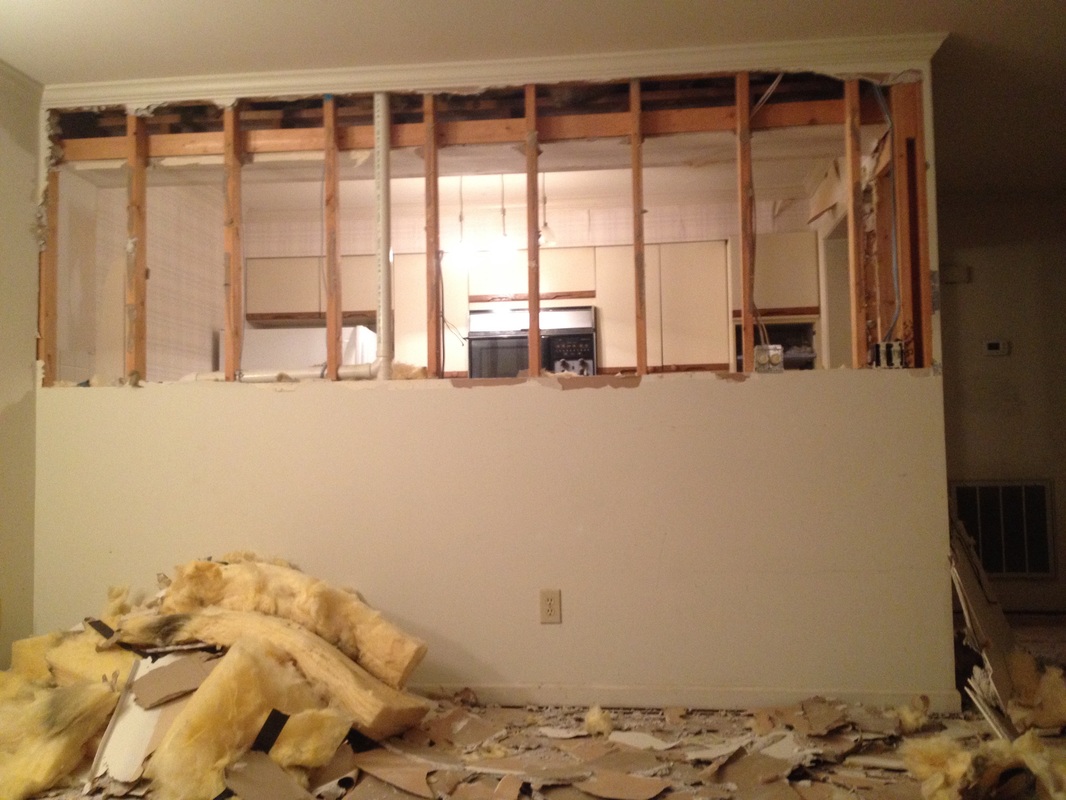 Then this:  That is probably the cleanest the kitchen has ever looked! Dreams! Well, you should notice there is no base moulding and the bookshelves kind of stick out like a sore thumb. I decided the only way I could really blend them in was to add some DIY shiplap. I'll let you all google the how-to and just show you my pictures of the process. 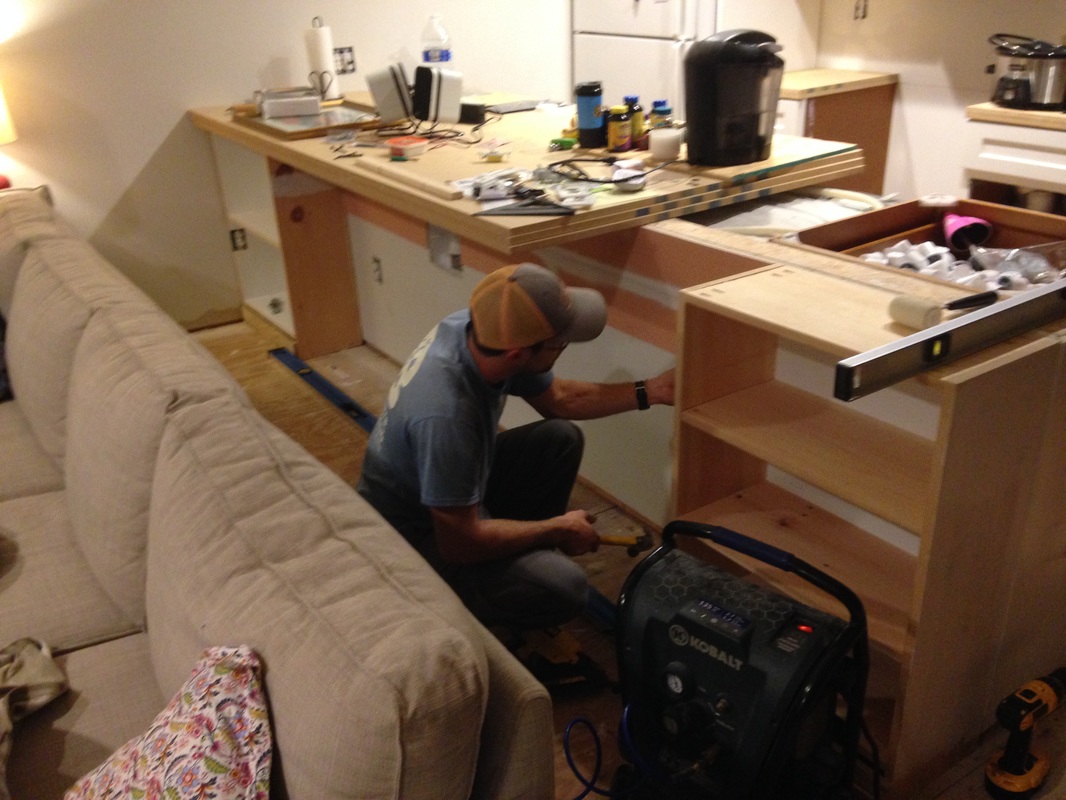
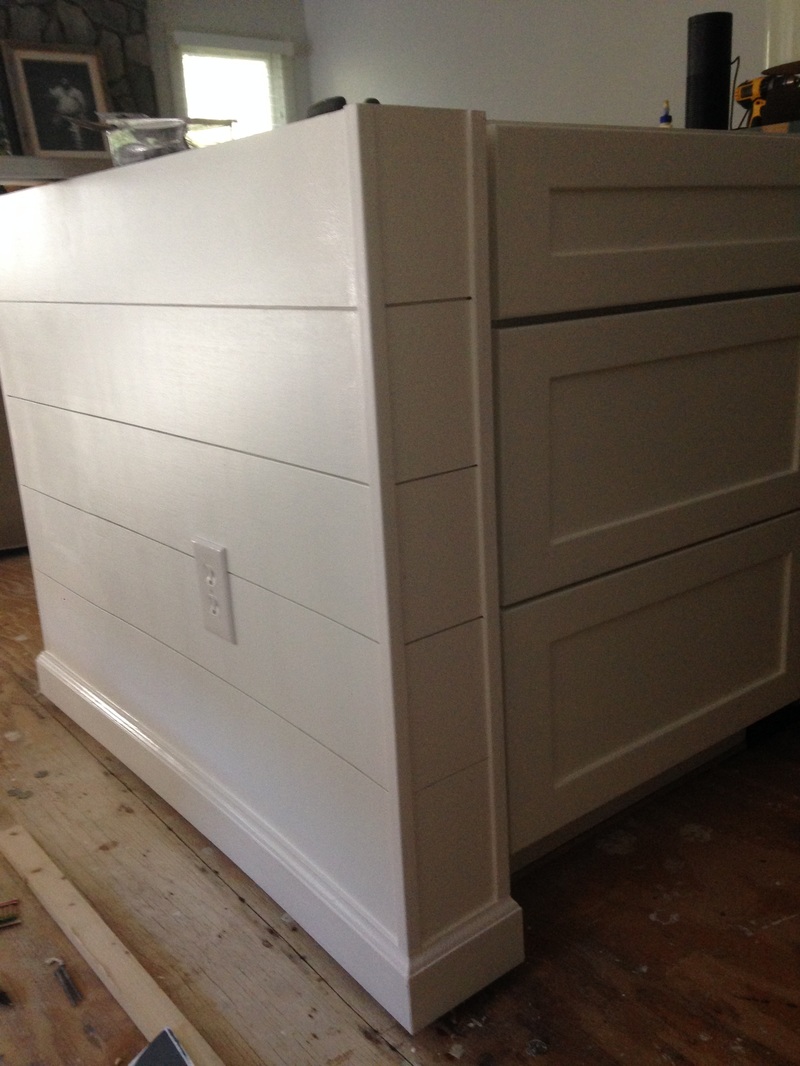
And now with moulding, trim, and paint! 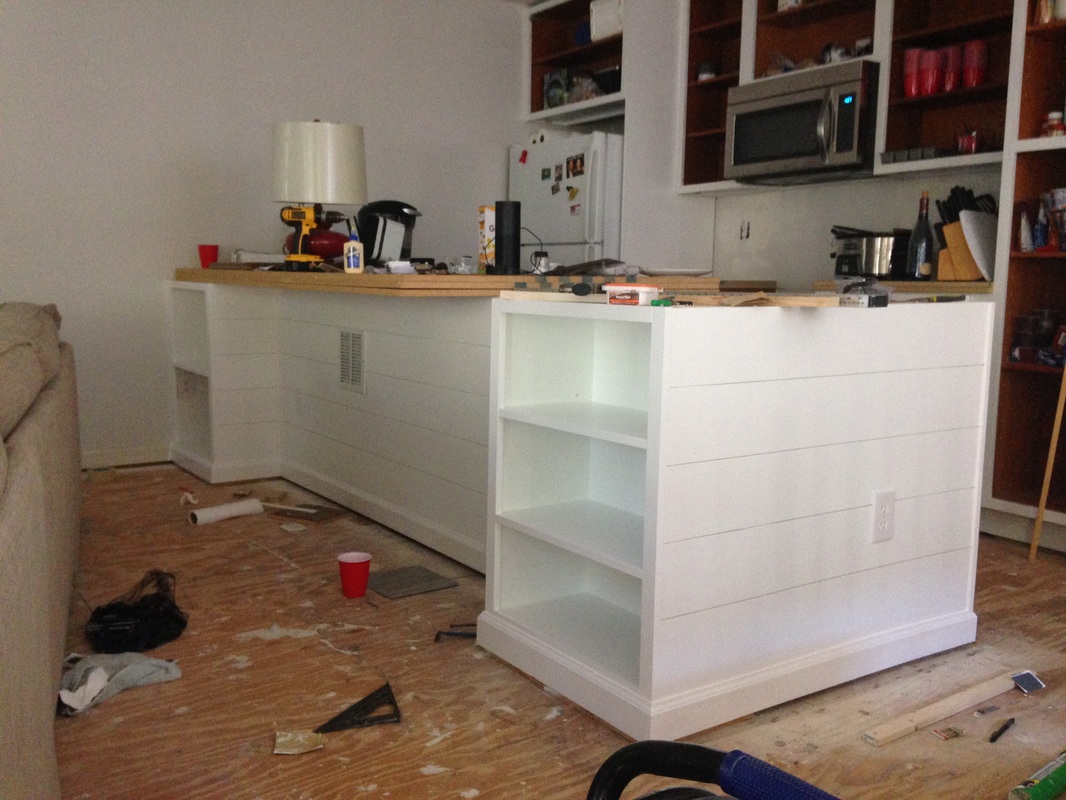 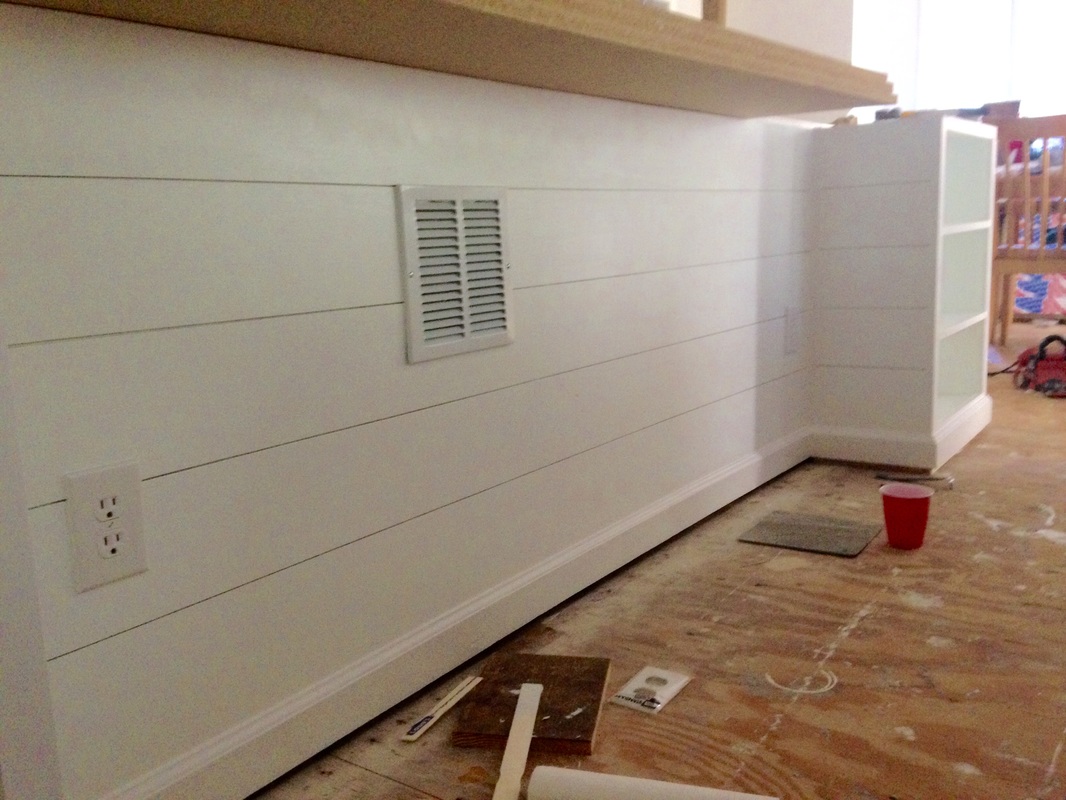 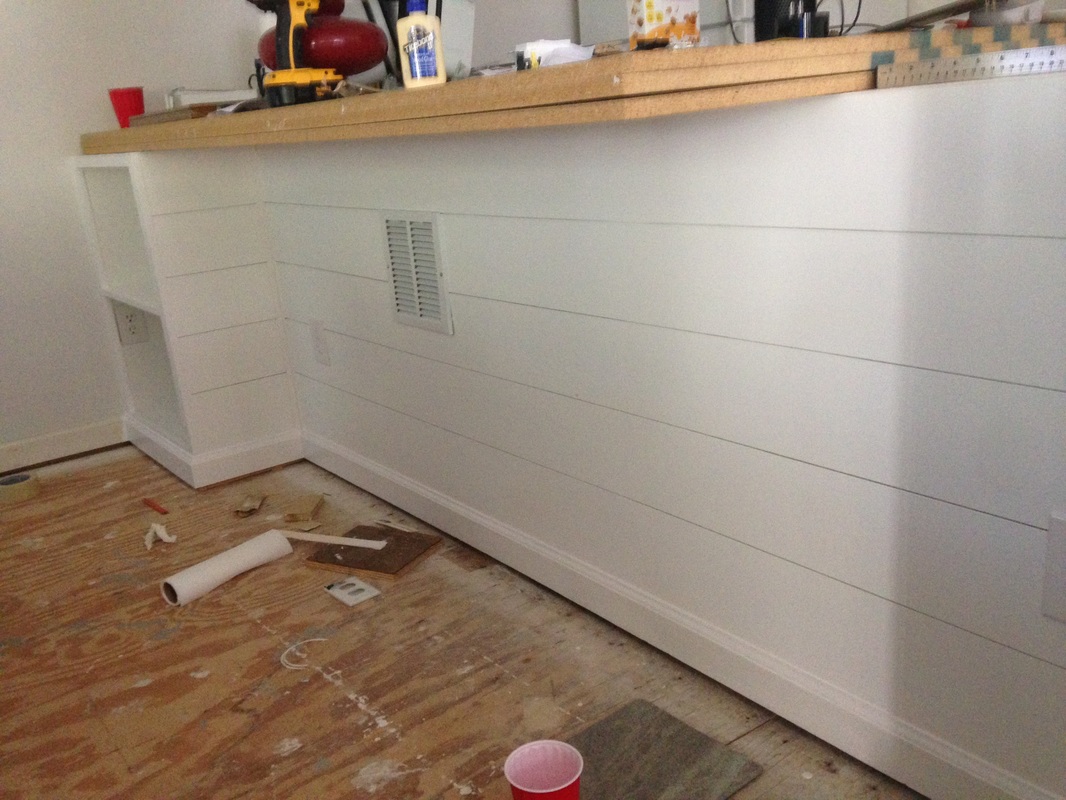
Now all I need is a countertop and I'll be all set!
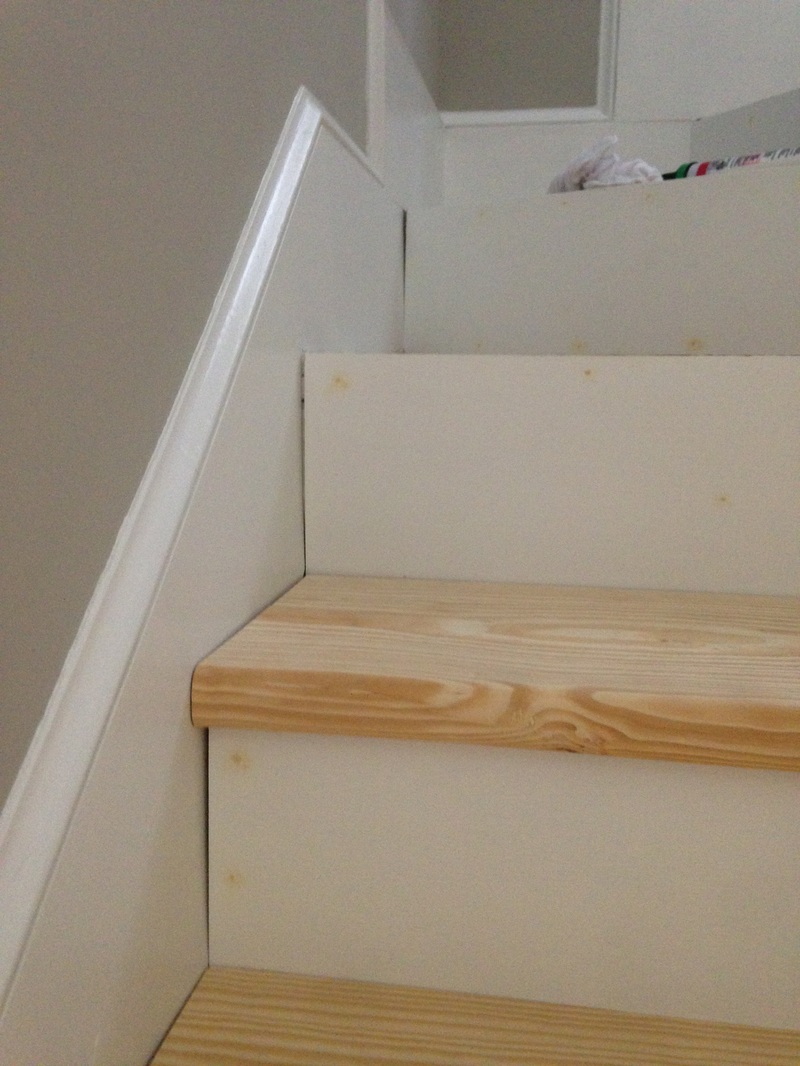
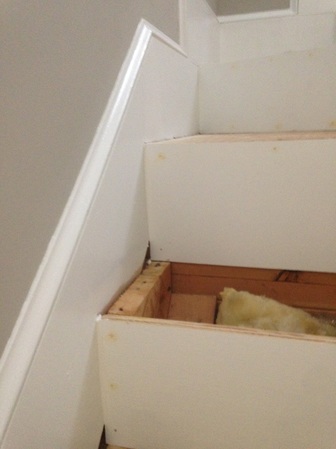
So this has been a long time coming, but I've finally taken pictures of my stairs. I have to say I am SO HAPPY with the way they came out. A few things real quick and then I'll get to the pictures: The Stain: I used Mixwax prestain for all of the stairs because they are pine. Next, I applied one coat of Minwax Honey, let that dry for a few hours, and then applied a mixed stain of Minwax Special Walnut and Minwax Dark Walnut. I tried my best to match it to my laminate floors, but I'm not sure I made it a perfect match. Oh well - they look great anyways! I applied three coats of Minwax polyurethane to finish them off. How to Attach: I used Liquid Nails on the stringers and the plywood risers, and then predrilled (with a countersinking bit) two holes per side and attached the wood with 2.5 screws. I then bought and stained plugs that fit the holes and hammered them into place. For the curved stairs, I just applied a TON of liquid nails, used sandbags for extra weight, and then used a nail gun to securely attach them. 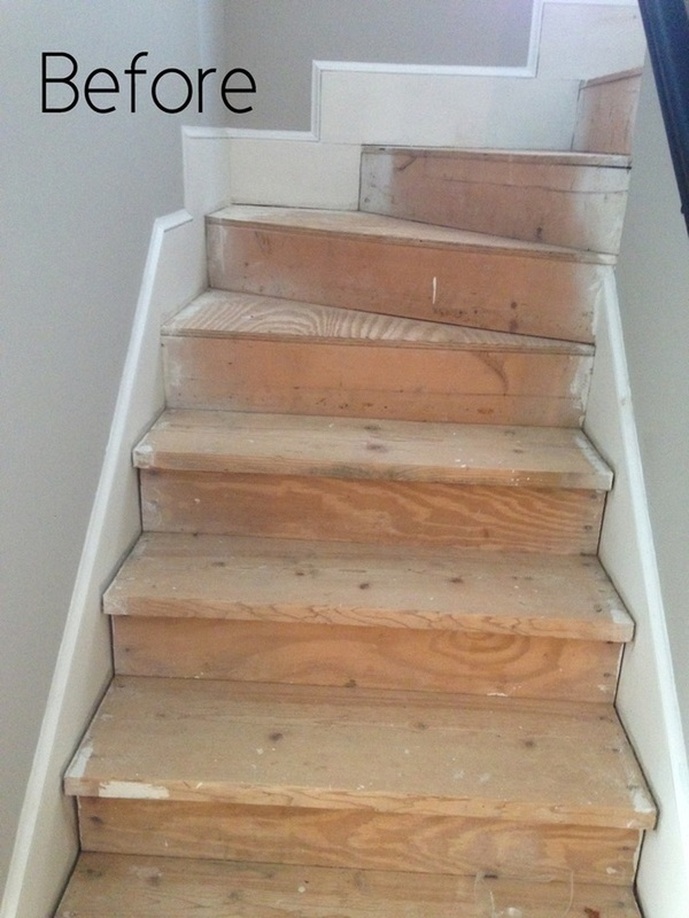 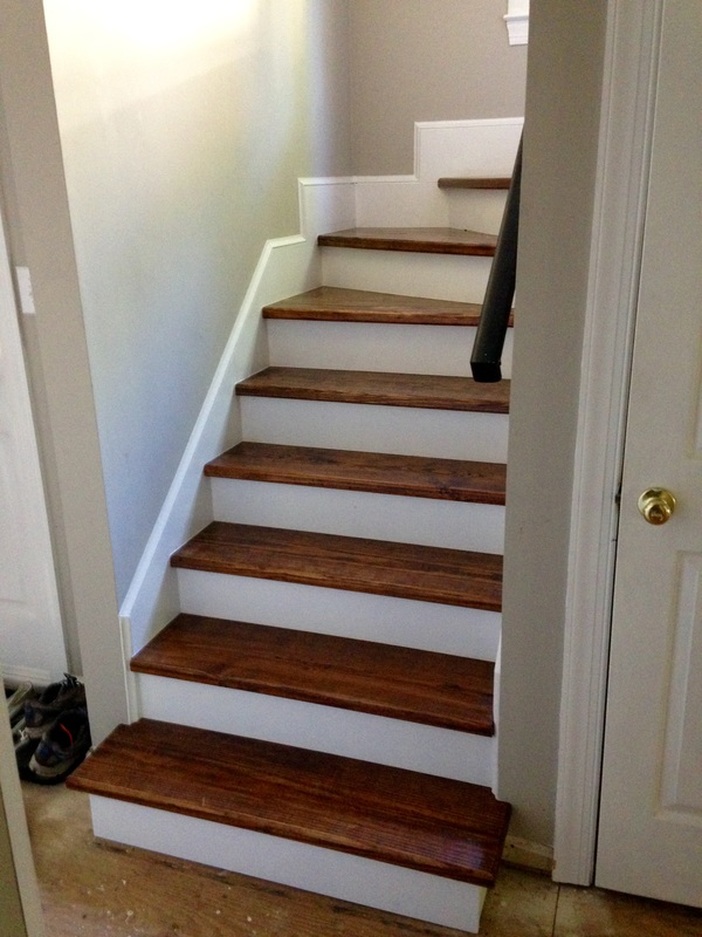  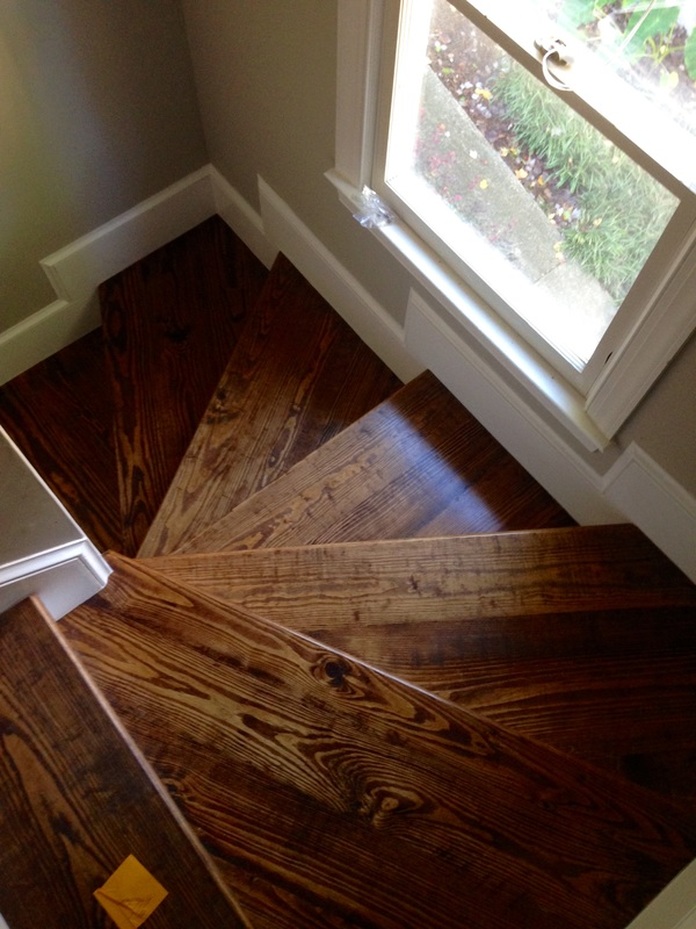 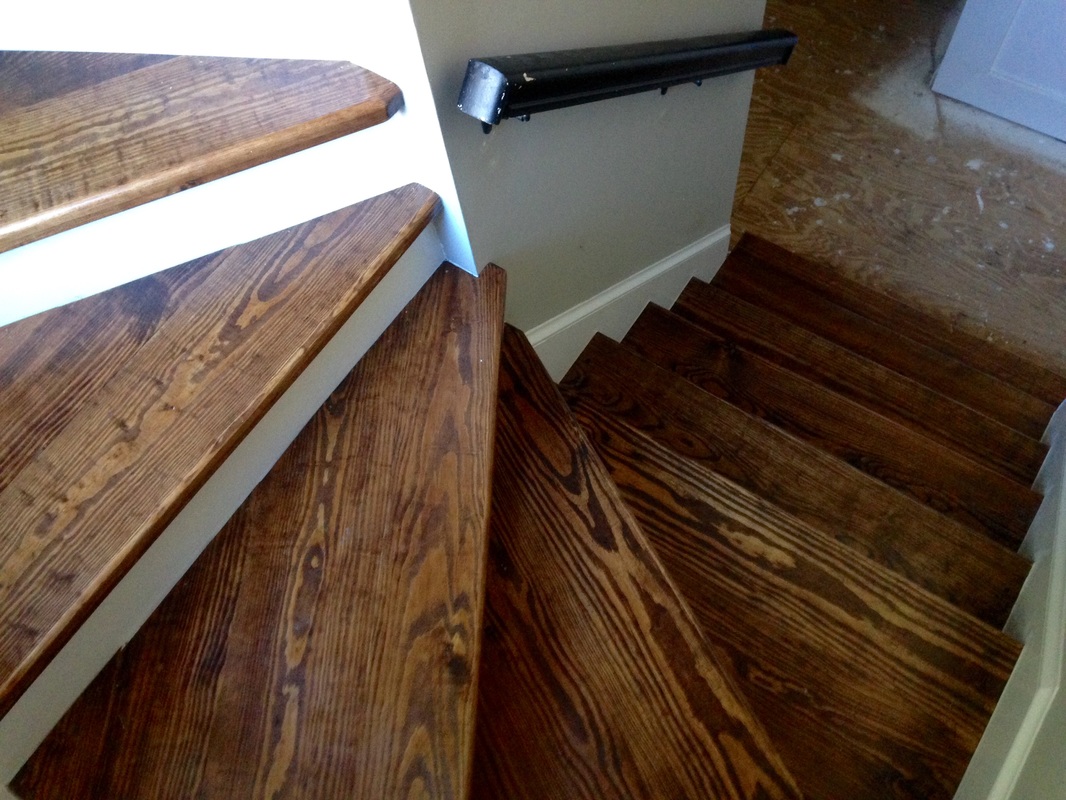 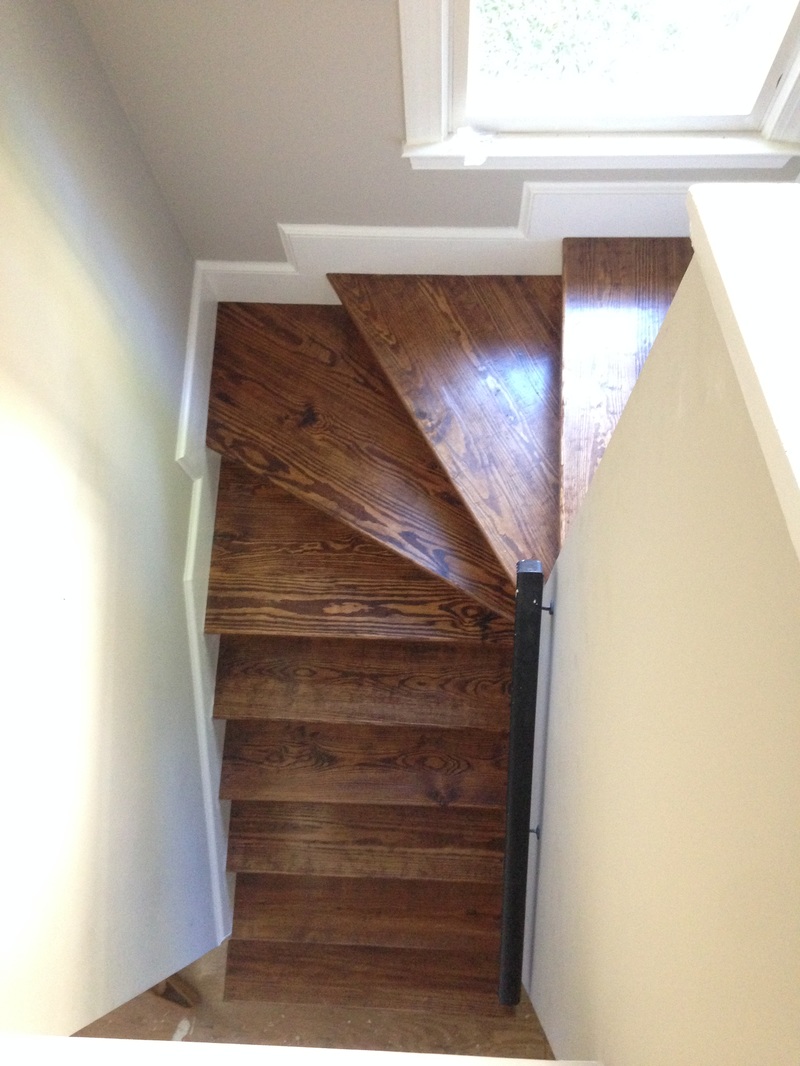 Update 1: Curved stairs. I left the last post explaining how I am creating the curved - or as I was corrected the other day, angled - stairs. Now, since these treads are only 0.75" thick, I needed to double up the fronts to make them appear as thick as the other boards. It was pretty simple. I just ripped a 1.5" wide piece of 0.75" thick wood, glued, clamped, and finished nailed it to the angled tread. I then sanded and routered the edges to make them appear just like the other treads. 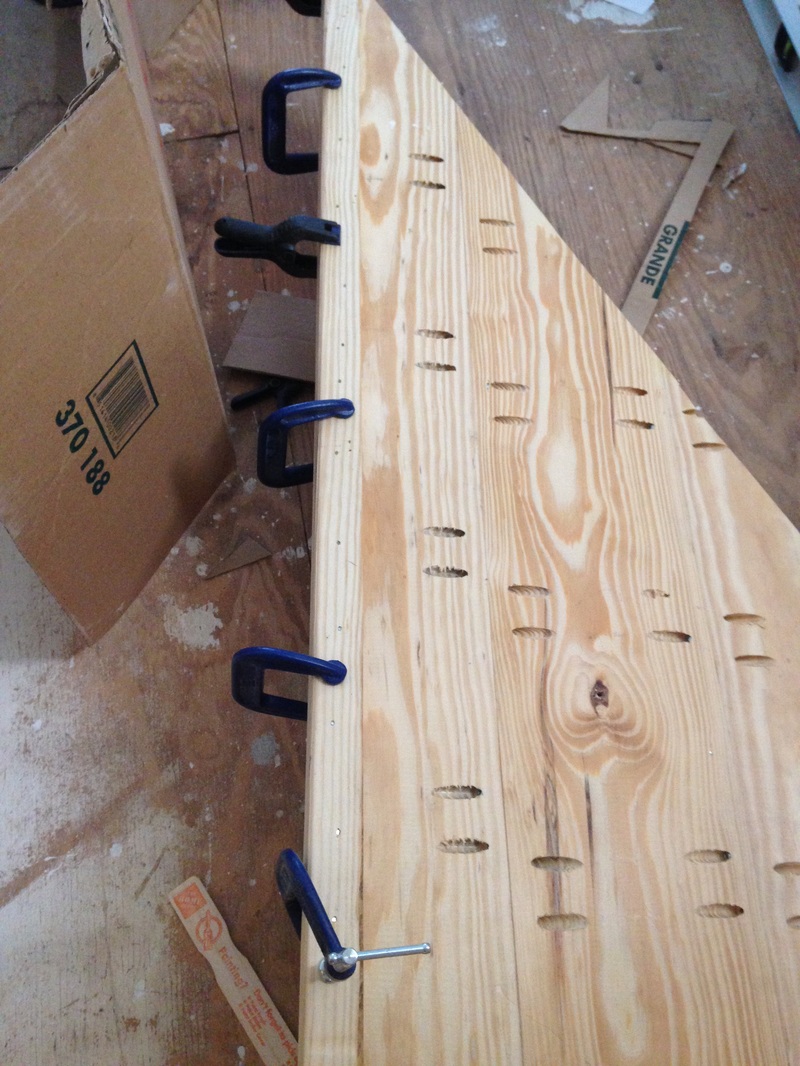 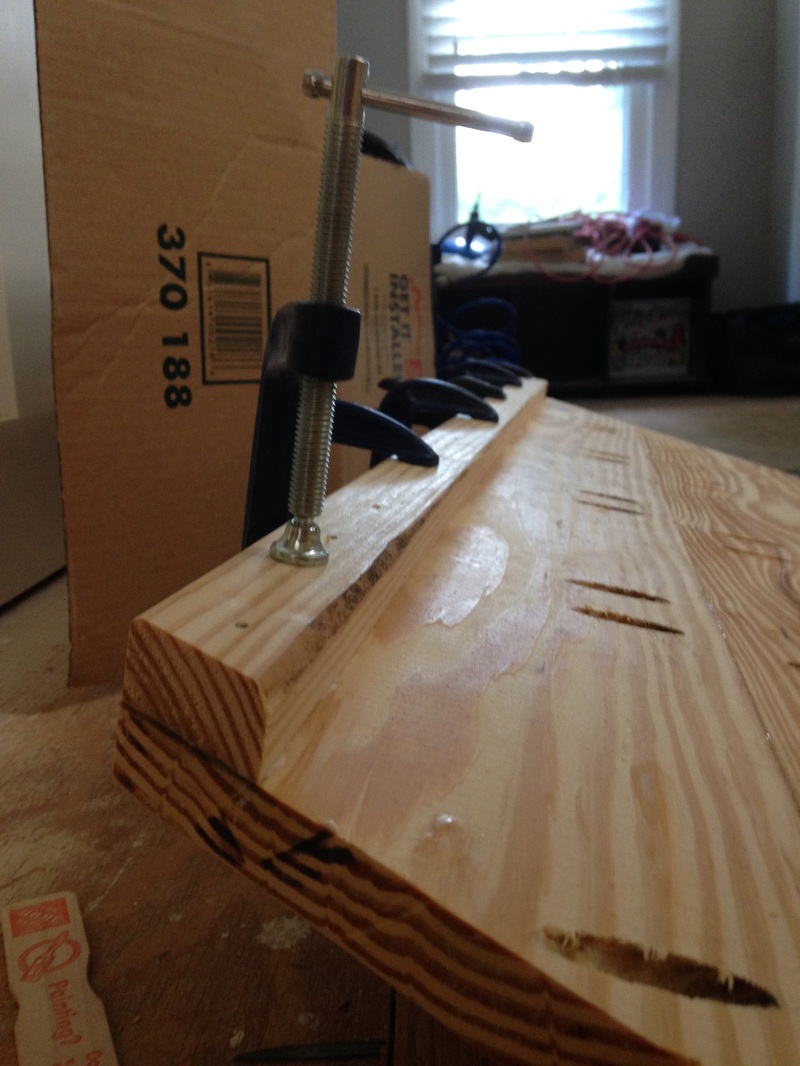 Below, you can see how skinny the angled boards are compared to the straight treads. 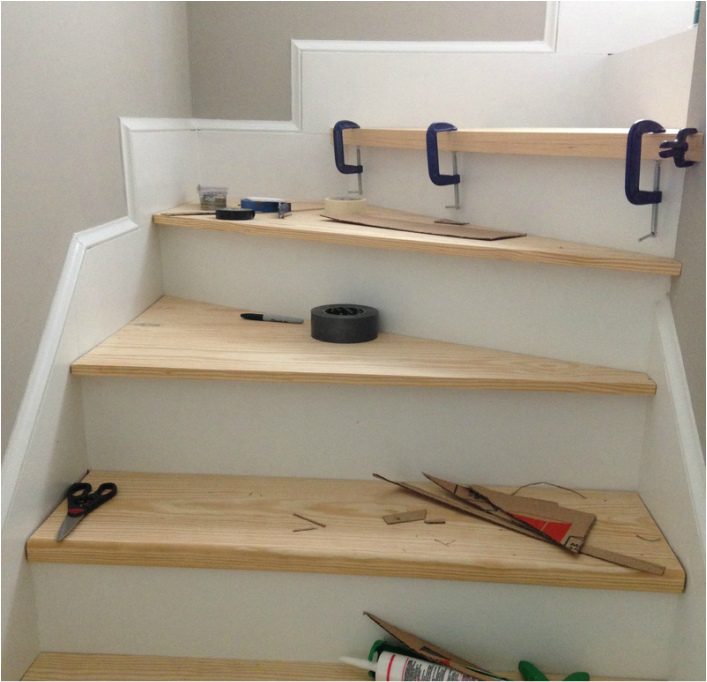 Gluing and clamping the new bottom lips on. 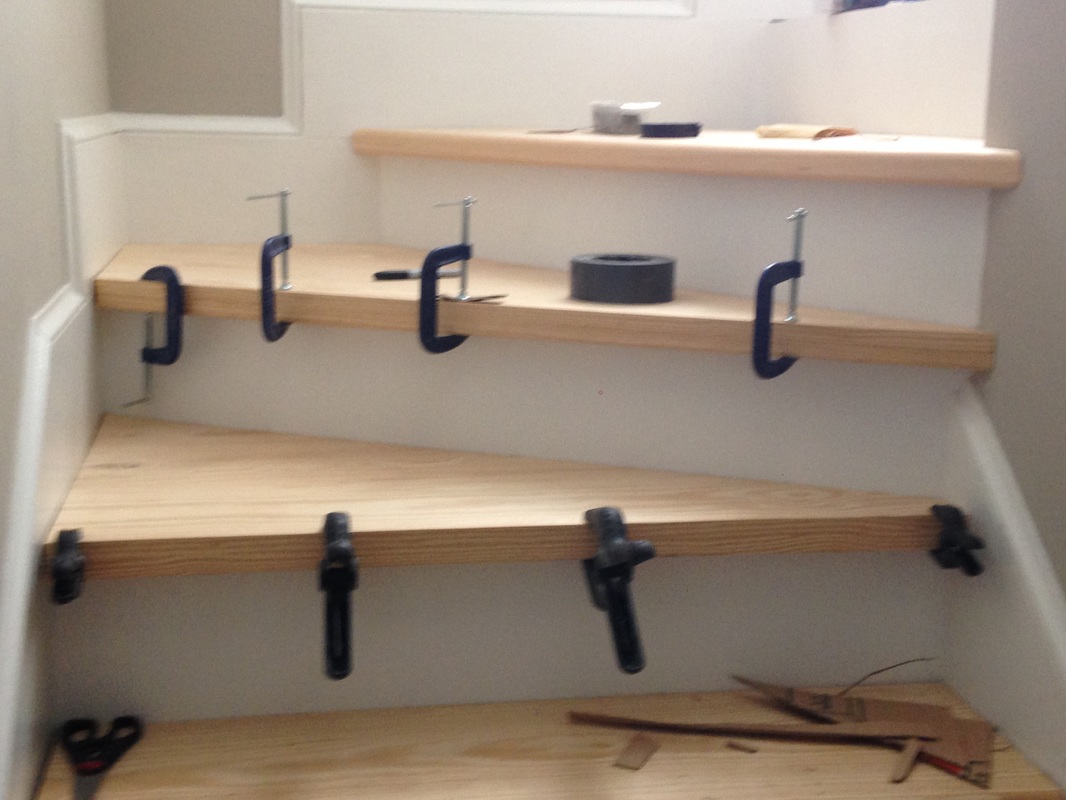 Can you even tell which ones are the 1.5" thick treads and which ones are the "pretend" 1.5" thick treads? :) 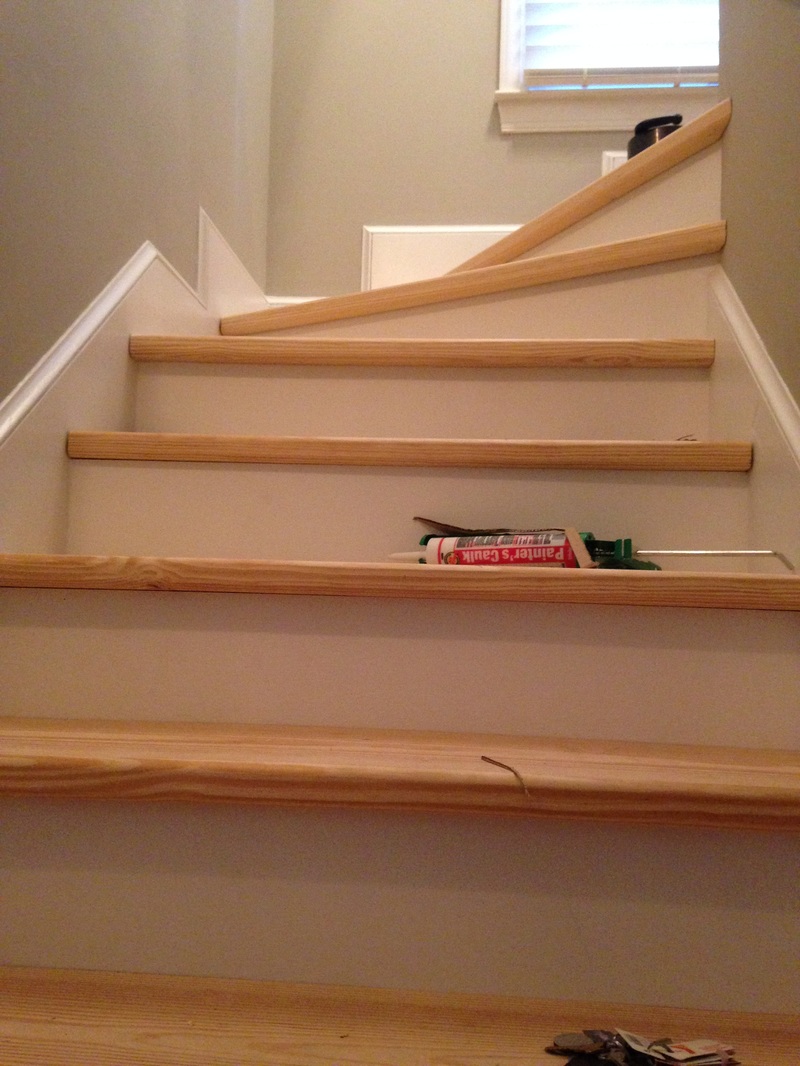 After staring at my beautiful work for a long time, one thing started to bother me. The third angled tread kind of.... stuck out... a bit along the wall. See below. 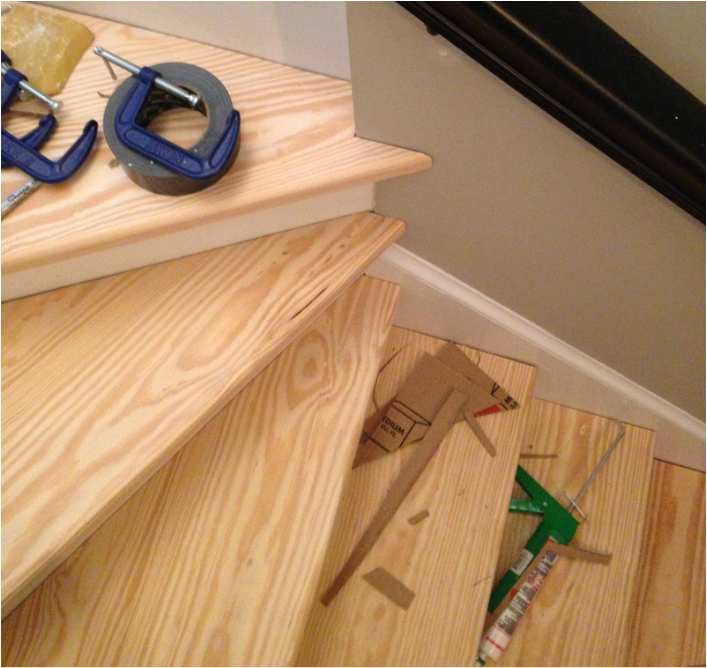 I decided to lop of about a half-inch of the end, router it a bit, and then place it back. I'm much happier with this look than the previous, but it makes me want to adjust the tread right below it as well to give those stairs a more cohesive look. 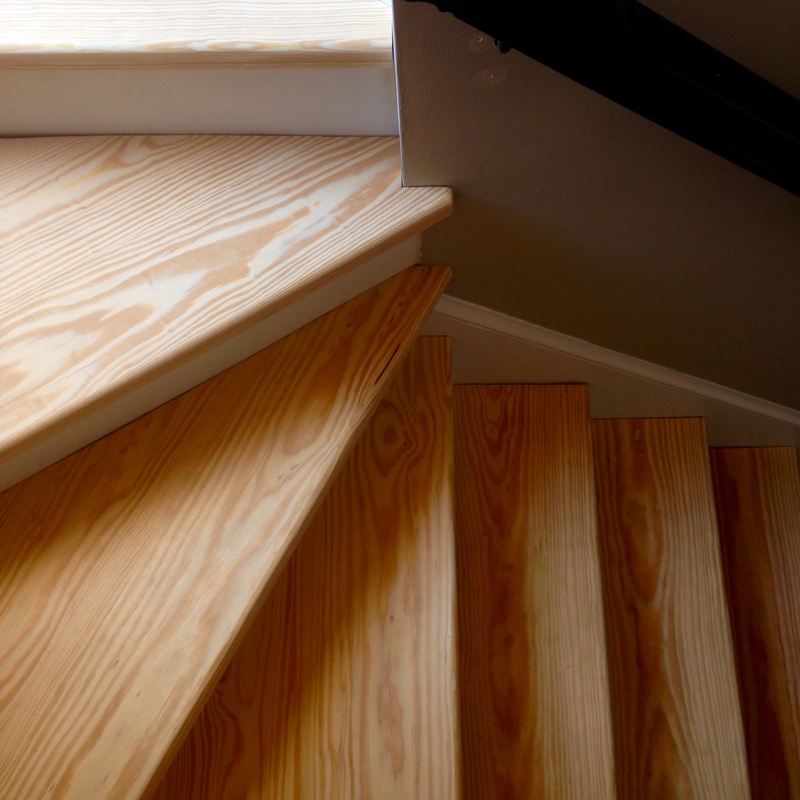 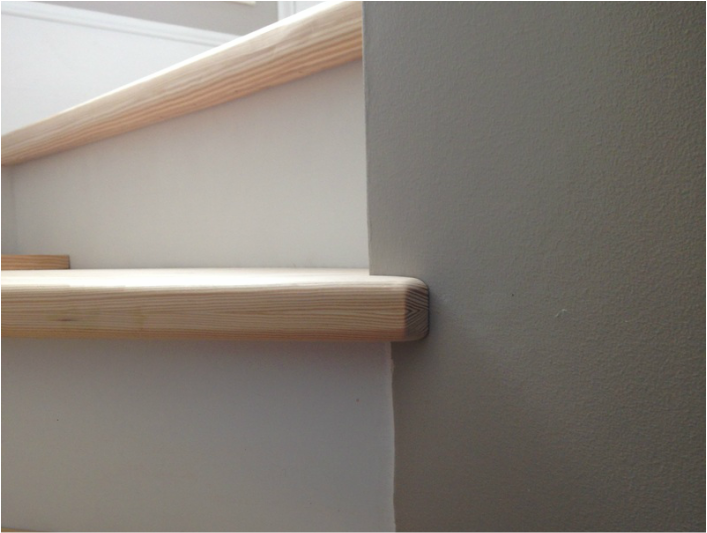 Update 2: Semi-Reveal. These posts have been a little long winded, so I figured I'd recap what the stairs used to look like compared to what they look like now.  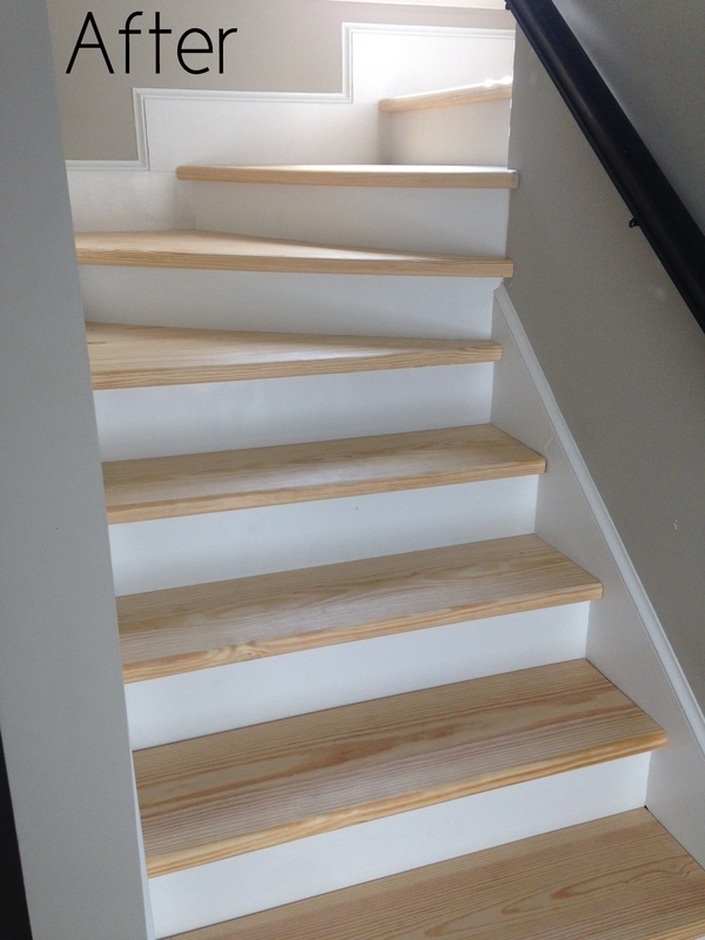 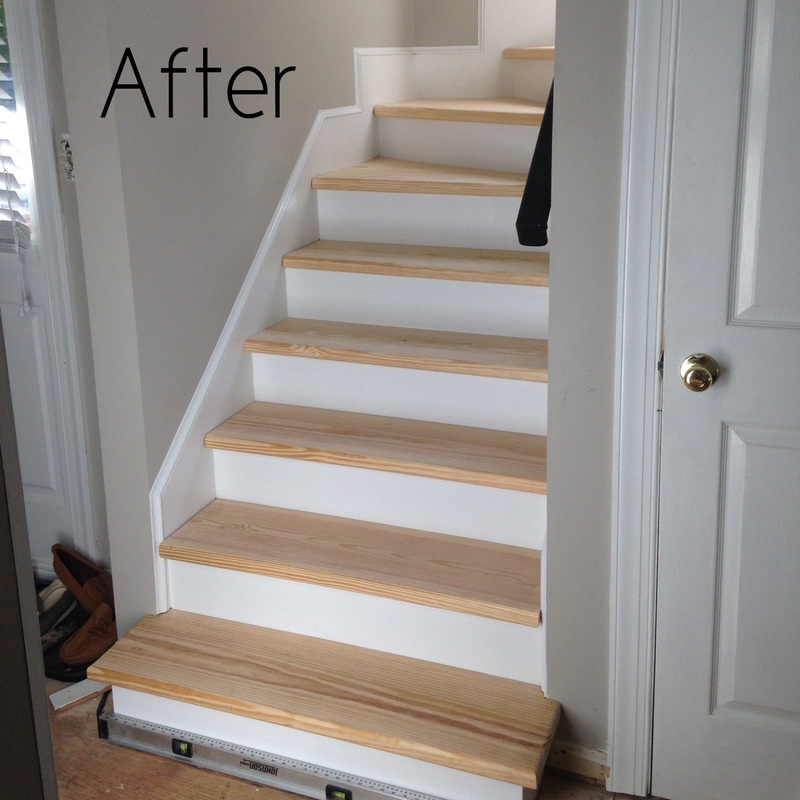 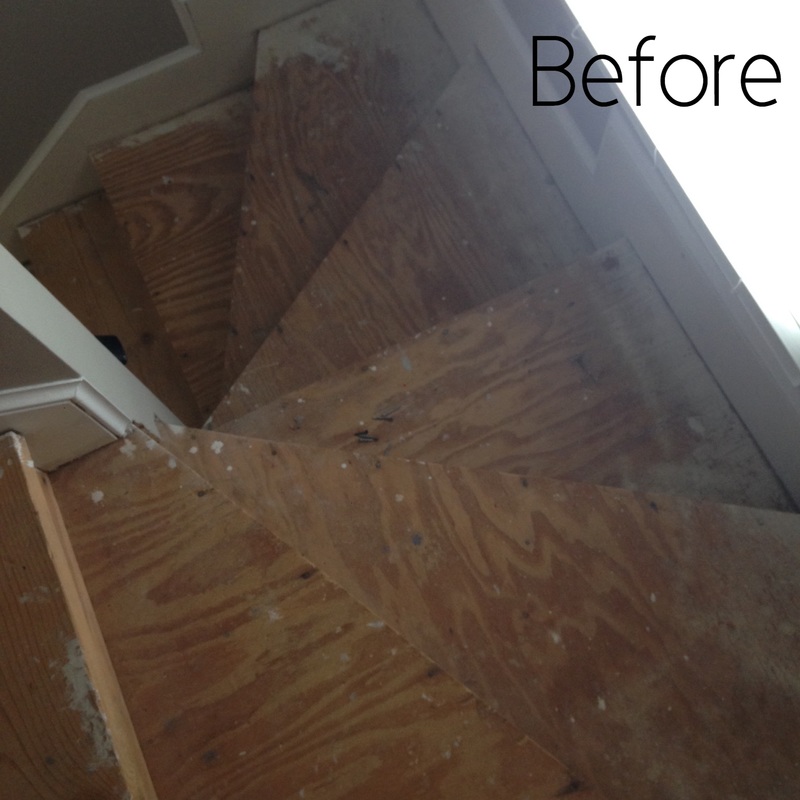 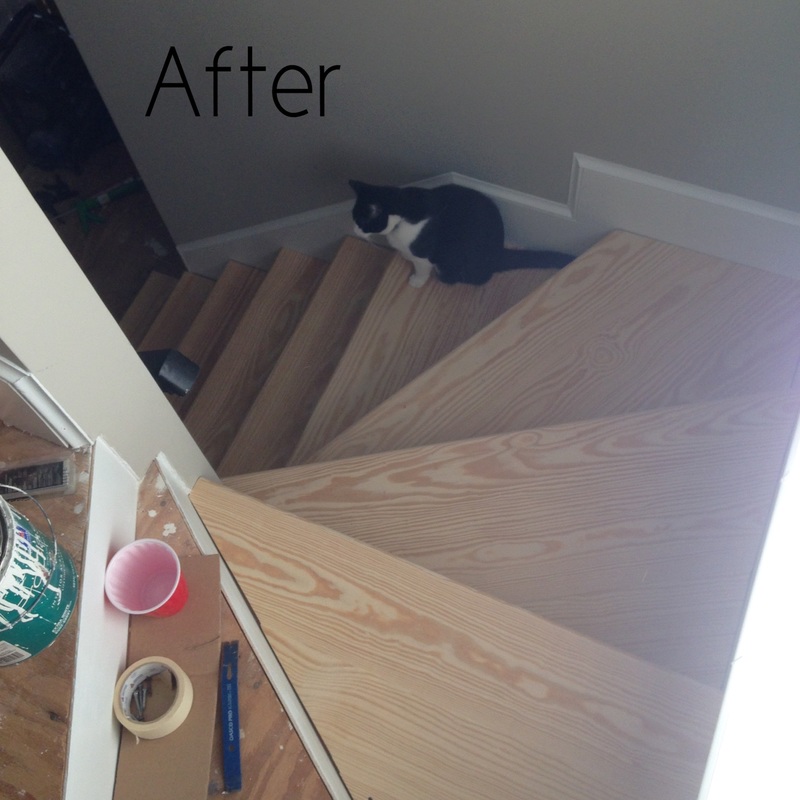 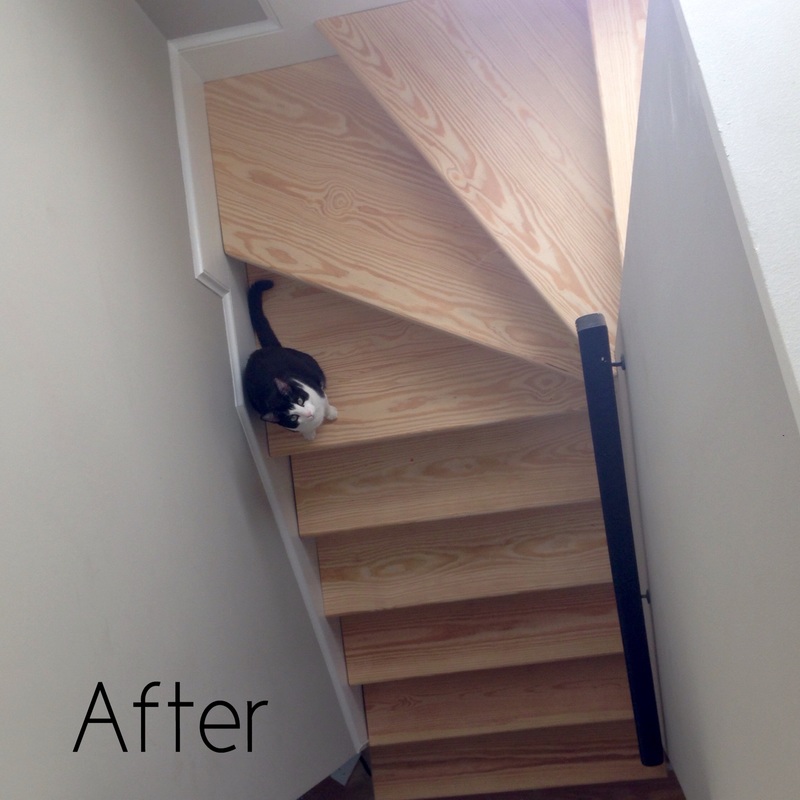 Update 1: Risers. For the treads that were being completely replaced, the risers were also replaced. I used 3/4" sanded plywood, painted them white, and heavy-duty glue and nailed them onto the stringers. They look great! For the risers that go around the curved stairs, I used 1/4" luan. I was initially thinking I would use 1/2" plywood, but am glad I went with the luan. I had a lot of scrap around in my basement that worked great (and kept the costs down). Again, I painted them white and glued and nailed them onto the existing plywood risers.
I filled in the nail holes with wood filler and caulked the edges to give the risers that "finished" look. I slapped on one more coat of paint and the risers are finished! 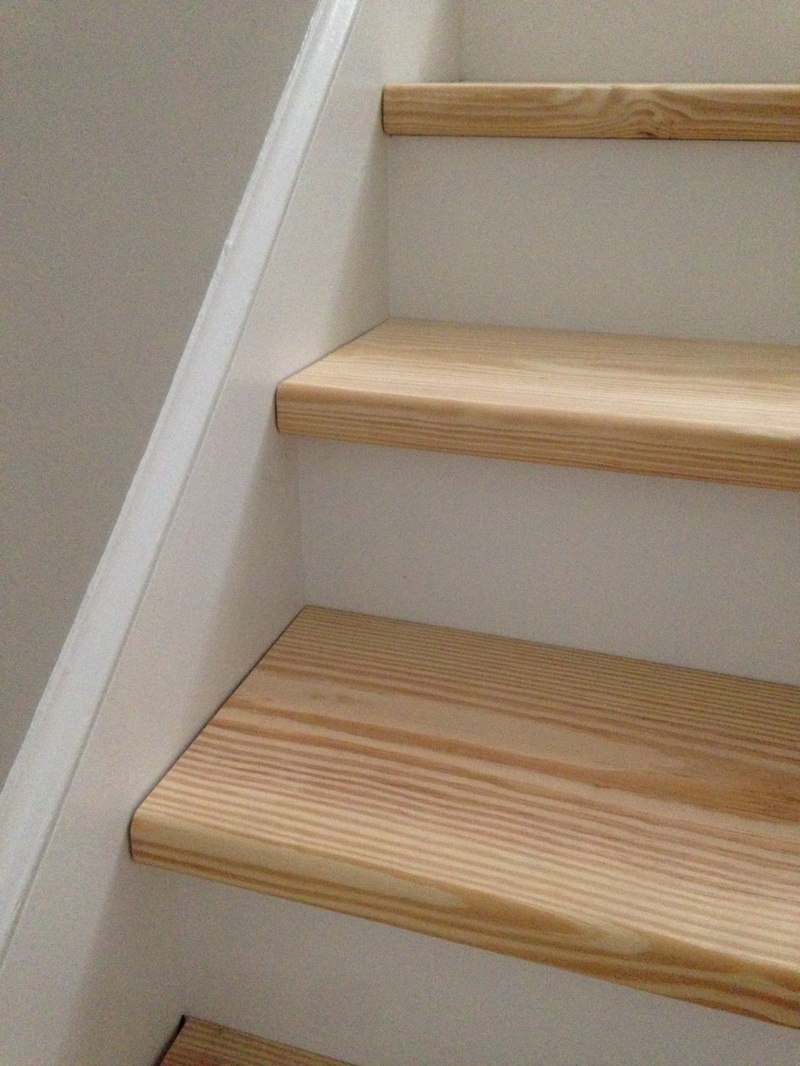 Update 2: The Curved Stairs (Part 1). These are definitely the most stressful (and expensive) part of the stair replacement process. It took me a while to figure out how I wanted to approach this project, but the first thing I did was create a template. Yes, I made it out of dusty old cardboard moving boxes. It was fun. The template isn't perfect, but I dealt with the imperfections later by scribing the wood to the riser. 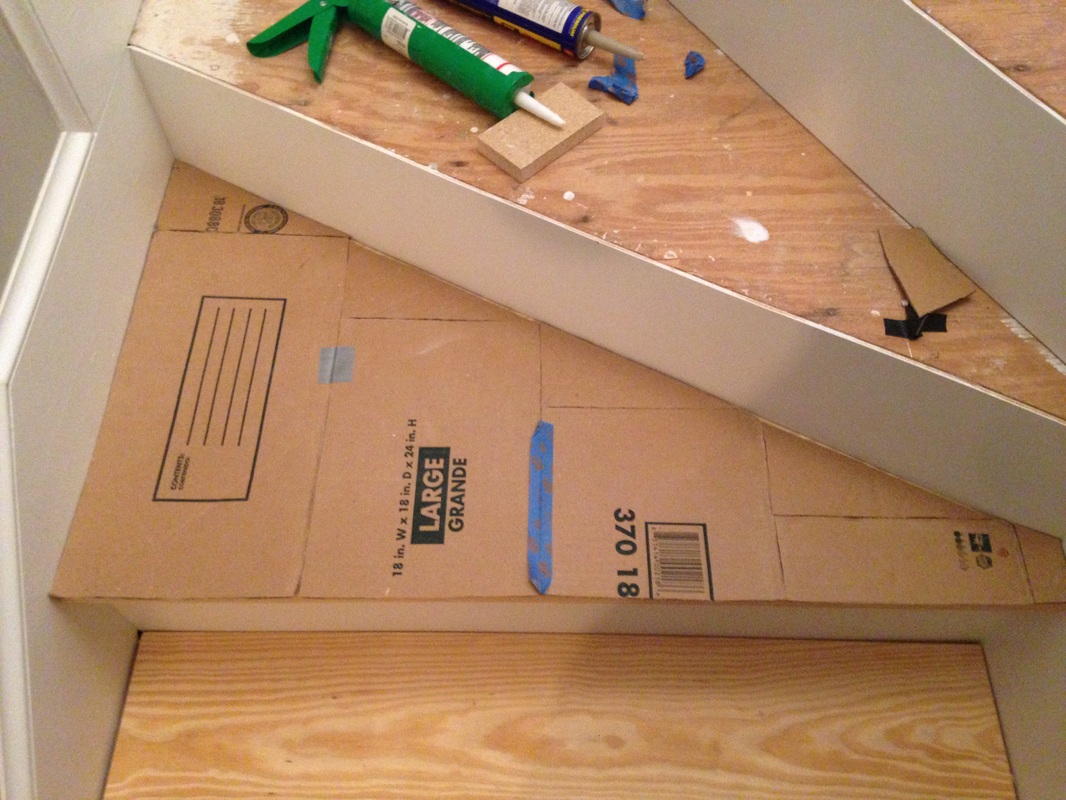 Next, I hit my first dilemma. I should stress that I am not replacing the plywood treads that are there currently - I am simply placing wood on top of the plywood base. According to my dad, stairs should rise 7.5", but could go as high as 8.25" (but really not any more - even 8.25" is high). Currently, from tread to tread, I have an approximate 7.5" rise. Since I am not replacing the existing plywood, by placing a piece of wood on top will increase the rise. Hmmm... what to do. I knew immediately that I could not use the 1.5" thick wood I have been using for the rest of the stairs - it would make the rise too big. Instead, I used basic 1"x8" (really 0.75"x7.25") pine lumber. This increased the rise to just under 8", which is within the allowed amount! Yay! Then, I cut the pieces down to create a makeshift triangular tread, like so: 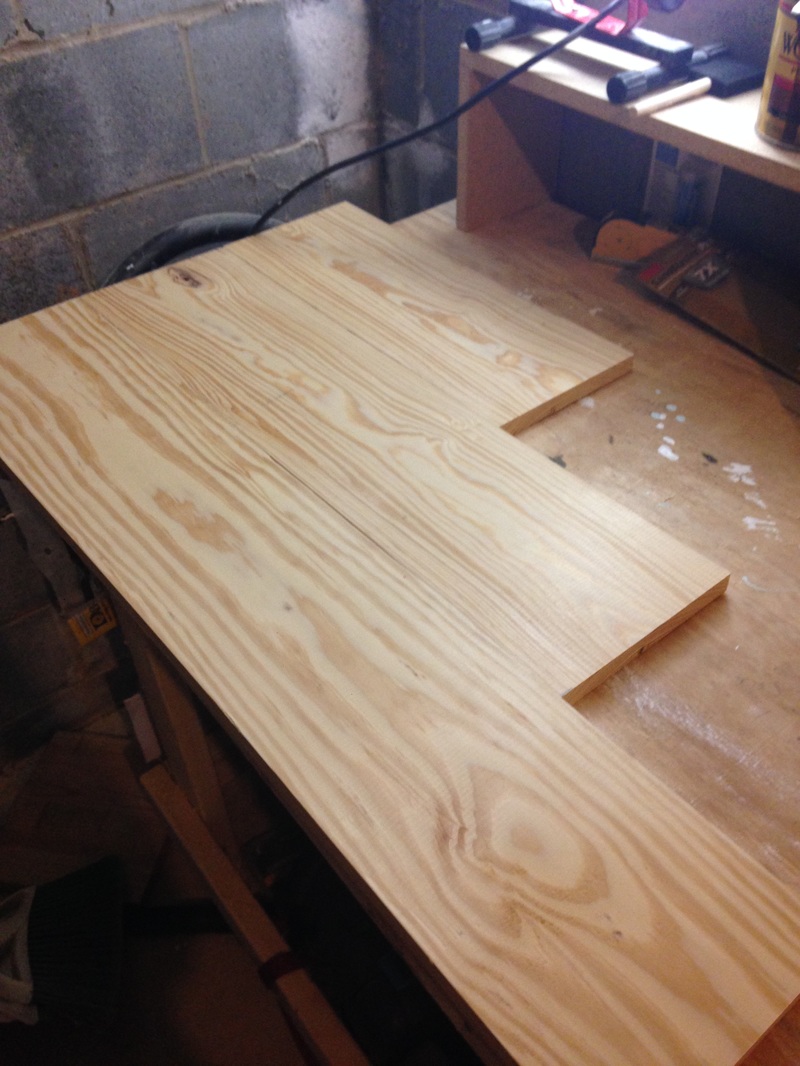 Next, I broke out my handy Kreg Jig and cut pocket holes in the back to attach the boards together (with wood glue as well). I then sanded the seams and filled in any small cracks and holes with wood filler. 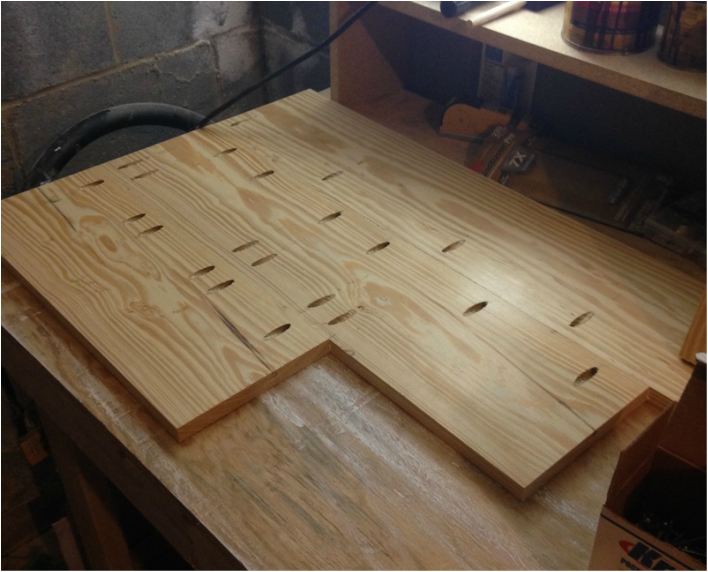 I then used my template again to trace the lines onto the wood. I tried my best to rip one straight line on my table saw. 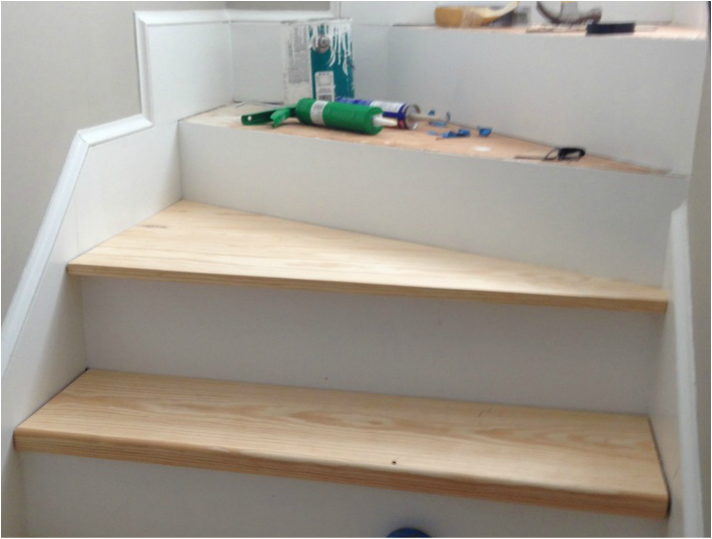 The cut wasn't perfect, so I went ahead and scribed the wood to the riser, and cut it again. 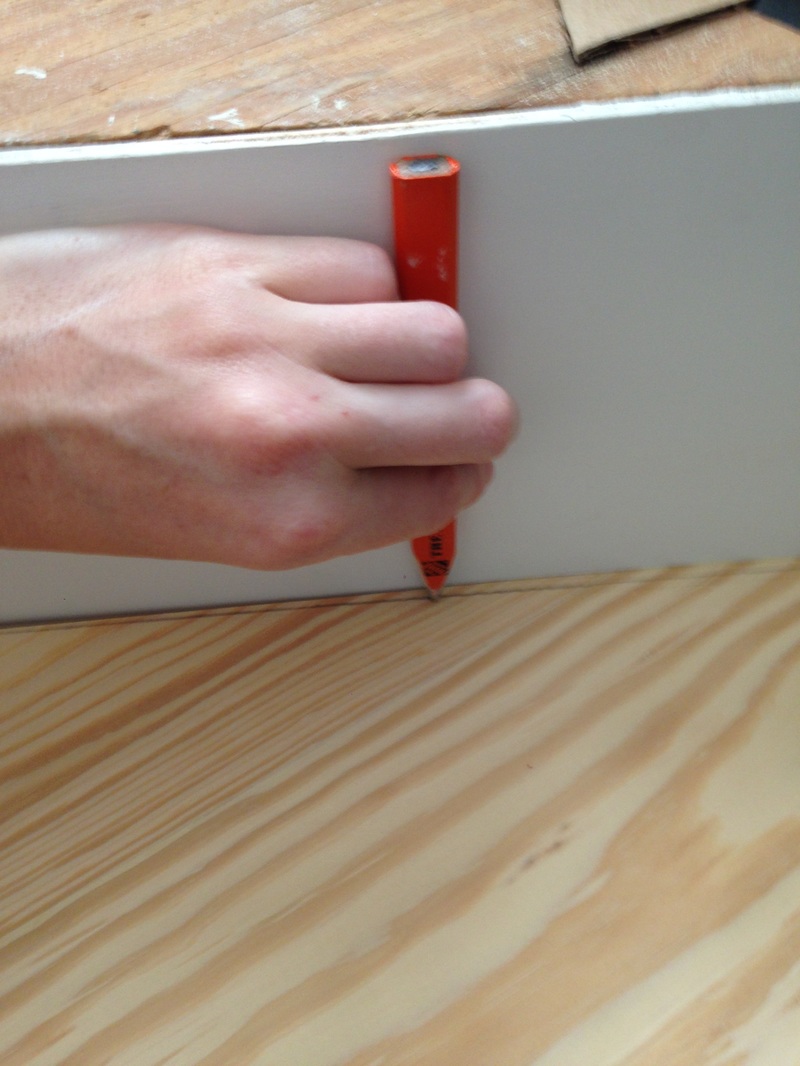 It didn't end up being perfect, but as I've learned through this process... caulk solves lots of problems! 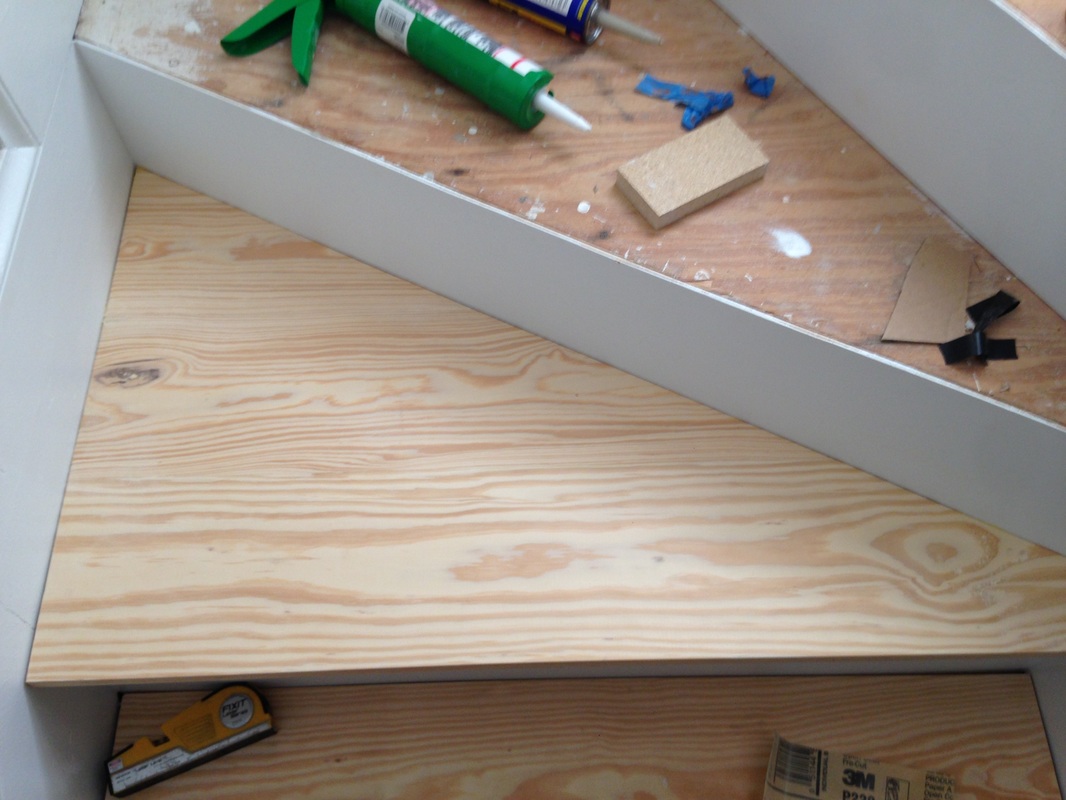 The last part of the process is making the front appear to be 1.5" thick, like the rest of my treads. There was a simple solution - create a "lip" on the front of the tread with another piece of 0.75" thick wood. It would give the tread the illusion of being 1.5" thick, even though it really isn't. Brilliant! I haven't done this yet, but in future posts!
|

about meHi! I'm Lauren! I'm a twenty-something teacher and homeowner in North Carolina. I love math, decorating, and getting down and dirty learning new things about home renovation and repair. Categories
All
Archives
December 2018
|
 RSS Feed
